When I first learned to bake, the very first cookie recipe I memorized wasn’t a chocolate chip or sugar cookie—it was Classic Peanut Butter Blossoms. It was December, the kitchen was warm, and my grandmother handed me a spoon and said, “Scoop, roll, press.” Simple steps, but the result felt magical. These were the cookies that disappeared first at every holiday gathering, the ones friends always asked for again. Over time, I’ve refined the texture for a softer bite while keeping the nostalgic crackled sugar top and that essential milk chocolate kiss. If you’re craving a treat that balances peanut butter richness with chocolate comfort, this version of Classic Peanut Butter Blossoms will deliver every time.
They’re quick to make, easy to share, and—unlike some versions—these won’t dry out by day two. Whether you’re baking for a cookie exchange or freezing a batch for future you, this recipe brings soft, chewy perfection to a timeless favorite.
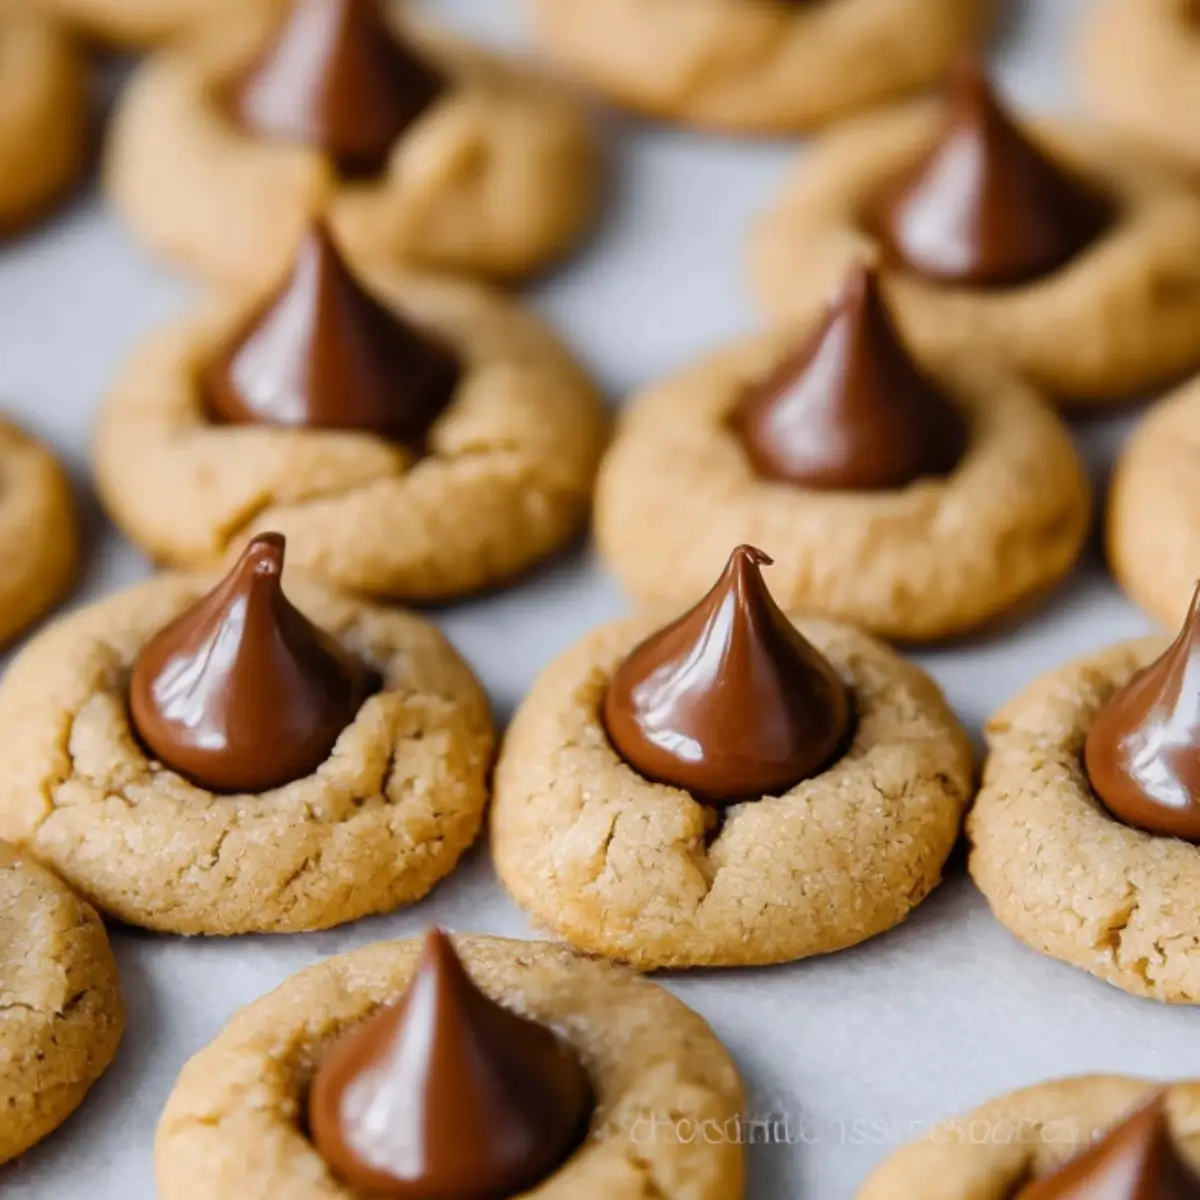
Table of Contents
Recipe Overview & Why You’ll Love It
These Classic Peanut Butter Blossoms combine the creamy flavor of peanut butter with a melt-in-your-mouth milk chocolate kiss, wrapped in a soft cookie with a sugar-kissed crackle top. Each bite delivers a chewy center with just the right chocolate contrast. They’re everything you want from a cookie: nostalgic, simple, and satisfying.
Perfect for holiday trays, gifting, or weeknight cravings, these cookies don’t require any chilling. You can go from mixing bowl to cooling rack in under 30 minutes. This version improves on the standard with a balanced fat ratio that avoids crumbly dryness, delivering soft cookies that stay delicious even after freezing.
Ingredients & Substitutions
This Classic Peanut Butter Blossoms recipe uses pantry staples, but there’s flexibility for substitutions that suit your needs.
Wet Ingredients
- ½ cup (113g) unsalted butter, room temperature
- ½ cup (135g) creamy peanut butter
- ½ cup (100g) granulated sugar
- ½ cup (110g) packed light brown sugar
- 1 large egg
- 1½ tsp pure vanilla extract
Smart Swaps:
- Use plant-based butter for a dairy-free version.
- Crunchy peanut butter adds a little texture, but avoid natural peanut butter—it’s too oily and won’t bind well.
- Replace the egg with a flax egg (1 tbsp ground flax + 2.5 tbsp water) if needed, though texture may be slightly denser.
Dry Ingredients
- 1½ cups (180g) all-purpose flour
- ¾ tsp baking soda
- ½ tsp salt
Substitution Notes:
- A gluten-free 1:1 flour blend works if you want to make them gluten-free.
- Add ¼ tsp cinnamon or nutmeg for a hint of warm spice without overshadowing the peanut butter.
Topping
- ¼ cup (50g) granulated sugar (for rolling)
- 24 unwrapped Hershey’s Kisses
Variations:
- Swap the chocolate kiss with mini peanut butter cups or chocolate truffles.
- Use dairy-free or dark chocolate kisses to match dietary needs or flavor preferences.
Equipment You’ll Need
Making Classic Peanut Butter Blossoms doesn’t require fancy tools, just a few reliable kitchen basics.
- Stand mixer or hand mixer (or a whisk and determination)
- Large and medium mixing bowls
- Measuring cups and spoons
- Small cookie scoop (1 tbsp capacity recommended)
- Baking sheets (2, if possible)
- Parchment paper or silicone baking mats
- Cooling rack
Step-by-Step Instructions
These cookies come together fast. No chilling, no specialty techniques—just classic comfort, one soft, sugar-rolled bite at a time.
Step 1 – Preheat & Prep
Preheat your oven to 375°F (190°C). Line two baking sheets with parchment paper or silicone mats. Unwrap 24 Hershey’s Kisses and set aside in a cool area so they don’t melt prematurely.
Step 2 – Cream the Butters & Sugars
In a large bowl, beat the butter, peanut butter, granulated sugar, and brown sugar on medium speed for 2–3 minutes. The mixture should look fluffy and pale. Add the egg and vanilla extract, then mix until fully incorporated.
Step 3 – Add Dry Ingredients
In a separate bowl, whisk together flour, baking soda, and salt. Gradually add the dry ingredients to the wet mixture. Mix on low until the dough forms and pulls away from the bowl sides.
Step 4 – Shape & Roll
Scoop dough into 1-tablespoon portions. Roll into smooth balls, then coat each in granulated sugar. Place them 2 inches apart on your prepared baking sheets.
Step 5 – Bake
Bake for 8–10 minutes. The edges should look set, and the tops will begin to crack. Avoid overbaking—they should stay soft.
Step 6 – Add the Kiss
Immediately after removing the cookies from the oven, gently press a chocolate kiss into the center of each cookie. The bottoms will melt slightly to adhere but won’t lose shape. Let cookies rest on the sheet for 5 minutes before transferring to a wire rack.
Why This Recipe Works
What sets these Classic Peanut Butter Blossoms apart is the balance between moisture and structure. The combination of butter and peanut butter creates a rich base that stays soft without being oily. Brown sugar contributes moisture and chew, while granulated sugar ensures a crisp edge.
Rolling in sugar creates the signature crackled surface, and skipping the chill step keeps prep quick without sacrificing shape. Adding the chocolate post-bake avoids melting mishaps and ensures the kiss stays centered and firm.
Pro Tips & Variations
- For a deeper flavor, use dark brown sugar in place of light brown sugar.
- Sprinkle flaky sea salt on top right after adding the kiss for a sweet-savory contrast.
- Want to go mini? Use a ½ tablespoon scoop and mini chocolate chips or micro truffles.
- Double the batch and freeze half—these bake perfectly from frozen.
Make-Ahead, Storage & Freezing
Once baked, Classic Peanut Butter Blossoms stay soft and chewy for days.
- Store at room temperature in an airtight container for 4–5 days.
- Freeze dough balls (rolled in sugar) on a tray, then transfer to a zip-top bag. Bake straight from frozen, adding 1–2 minutes to the bake time.
- Freeze fully baked cookies (including the kiss) for up to 2 months. Thaw at room temperature or reheat gently in the microwave for 8–10 seconds to refresh the texture.
Serving Suggestions & Pairings
These cookies shine on their own, but they’re even better when part of a festive spread.
- Pair with mugs of hot cocoa, spiced cider, or cold milk.
- Add to holiday cookie tins alongside snickerdoodles and thumbprints.
- Serve on a tiered tray with fruit and nuts for an easy dessert platter.
Dietary Notes & Allergen Considerations
- Contains peanuts, gluten, dairy, and egg by default.
- Use gluten-free all-purpose flour and dairy-free chocolate and butter for a GF/DF version.
- Substitute peanut butter with sunflower seed butter for nut-free baking.
Troubleshooting & Common Mistakes
Dry, crumbly cookies? You likely overbaked. Remove cookies when edges are set but centers still look soft.
Kisses sliding or melting? They were pressed in too early. Always add them after baking.
Cookies too flat? Your butter may have been too warm. Use room temperature—not softened to the point of melting.
Dough too sticky? Add 1–2 tablespoons of flour or chill the dough for 15 minutes before shaping
FAQs
Can I double this Classic Peanut Butter Blossoms recipe?
Yes, it scales easily. Mix in batches if your bowl is small, and freeze any extra dough balls for later baking.
Can I use other nut butters in Classic Peanut Butter Blossoms?
Absolutely. Almond and cashew butter both work well. Just avoid oily natural nut butters that separate, as they’ll affect dough consistency.
Can I freeze Classic Peanut Butter Blossoms after baking?
Yes. Once cooled, freeze in a single layer, then store in an airtight container for up to 2 months. Thaw at room temp or microwave briefly to revive.
How do I know when Classic Peanut Butter Blossoms are perfectly baked?
The tops should be slightly crackled, and the edges should look set. They’ll finish cooking as they cool, so don’t wait for golden brown bottoms.
Conclusion
Classic Peanut Butter Blossoms are more than just a holiday cookie—they’re a memory in every bite. This version honors tradition with a soft, chewy texture that keeps them from drying out, making each one just as good on day three as it was fresh from the oven. They’re quick, freezer-friendly, and endlessly shareable.
So whether you’re passing down a family tradition or starting a new one, these cookies are a reliable go-to for any occasion. Make a batch, enjoy the aroma, and don’t be surprised if they vanish faster than you expected.
More Tasty Ideas
- Red Velvet Blossoms Cookies: A festive twist on the classic, these cookies pair soft red velvet dough with a creamy white chocolate center. If you love the chocolate-kissed finish of Classic Peanut Butter Blossoms, you’ll enjoy this colorful and equally decadent variation.
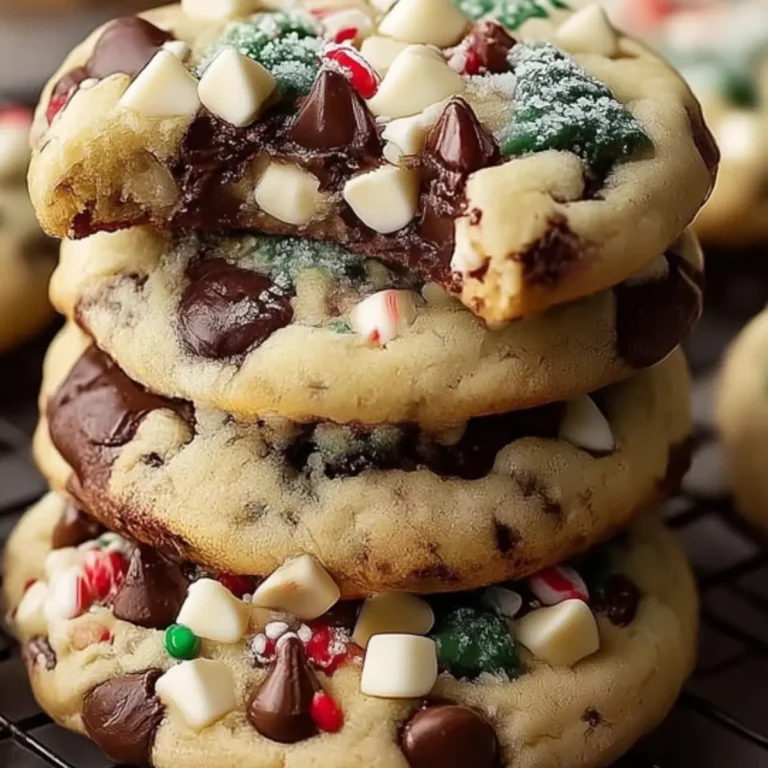
- Peppermint Chocolate Chip Cookies: These holiday-ready cookies combine cool peppermint and rich chocolate in every chewy bite. The minty flavor offers a seasonal contrast that still aligns with the sweet chocolate profile of the peanut butter blossoms.
- Butter Pecan Cookies: Packed with buttery richness and crunchy pecans, these cookies bring the same soft texture and nostalgic warmth as peanut butter blossoms, with a nutty flavor that’s just as satisfying.
Classic Peanut Butter Blossoms with a Soft Twist on Tradition

Classic Peanut Butter Blossoms are soft, chewy peanut butter cookies rolled in sugar and topped with a milk chocolate kiss. They’re a nostalgic holiday favorite that comes together quickly and never fails to impress.
- Prep Time: 15 minutes
- Cook Time: 10 minutes
- Total Time: 25 minutes
- Yield: 24 cookies
- Category: Dessert
- Method: Baking
- Cuisine: American
- Diet: Vegetarian
Ingredients
½ cup unsalted butter, room temperature
½ cup creamy peanut butter
½ cup granulated sugar
½ cup packed light brown sugar
1 large egg
1½ tsp pure vanilla extract
1½ cups all-purpose flour
¾ tsp baking soda
½ tsp salt
¼ cup granulated sugar (for rolling)
24 unwrapped Hershey’s Kisses
Instructions
- Preheat oven to 375°F (190°C) and line baking sheets with parchment paper or silicone baking mats.
- In a large mixing bowl, cream together the butter, peanut butter, granulated sugar, and brown sugar for 2–3 minutes until light and fluffy.
- Add the egg and vanilla extract and mix until fully combined.
- In a separate bowl, whisk together flour, baking soda, and salt.
- Gradually add the dry ingredients to the wet ingredients and mix until a dough forms.
- Scoop 1-tablespoon portions of dough and roll into balls.
- Roll each dough ball in granulated sugar and place 2 inches apart on prepared baking sheets.
- Bake for 10 minutes, or until edges are set and tops have a crackled appearance.
- Immediately press a chocolate kiss into the center of each cookie after removing from the oven.
- Let cookies cool on the baking sheet for 5 minutes, then transfer to a wire rack to cool completely.
Notes
- Use plant-based butter and dairy-free chocolate for a dairy-free version.
- Replace peanut butter with sunflower seed butter for a nut-free alternative.
- Chill the dough for 15–20 minutes if it feels too sticky to handle.
- Freeze unbaked dough balls for up to 3 months and bake from frozen, adding 1–2 extra minutes to the bake time.