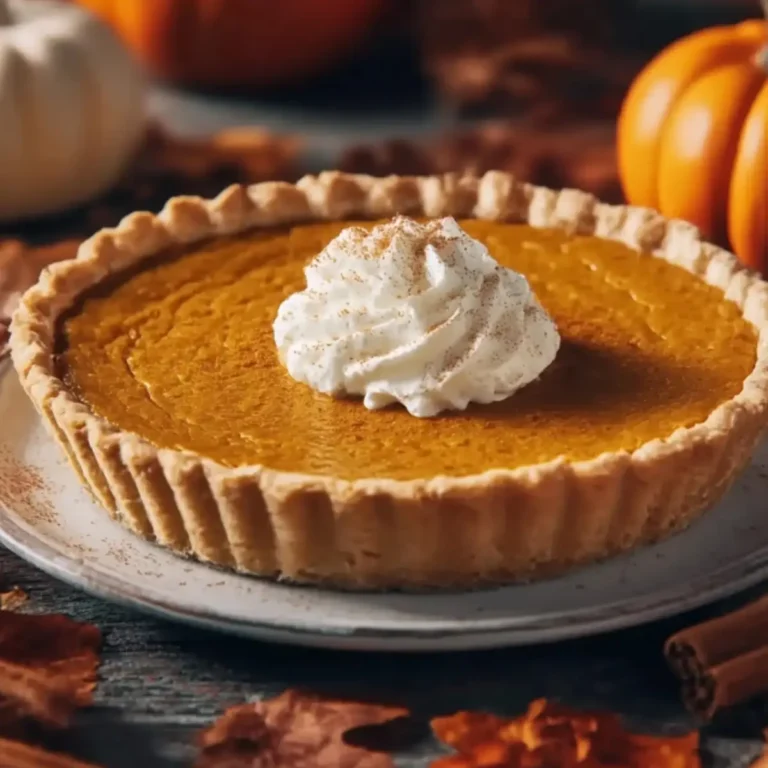
When the air turns crisp and leaves start to crunch under your boots, there’s one dessert that feels like home more than any other: Grandma’s pumpkin pie. It’s the recipe that brings generations together, the one that’s been whispered between flour-dusted hands, and scribbled on stained index cards tucked inside weathered cookbooks. And now, for the first time, this cherished secret family recipe is yours to bake, enjoy, and pass along.
You don’t need to be a seasoned baker to make this pie. In fact, you’ll be amazed at how easily it comes together. With a creamy, spiced filling and a flaky, buttery crust, this pumpkin pie recipe is foolproof, timeless, and full of nostalgic charm. Whether you’re hosting your first Thanksgiving or simply craving a classic dessert with soul, this recipe promises to deliver.
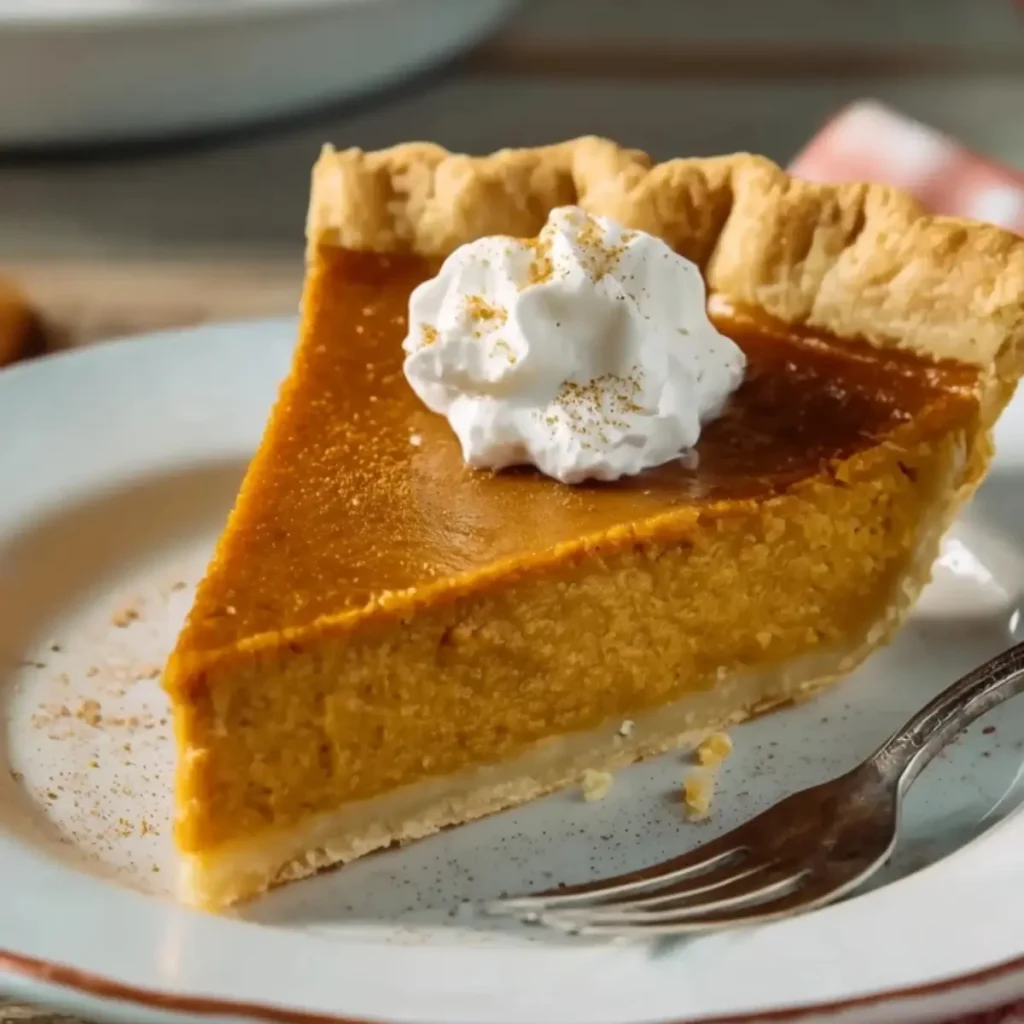
Table of Contents
A Slice of Nostalgia: Why This Pumpkin Pie Feels Like Home
Think back to the most memorable holiday meals you’ve had. Chances are, a slice of warm pumpkin pie played a starring role. The rich aroma of cinnamon, nutmeg, and clove wafting from the kitchen. The sound of laughter as family gathers around the table. That first forkful of velvety filling melting into a flaky crust—these aren’t just flavors; they’re memories.
This isn’t just any dessert. It’s a tradition. A moment. A piece of history. And now, it’s part of your story too.
The Legacy of Grandma’s Pumpkin Pie Recipe
Why This Recipe Stands the Test of Time
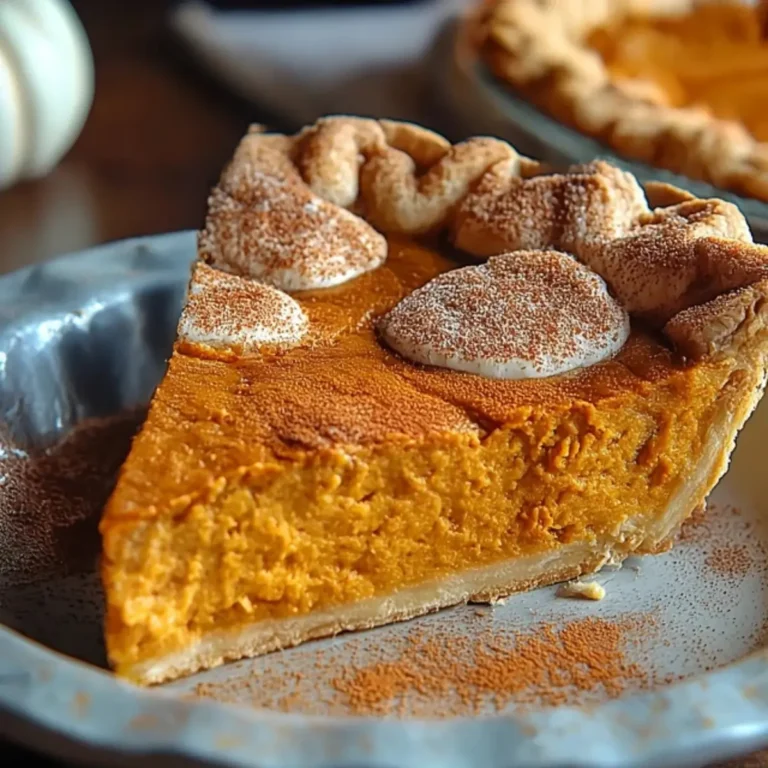
Unlike trendy desserts that come and go, a good pumpkin pie never goes out of style. What makes Grandma’s version so beloved is its balance—rich without being too sweet, spiced but never overpowering, and always smooth and sliceable. It’s the pie that doesn’t crack, doesn’t weep, and doesn’t fail.
You don’t need a dozen ingredients or special equipment. Just a single bowl, a whisk, and a little trust in the process.
What Makes This Recipe Foolproof
The secret? Simplicity. You’ll use common pantry ingredients and a no-fuss method that guarantees perfect results—even if this is your first pie. The filling is forgiving, the baking instructions are clear, and the cooling technique ensures your custard sets just right. You’re not just baking; you’re building confidence.
Ingredient Deep-Dive: What You’ll Need
Core Ingredients
- 1 can (15 oz) 100% pure pumpkin puree
- ¾ cup light brown sugar (packed)
- 2 large eggs
- 1 can (12 oz) evaporated milk
- 1 unbaked 9-inch pie crust (homemade or store-bought)
- ½ teaspoon salt
Signature Spice Blend
- 1 ½ teaspoons ground cinnamon
- 1 teaspoon ground ginger
- ½ teaspoon ground nutmeg
- ¼ teaspoon ground cloves
Ingredient Tips and Tricks
- Pumpkin Puree: Go for canned 100% pure pumpkin, not “pumpkin pie filling.” The latter has added sugars and spices that throw off the balance.
- Evaporated Milk: This old-school ingredient gives the pie its rich, custardy texture. It’s thicker than regular milk, offering creaminess without heaviness.
- Spices: Use fresh, high-quality ground spices. You’ll notice the difference. If you prefer convenience, substitute the blend above with 1 tablespoon of pumpkin pie spice.
- Crust Options: Store-bought crust works just fine, but if you have a go-to homemade crust, it will elevate the pie even further.
Step-by-Step Instructions for Foolproof Perfection
Step 1 – Prep the Oven and Crust
Preheat your oven to 425°F (220°C). Place your unbaked pie crust into a 9-inch pie plate, crimping the edges for that classic homemade look.
Step 2 – Mix the Filling
In a large bowl, whisk together the pumpkin puree and brown sugar until smooth and combined.
Step 3 – Add Eggs and Spices
Whisk in the eggs, one at a time. Then stir in cinnamon, ginger, nutmeg, cloves, and salt until fully blended.
Step 4 – Add the Evaporated Milk
Slowly whisk in the entire can of evaporated milk until the mixture is silky and uniform.
Step 5 – Fill and Bake
Pour the filling into your pie crust. Place the pie on a baking sheet (to catch spills) and bake at 425°F for 15 minutes.
Step 6 – Reduce Heat and Continue Baking
Without opening the oven, reduce the temperature to 350°F (175°C) and bake for an additional 40–50 minutes, or until a knife inserted 1 inch from the center comes out clean.
Step 7 – Cool with Care
Let the pie cool in the oven (turned off) with the door slightly ajar for about 15 minutes. Then transfer it to a wire rack and cool completely for at least 2 hours. This slow cooling prevents cracking and helps the filling set.
Tips & Tricks from Grandma’s Kitchen
- Don’t overbake—it’s okay if the center is still slightly jiggly.
- Cooling is key. A slow, gentle drop in temperature keeps the custard silky.
- Make sure your spices haven’t expired. Stale spices dull the flavor.
- Always use evaporated milk, not condensed milk.
- For perfect slicing, chill the pie after it’s cooled to room temperature.
Storage & Make-Ahead Instructions
Once cooled, your pumpkin pie can be covered loosely with plastic wrap or foil and stored in the refrigerator for up to 4 days. It’s just as delicious (if not more) the next day. You can also bake the pie 1–2 days in advance to reduce holiday stress.
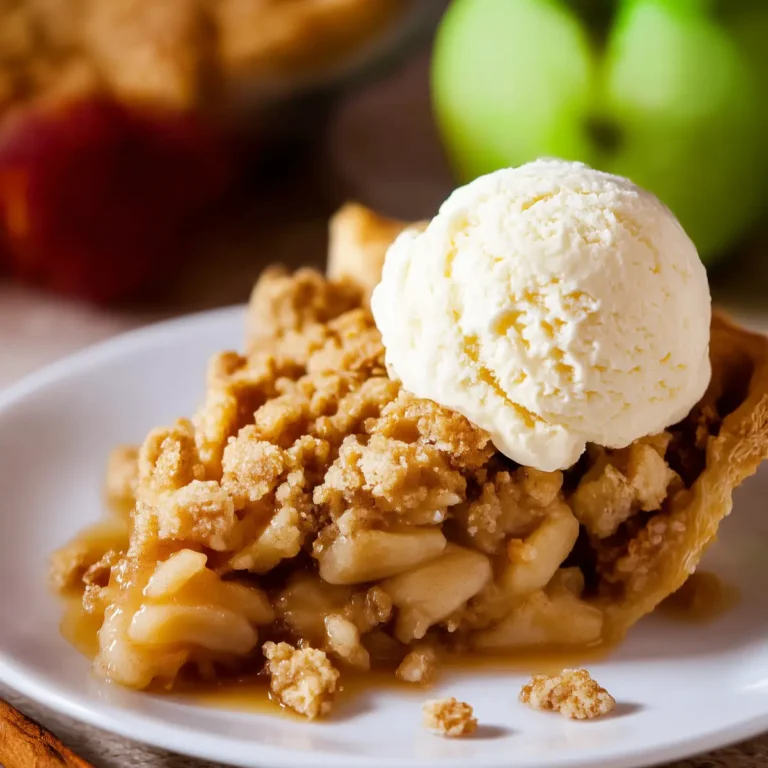
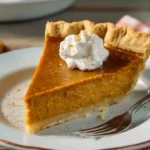
When ready to serve, enjoy it chilled or at room temperature. For that extra touch, top it with whipped cream or a scoop of vanilla ice cream.
Variations & Substitutions
- Dairy-Free? Use full-fat coconut milk in place of evaporated milk.
- Spice Shortcuts: One tablespoon of pumpkin pie spice can replace the four individual spices.
- Crustless Option: Pour the filling into a greased pie dish and bake as directed. Great for gluten-free diets.
- Mini Pies: Use a muffin tin and bake for about 25–30 minutes.
Nutritional Information (Per Serving – 1 slice, 1/8 of pie)
- Calories: Approximately 280
- Sugar: About 25g
- Sodium: Around 220mg
- Fat: 12g
- Saturated Fat: 5g
- Unsaturated Fat: 6g
- Trans Fat: 0g
- Carbohydrates: 38g
- Fiber: 3g
- Protein: 5g
- Cholesterol: 65mg
Frequently Asked Questions About Grandma’s Pumpkin Pie Recipe
Can I use fresh pumpkin instead of canned?
Yes, but it must be thick and not watery. Homemade pumpkin puree tends to hold more moisture, so you’ll need to cook it down and strain it well. The consistency should match canned puree for best results.
How do I prevent cracks on the surface?
Cracks happen when the pie is overbaked or cooled too quickly. Make sure to remove the pie while the center still jiggles slightly, and let it cool gradually on the counter. Don’t rush the cooling process.
Can I make this pumpkin pie in advance?
Definitely. This is the ideal make-ahead dessert. The flavors deepen overnight, and you’ll appreciate one less thing to do on a busy holiday. Just bake, cool, and refrigerate until serving.
Conclusion
There’s something magical about a pie that carries generations of love in every slice. Grandma’s pumpkin pie isn’t just a dessert—it’s a symbol of comfort, celebration, and connection. It’s the kind of recipe that doesn’t just live in cookbooks but in the hearts of the people who gather around it.
Now it’s yours. Whether you’re baking it for the first time or passing it on to someone special, this pie is more than a dish—it’s a story waiting to be told. So preheat that oven, dust off your apron, and bring a little bit of Grandma’s kitchen into your own. You won’t just be serving dessert—you’ll be serving tradition.
More Delicious Recipes
- Pumpkin Sugar Cookies (Fall Cutout Recipe): These festive cookies capture the same warm pumpkin spice notes you love in pumpkin pie but in a fun, cutout cookie form. Perfect for holiday decorating or gifting, they offer that nostalgic flavor in a crisp, sweet bite.
- Pumpkin Layer Cake: If you’re craving more of that cozy spice blend and rich pumpkin flavor, this layered cake delivers. Each moist tier is spiced just right and topped with creamy frosting, making it a showstopper for fall gatherings.
- Pumpkin Pie Cheesecake: A delicious twist on the traditional pie, this cheesecake blends the silky smoothness of pumpkin custard with a rich cream cheese base. It’s ideal for those who want the classic taste with a little extra indulgence.
Grandma’s Pumpkin Pie Recipe
A smooth, creamy, and warmly spiced pumpkin pie recipe passed down through generations. This foolproof dessert features a rich custard filling nestled in a flaky crust, making it the perfect nostalgic treat for the holidays.
- Prep Time: 15 minutes
- Cook Time: 55 minutes
- Total Time: 1 hour 10 minutes
- Yield: 8 servings
- Category: Dessert, Pie
- Method: Baking
- Cuisine: American
- Diet: Vegetarian
Ingredients
- 1 can (15 oz) 100% pure pumpkin puree
- 3/4 cup packed light brown sugar
- 2 large eggs
- 1 can (12 oz) evaporated milk
- 1 1/2 teaspoons ground cinnamon
- 1 teaspoon ground ginger
- 1/2 teaspoon ground nutmeg
- 1/4 teaspoon ground cloves
- 1 unbaked 9-inch pie crust (store-bought or homemade)
- 1/2 teaspoon salt
Instructions
- Preheat oven to 425°F (220°C). Place the unbaked pie crust into a 9-inch pie plate and crimp the edges as desired.
- In a large bowl, whisk together pumpkin puree and brown sugar until smooth.
- Whisk in eggs one at a time until fully incorporated.
- Add cinnamon, ginger, nutmeg, cloves, and salt. Mix until well combined.
- Slowly whisk in evaporated milk until the filling is smooth and uniform.
- Pour filling into the pie crust. Place on a baking sheet.
- Bake at 425°F for 15 minutes.
- Reduce oven temperature to 350°F (175°C) and continue baking for 50 minutes or until a knife inserted 1 inch from center comes out clean.
- Turn off oven and crack the door open. Let pie cool in the oven for 15 minutes.
- Transfer to a wire rack and cool completely for at least 2 hours before serving.
Notes
- Ensure you use 100% pure pumpkin puree, not pumpkin pie filling.
- Fresh spices provide the best flavor.
- Do not skip the slow cooling process to avoid cracks.
- You can substitute the spice mix with 1 tablespoon of pumpkin pie spice blend.
- Heavy cream can be used in place of evaporated milk for a richer filling.