Some recipes come from careful planning. Others—like this one—are born in a flash. For me, it started on a warm summer evening, the grill still hot, the burgers almost done, and my six-year-old niece frowning at her plate. “Burgers are kinda boring,” she said flatly, taking a single bite and setting it down. I’d been making the same burger night spread for weeks, and clearly, the magic had worn off.
Determined to win her over, I grabbed a tortilla instead of a bun, smashed some seasoned beef right onto it, loaded it up with cheese, folded it, and grilled the whole thing until golden and crisp. She took a bite, wiggled in her seat, and asked for another before finishing the first. That moment turned into a tradition—and now, Smashburger Quesadillas are a regular request from adults and kids alike.
If you’ve ever wanted the richness of a burger without the bulk—or a crispy quesadilla that feels like a full meal—this recipe has your name all over it.
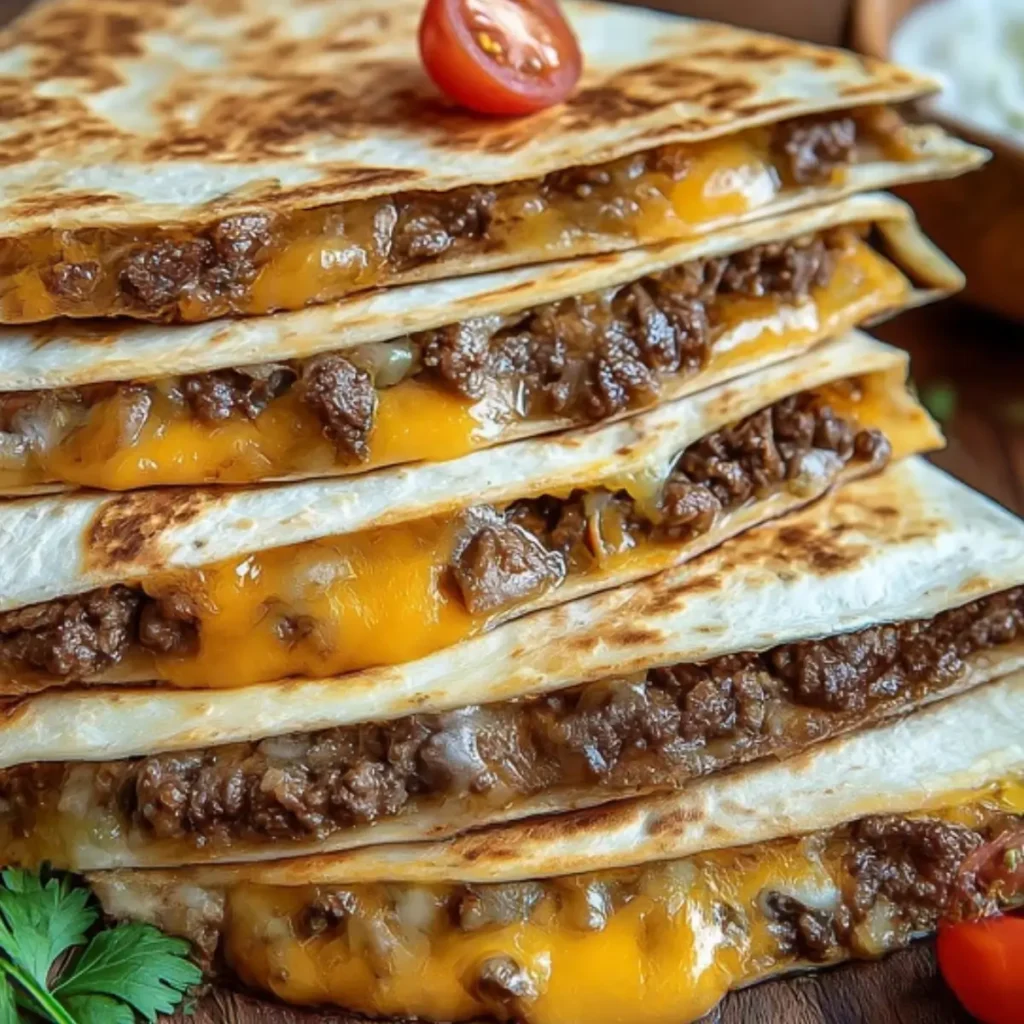
Table of Contents
Recipe Overview & Why You’ll Love It
Smashburger Quesadillas combine everything you love about burgers and quesadillas into a single, skillet-cooked bite. You get the savory crunch of seared ground beef, the melted pull of cheddar and American cheese, and a tortilla that crisps up better than any bun ever could.
They’re ready in under 20 minutes, perfect for nights when time and energy are running low but you still want something that feels indulgent. The recipe is endlessly adaptable—you can load it up with pickles and burger sauce, keep it simple with just beef and cheese, or even go meatless.
Best of all, it’s a one-pan process. No burger flipping, no soggy buns, no broiling required. Just you, a hot skillet, and a better-than-takeout meal on the table in record time.
Ingredients & Substitutions
Core Ingredients (Serves 4)
1 lb (450g) ground beef (80/20 for best texture and flavor)
4 large burrito-sized flour tortillas (10-inch)
1 cup shredded cheese (½ sharp cheddar, ½ American recommended)
1 tsp salt
½ tsp black pepper
½ tsp garlic powder
Optional Toppings
Sliced pickles
Diced onions
Shredded lettuce
Burger sauce, ketchup, mustard
Smart Swaps
Vegetarian? Use seasoned smashed black beans or plant-based ground beef.
Dairy-free? Go with vegan cheese alternatives that melt well—Violife and Daiya both do the job.
Gluten-free? Almond flour tortillas can work if you’re gentle—they’re more delicate but crisp nicely.
Leaner? Try ground turkey or chicken. Just don’t skip seasoning—it needs help to match beef’s boldness.
Equipment You’ll Need
A heavy skillet—cast iron if you have it, non-stick if not
A spatula wide enough to flip tortillas comfortably
Burger press, metal spatula, or bottom of a pot (for smashing)
Kitchen scissors or a sharp knife for slicing
Optional lid or piece of foil to help cheese melt faster
Step-by-Step Instructions
Step 1 – Preheat Your Skillet
Start with a hot skillet. Set it over medium-high heat—about 400°F/205°C if you’re checking. Flick a drop of water onto the surface. If it sizzles and skips, you’re ready to cook.
Brush the outer side of each tortilla lightly with mayo. It sounds strange, but mayo crisps better than oil or butter and gives you that golden diner-style sear.
Step 2 – Smash the Beef
Portion out the ground beef into four equal amounts (about 4 oz each). Take one tortilla and press a portion of the raw beef directly onto one side, pressing it thin—spread it evenly, leaving about half an inch around the edge.
Use a burger press, the back of a spatula, or even a pot. The thinner the beef, the crispier and more evenly it cooks.
Step 3 – Season Generously
Season the beef side with salt, pepper, and garlic powder. Want a deeper flavor? Mix in a pinch of smoked paprika and onion powder for a custom burger rub that gives extra depth.
Step 4 – Cook Beef Side Down
Carefully lay the tortilla beef-side down onto your preheated skillet. You should hear a solid sizzle right away.
Let it cook undisturbed for 2–3 minutes until the beef is deeply browned and the edges look crisp. Don’t flip too early—the beef should release easily from the pan when it’s ready.
Step 5 – Flip, Add Cheese, Fold
Using a spatula (or two), flip the tortilla. Immediately add ¼ cup shredded cheese to the cooked beef side. Spread it evenly, then fold the tortilla in half to form a crescent.
Press it lightly to help the cheese melt and hold everything together. Cook another 1–2 minutes per side, pressing gently, until both sides are golden brown and the cheese is fully melted.
Step 6 – Rest & Slice
Remove the quesadilla from the pan and let it rest for 1–2 minutes. This keeps the cheese from spilling out when you slice.
Cut into triangles using a sharp knife or scissors. Serve hot with your favorite toppings or dipping sauces.
Why This Recipe Works
Pressing the beef directly into the tortilla ensures full contact with the skillet, which means better browning and a faster cook time. By seasoning the raw meat before cooking, you lock flavor into every bite. Folding after cooking the beef side lets you control the cheese melt without any mess.
The mayo-brushed tortilla adds an extra layer of crisp without overpowering the other flavors. And since it’s all cooked in one step (not assembling afterward), the textures and tastes are fully integrated.
Pro Tips & Variations
Shred your own cheese—pre-shredded blends don’t melt as well and can make the filling grainy.
Make a breakfast version: Add scrambled eggs, cooked bacon, and hash browns before folding.
Spice it up: Add jalapeños, hot sauce, or pepper jack.
Hawaiian version: Add a thin slice of grilled pineapple and a swipe of teriyaki sauce.
Want minis? Use street taco tortillas for bite-sized party snacks.
Make-Ahead, Storage & Freezing
You can prep these in advance. Cook completely, let cool, and wrap tightly in foil or plastic. Store in the fridge up to 3 days.
To reheat, use a dry skillet over medium heat or pop into an air fryer for 5–6 minutes. Avoid the microwave if you want to preserve the crispness.
To freeze, let the quesadillas cool, wrap individually, and store up to 1 month. Reheat from frozen in a 375°F (190°C) oven for 10–12 minutes.
Serving Suggestions & Pairings
These pair beautifully with waffle fries, sweet potato wedges, or a crunchy slaw.
Set out small bowls of dipping sauces—think ranch, burger sauce, chipotle mayo, or sriracha.
For drinks, try a crisp lager, iced tea, or even a creamy root beer float.
If serving at a party, slice into smaller wedges and arrange around a bowl of dipping sauce for easy sharing.
Dietary Notes & Allergen Considerations
Gluten-free? Use almond or corn tortillas—check the label and be gentle during the flip.
Dairy-free? Look for melt-friendly vegan cheeses with clean ingredient lists.
Vegetarian? Swap in smashed black beans seasoned with cumin and garlic, or plant-based crumbles.
Nut-free and soy-free? The base recipe contains no nuts or soy; just check your cheese and meat substitutes.
Troubleshooting & Common Mistakes
Tortilla rips when flipping? The beef side probably isn’t fully cooked. Wait until it crisps and lifts easily from the skillet.
Cheese not melting? Cover the skillet briefly with foil to trap steam, or shred your cheese fresh.
Too greasy? Drain excess fat from the skillet after cooking the beef side, or use leaner meat.
Soggy texture? Skillet not hot enough. Let it fully preheat before adding the tortilla.
Nutritional Information (Estimated Per Serving)
Serving Size: 1 folded quesadilla
Calories: ~450
Sugar: 1g
Sodium: 420mg
Fat: 30g
Saturated Fat: 12g
Unsaturated Fat: 16g
Trans Fat: <1g
Carbohydrates: 22g
Fiber: 1g
Protein: 24g
Cholesterol: 70mg
FAQs
Can I make Smashburger Quesadillas ahead of time?
Yes—just cook, cool, and refrigerate. Reheat in a skillet or air fryer for best texture.
What cheese melts best for this recipe?
A combo of sharp cheddar and American cheese gives the best melt and flavor. Freshly shredded cheese performs better than pre-bagged.
Why did my tortilla tear?
Most likely, you flipped it too early or used a fragile tortilla. Make sure the beef side is browned and easy to lift before flipping.
Can I freeze these?
Absolutely. Let cool, wrap tightly, and freeze for up to a month. Reheat from frozen in the oven at 375°F.
How can I lighten this up?
Use lean beef or ground turkey, light tortillas, and part-skim cheese. Stick with fresh toppings like lettuce and tomato to boost volume without adding calories.
Conclusion
Smashburger Quesadillas prove that you don’t need to choose between a burger and a quesadilla—or spend an hour in the kitchen to make something crave-worthy. With a few pantry staples and a hot skillet, you’ve got yourself a fast, flexible, flavor-packed meal that’s as fun to eat as it is to make.
Whether it’s a solo dinner, a game-day snack, or a family favorite in the making, this recipe delivers every time. Try it once and see how quickly it becomes a regular in your rotation. And maybe, like me, you’ll have a moment when someone takes a bite, lights up, and asks for another.
More Delicious Recipes
- Cheesy Ground Beef and Potatoes: This hearty skillet meal brings together seasoned ground beef, melty cheese, and golden potatoes—perfect for fans of beefy, cheesy comfort food like Smashburger Quesadillas. Quick, satisfying, and family-friendly.
- Cheesy Garlic Chicken Wraps: These wraps deliver bold flavor in a handheld format, with juicy chicken, garlic butter, and gooey cheese wrapped in tortillas. If you love crispy, cheesy bites, this is a natural next step from quesadillas.
- Keto Philly Cheesesteak Roll-Ups: A low-carb spin on a meaty classic, these roll-ups pack seasoned beef, peppers, and cheese into a crispy wrap. Similar in savory satisfaction to a quesadilla, but with a Philly-style twist.
Smashburger Quesadillas

Smashburger Quesadillas combine the best parts of a juicy burger and a crispy quesadilla into a fast, cheesy skillet meal. With ground beef smashed into a tortilla, melted cheese, and a golden crisp finish, it’s a weeknight favorite with big flavor and minimal cleanup.
- Prep Time: 10 minutes
- Cook Time: 10 minutes
- Total Time: 20 minutes
- Yield: 4 servings
- Category: Main Course
- Method: Skillet
- Cuisine: American
- Diet: Halal
Ingredients
- 1 lb ground beef (80/20 fat ratio)
- 4 large flour tortillas (burrito-size)
- 1 cup shredded cheese (½ sharp cheddar, ½ American cheese)
- 1 tsp salt
- ½ tsp black pepper
- ½ tsp garlic powder
- Optional: 1 tsp smoked paprika
- Optional: ½ tsp onion powder
- Optional toppings: pickles, diced onions, shredded lettuce, burger sauce, mustard, ketchup
- Optional: 1 tbsp mayonnaise (for brushing tortillas)
Instructions
- Preheat a cast-iron skillet or griddle over medium-high heat (about 400°F/205°C). Test with a drop of water; it should sizzle immediately.
- Lightly brush the outside of each tortilla with mayonnaise to promote even browning.
- Divide the ground beef into four equal portions. Press one portion directly onto one side of each tortilla, spreading thinly and evenly.
- Season the beef side with salt, pepper, garlic powder, and optional smoked paprika and onion powder.
- Place the tortilla beef-side down in the skillet and cook for 3 minutes until edges are crispy and the beef is browned.
- Flip the tortilla carefully. Immediately sprinkle ¼ cup shredded cheese over the cooked beef side.
- Fold the tortilla in half to form a crescent. Press lightly and cook for an additional 2 minutes per side until golden brown and the cheese is melted.
- Remove from heat and rest for 2 minutes before slicing into triangles. Serve hot with your choice of toppings or dipping sauces.
Notes
- Use freshly shredded cheese for better melting compared to pre-shredded varieties.
- To make it vegetarian, swap the beef for smashed black beans or plant-based ground meat.
- Use almond flour tortillas for a gluten-free option; handle with care as they can tear easily.
- For best results, reheat leftovers in a skillet or air fryer to retain crispiness.
- Freeze cooked quesadillas for up to 1 month; reheat in a 375°F oven for 12 minutes.