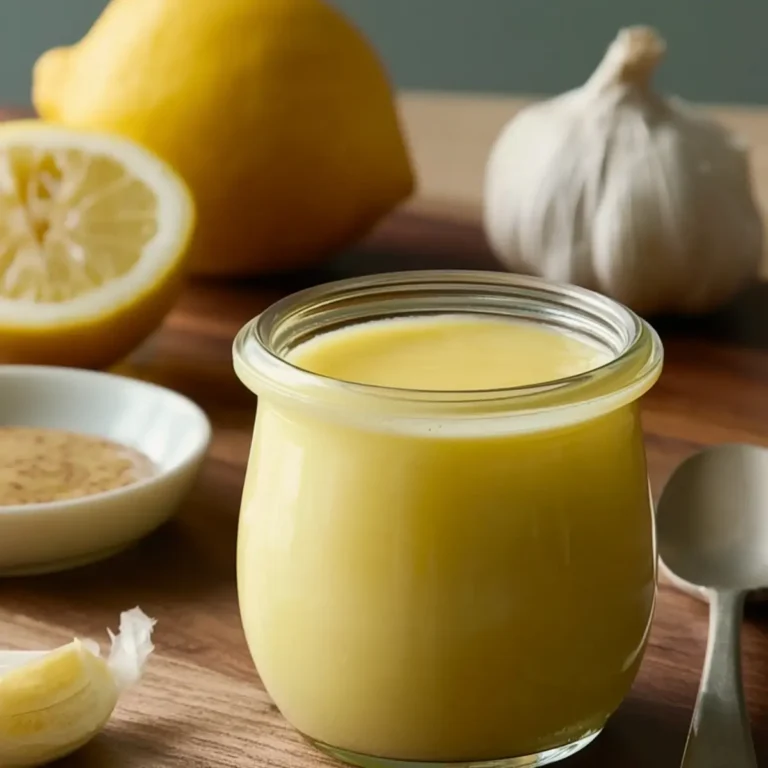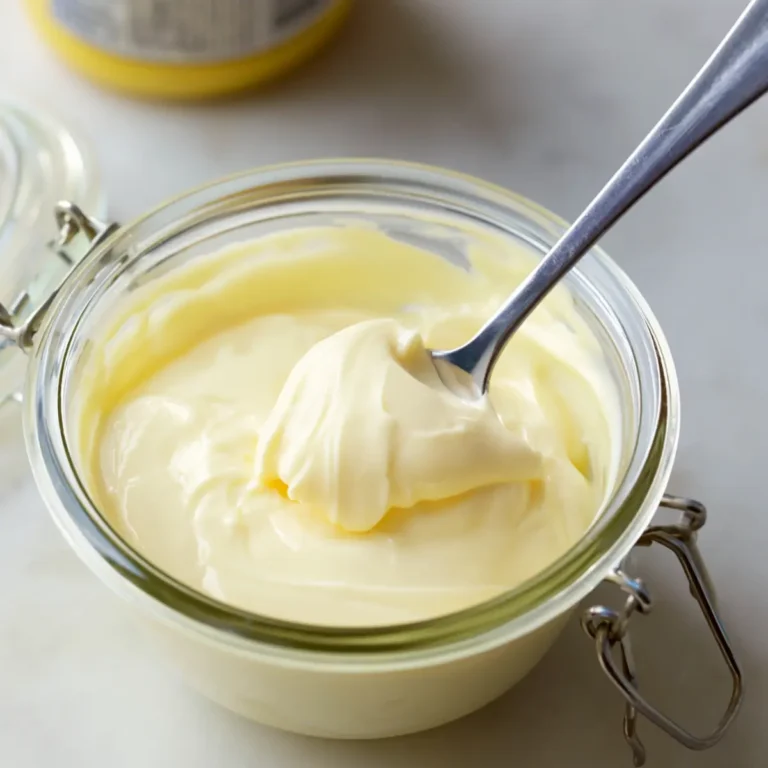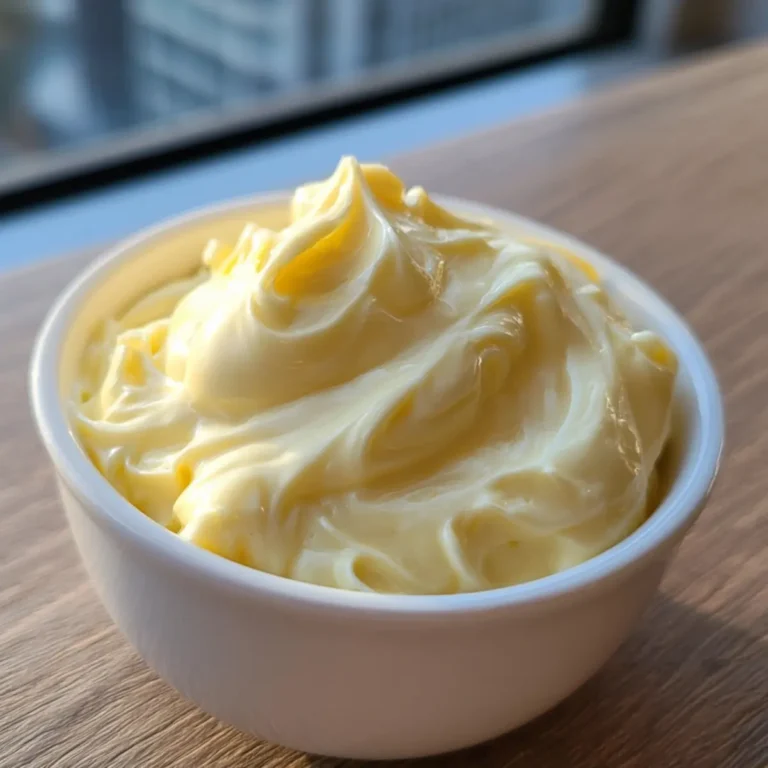
Some days, I just want something rich and punchy to dunk my fries in, spread on a sandwich, or swirl with roasted veggies. That’s when I reach for garlic aioli. The tang of fresh lemon, the bold hit of garlic, and that luscious, creamy texture—this easy garlic aioli is the kind of sauce that makes you wonder why you ever bothered with bottled dips.
Don’t worry if you’ve never made your own aioli before. If you can blend and stir, you’ve got this. I’ll walk you through my favorite tricks and simple steps to make a seriously craveable garlic aioli, perfect for weeknight dinners or laid-back weekend spreads.
Creamy, Rich, and Packed with Flavor: Why Make Garlic Aioli?
If you love bold, creamy dips or can never resist a restaurant-style sauce, garlic aioli will absolutely win you over. This isn’t just a basic mayo—garlic aioli is all about the harmony of mellow yet punchy garlic, a zippy hit of lemon, and that silky, decadent finish that tastes like you spent way more time in the kitchen than you actually did.Making your own means you control everything: the intensity of garlic, the freshness of the lemon, even the texture. It’s perfect for everything from dipping hot-from-the-oven fries to drizzling over grilled veggies, or spreading on a just-toasted artisan roll. The best part? No special occasion required—garlic aioli is one of those little luxuries you can whip up any night of the week.
The Essential Ingredients for Homemade Garlic Aioli
For a garlic aioli that really shines, start with high-quality ingredients. It doesn’t take much—just a few staples with big flavor.- Mayonnaise – The ultra-creamy base that brings everything together. Choose a good full-fat version for a silky texture.
- Garlic – Three large cloves infuse the aioli with bold, aromatic flavor. Fresh is a must here.
- Olive oil – Adds a smooth, savory finish and helps mellow the sharpness of the garlic.
- Lemon juice – A squeeze of fresh juice brightens up the sauce and balances the richness.
- Salt – Just a pinch, to wake everything up and marry the flavors.
See the recipe card below for the full list of ingredients and measurements.
Simple Steps for Perfect Garlic Aioli Every Time
One of my favorite things about garlic aioli is how fast it comes together. Here’s how you can make a batch, right in your own kitchen:- Mince or grate the garlic until you’ve got a fine paste. Juice your lemon and set both aside—you’ll want all that fragrant freshness ready to go.
- Add the mayonnaise, garlic, olive oil, lemon juice, and salt to a small bowl. Whisk vigorously until smooth, creamy, and flecked with little bits of garlic. For a super-silky texture, use an immersion blender—this gives you that perfect, almost restaurant-style consistency.
- Transfer your garlic aioli to an airtight container. Pop it in the fridge for an hour if you can, so the flavors have time to mingle and mellow. The result: a sauce that’s totally addictive and bursting with garlicky goodness.
Making Your Garlic Aioli Shine: Tips and Troubleshooting
A simple sauce like garlic aioli thrives on a few small details. Here’s what to keep in mind for the best results:- Taste as you go: Everyone’s garlic tolerance is different. Start with less and add more if you love a stronger punch.
- Blend for ultra-smoothness: If you want a totally creamy texture with no garlic bits, reach for that immersion blender. It makes your aioli truly restaurant-worthy.
- Let it chill: Giving your aioli some fridge time is key—flavors meld and the whole sauce thickens slightly, creating a truly harmonious dip.
- Don’t rush the garlic: Freshly minced or grated garlic is much more pungent than pre-chopped or jarred. If you prefer a milder aioli, use smaller cloves or let the sauce sit longer before serving so the garlic mellows out.
- Watch for separation: If your aioli looks a bit loose after mixing, whisk it again or blend briefly. This usually brings it right back together.
Creative Ways to Serve and Tweak Garlic Aioli
Garlic aioli is a kitchen superstar thanks to its versatility. If you want to mix things up, try stirring in a pinch of smoked paprika, a handful of chopped fresh herbs like parsley or chives, or even a tiny bit of hot sauce for some subtle heat.For serving, you’ve got endless options:
- Dip hot, crispy fries or roasted potato wedges straight in.
- Spread a generous swirl on sandwiches, burgers, or wraps for an instant flavor upgrade.
- Serve alongside grilled or roasted vegetables for an easy but impressive side.
- Dot on grilled shrimp, fish, or chicken as a finishing touch.
How to Store and Make-Ahead Garlic Aioli
Garlic aioli is best enjoyed fresh, but you can easily make it ahead of time. Store your aioli in a tightly sealed container in the fridge for up to several days. In fact, a rest in the fridge actually lets the flavors deepen and mellow.Always use a clean spoon for serving and avoid letting crumbs or other foods mix in—that’ll help keep your aioli at its best. Freezing isn’t recommended, as the emulsion can break and the texture may change once thawed.
FAQs about Garlic Aioli
Can I make garlic aioli without raw garlic?
Yes, you can use roasted garlic for a sweeter, milder flavor. Just mash the roasted cloves and mix them in, adjusting to your taste.
What’s the best way to adjust the strength of garlic in garlic aioli?
Start with a small amount of garlic and taste as you go. Letting the aioli sit in the fridge helps mellow out strong raw garlic flavors, so keep that in mind.
How long does homemade garlic aioli last in the fridge?
Homemade garlic aioli keeps well for several days when stored in an airtight container. Always check for freshness and use your senses before serving.
Can I use another base instead of mayonnaise in garlic aioli?
You can try plain Greek yogurt or vegan mayo for a different twist, but the flavor and texture may vary slightly. Choose a creamy base you enjoy for the best results.
Bring a Burst of Flavor with Garlic Aioli
Homemade garlic aioli brings a fresh, bold twist to everything from fries to sandwiches. That creamy texture and vibrant garlic-lemon flavor transforms even the simplest snack into something seriously satisfying.Next time you want a dip with real kick, take five minutes for this garlic aioli—you’ll taste the difference right away. It’s a little kitchen trick that always makes me hungry for one more bite.
Try These Next
These recipes each bring something special to your table, whether it’s shared garlic flavor, perfect pairing, or a comforting vibe.
- Bok Choy With Garlic And Ginger — a simple side with garlic to complement your aioli beautifully.
- Sheet Pan Nachos — great for sharing and pairs well with a creamy garlic dip like your aioli.
- Aloha Grilled Pineapple Chicken — contrast the garlicky sauce with sweet and tangy grilled chicken flavors.
Recommended Equipment

Kenwood Titanium Chef Baker KVC65.001WH
Perfect for mixing and whipping aioli ingredients
View on Amazon
KitchenAid Classic Hand Blender 5KHBV53EOB
Ideal for blending garlic and emulsifying sauce
View on Amazon
Kenwood Easy Chop CHP61.100WH Electric Mini Chopper
Great for chopping garlic finely for aioli
View on Amazon* As an Amazon Associate, I earn from qualifying purchases. There is no extra cost to you.
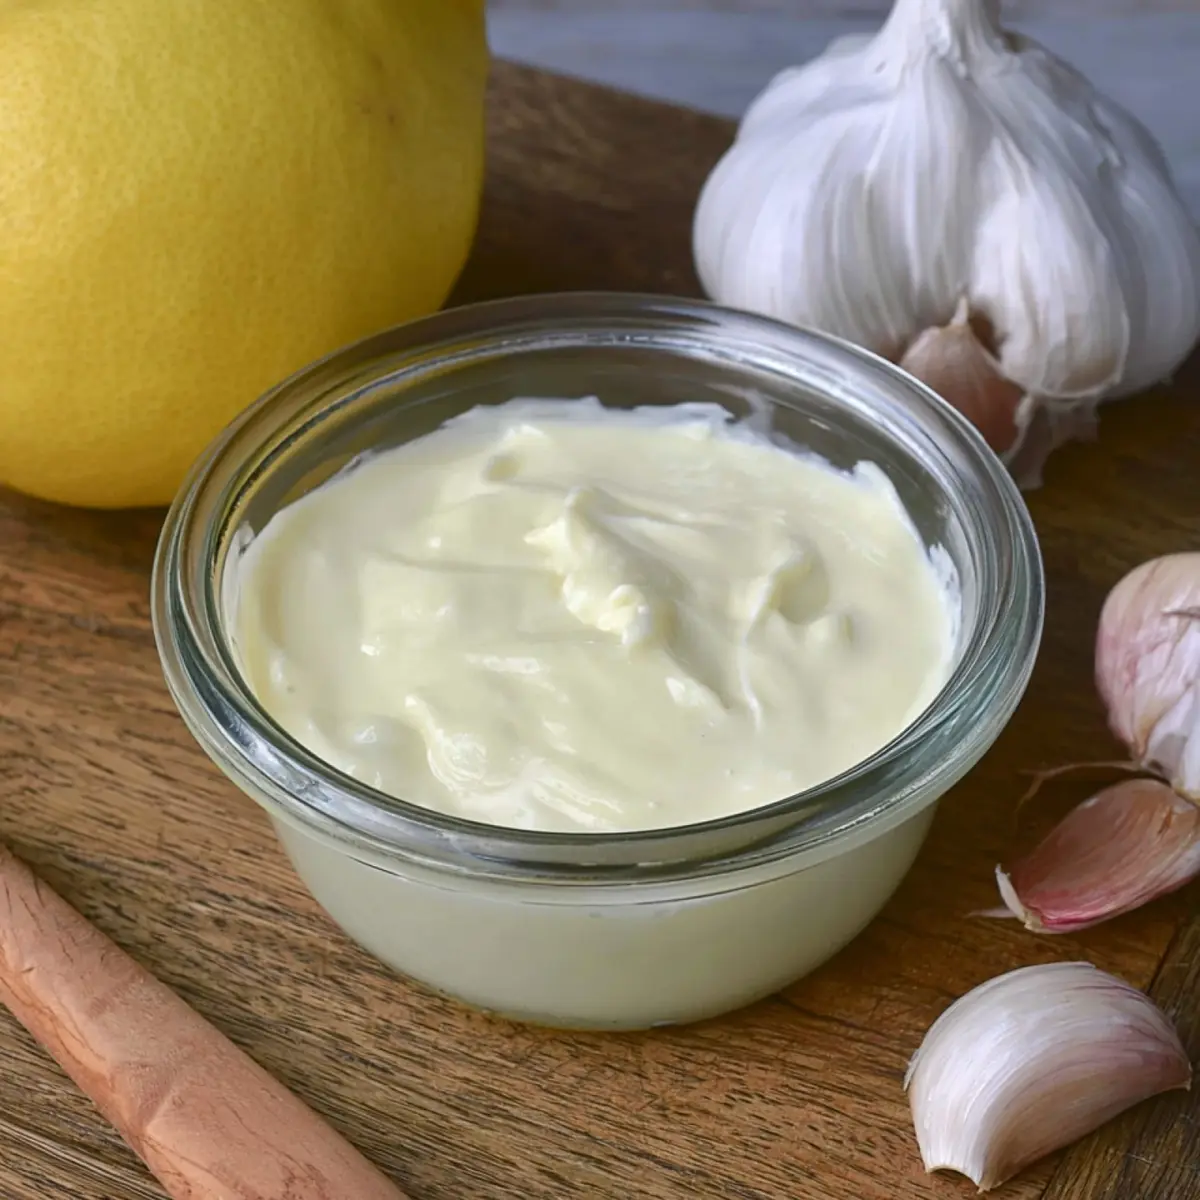

Homemade Garlic Aioli
Ingredients
Equipment
Method
- Mince or grate the garlic. Juice the lemon.
- Mix all the ingredients together in a bowl, whisking well to combine. Alternatively, you can use an immersion blender and place all the ingredients in a bowl – the texture of the garlic aioli sauce will be smoother using this method.
- Place in an air-tight container and keep in the fridge for 3-4 days. I recommend placing the aioli in the refrigerator for about an hour before serving so the flavors can meld together.