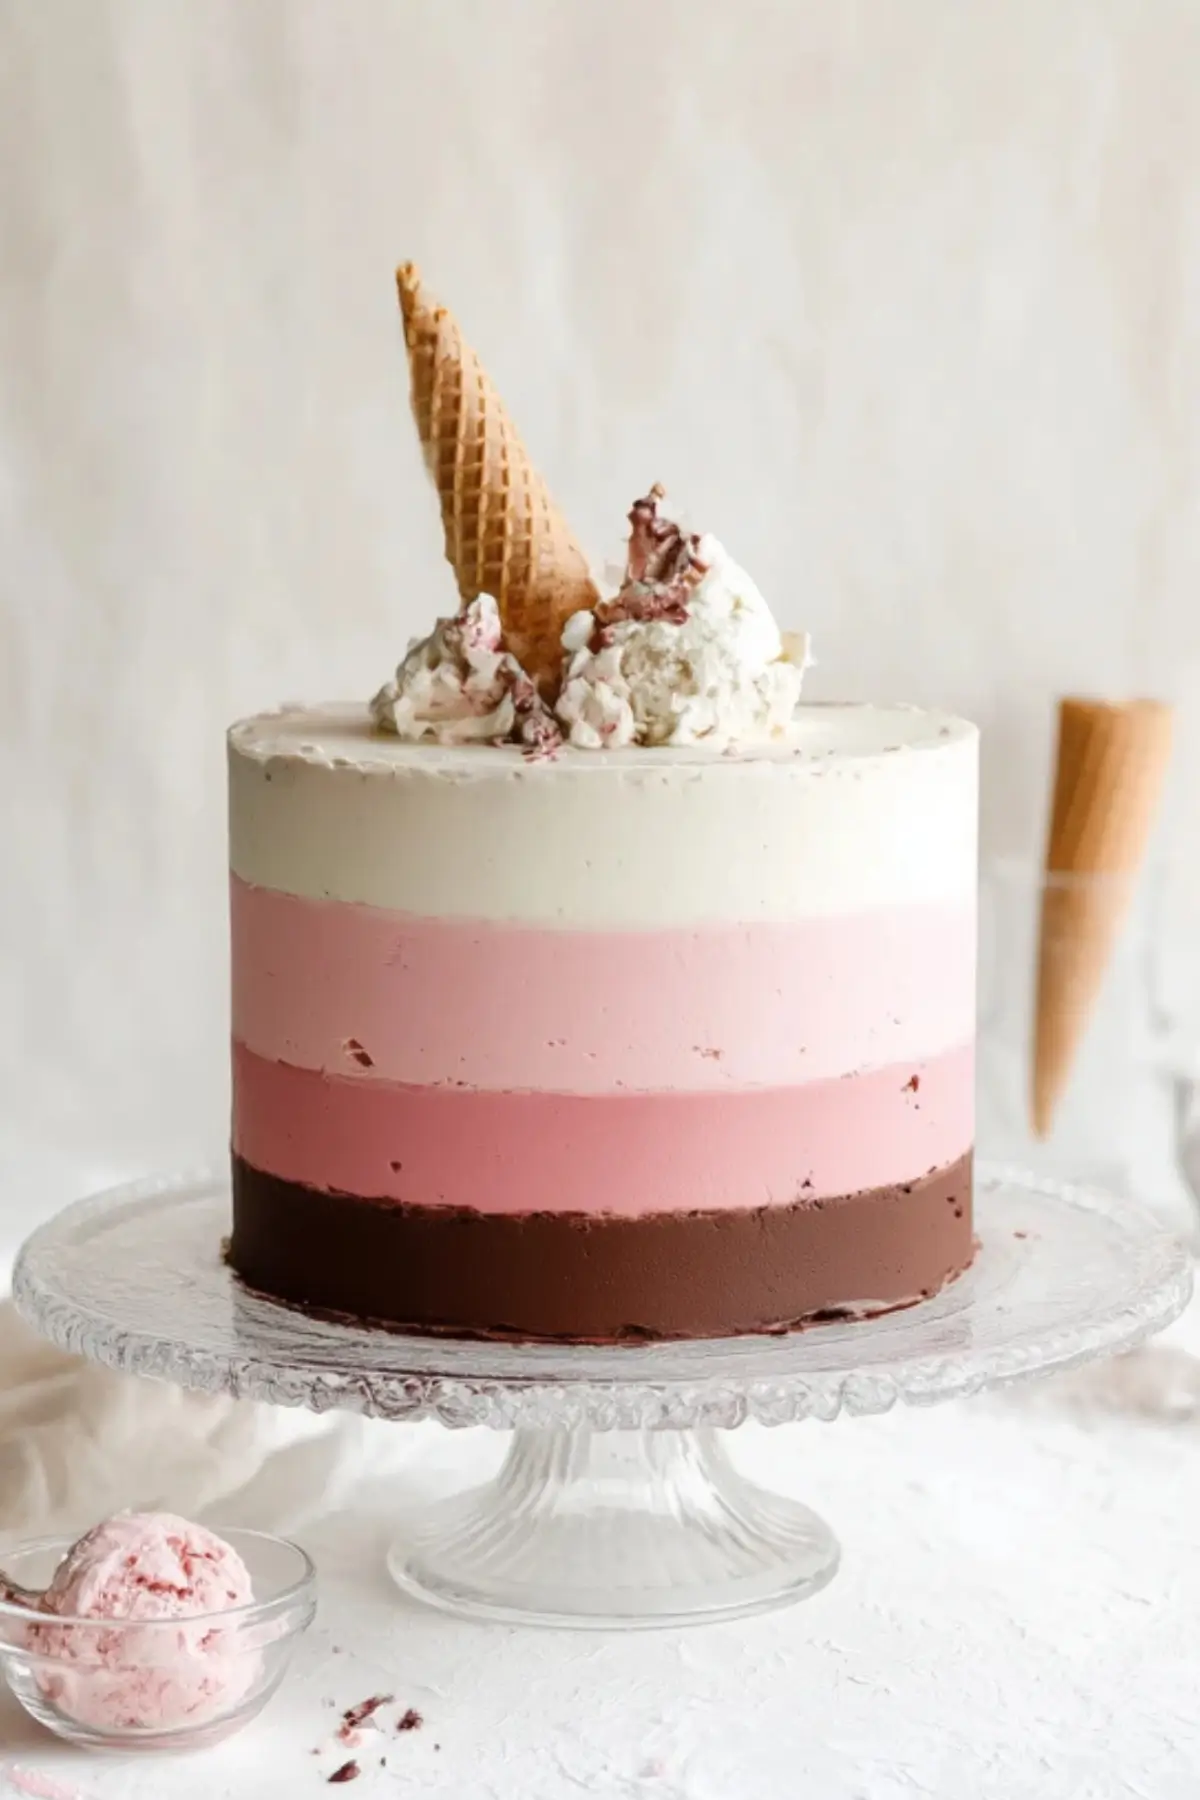
There’s something unmistakably nostalgic about Neapolitan flavors. Whether you remember it from birthday parties, family cookouts, or simply scooping your favorite trio from a tub of ice cream, the combination of chocolate, vanilla, and strawberry has a timeless charm. Now, imagine those classic flavors layered into a stunning cake, striped with pastel buttercream and topped with a whimsical ice cream cone. That’s what makes this Marble Neapolitan Cake so unforgettable.
You don’t need to be a professional baker to recreate this showstopping dessert at home. With a little planning, attention to detail, and a sprinkle of creativity, this pink marble cake can become your go-to celebration centerpiece—whether you’re hosting a birthday party or just want to bake something magical for the weekend.

Table of Contents
Why This Pink Marble Cake Belongs in Your Recipe Box
If you’ve ever struggled to choose between vanilla, chocolate, or strawberry, this cake solves your dilemma by giving you all three in perfect harmony. Here’s why it stands out:
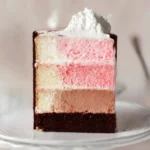
- Three Classic Flavors in One Cake: Each layer—vanilla, strawberry, and chocolate—is crafted from scratch, ensuring rich, distinct flavors that don’t blur into one another.
- Visually Stunning: With buttercream stripes wrapping around the exterior and a clever ice cream cone on top, this cake doesn’t just taste good—it looks like a work of art.
- Perfect for Celebrations: Whether you’re baking for kids or adults, it’s a guaranteed crowd-pleaser. The balance of sweetness and moisture makes every slice memorable.
- High-Altitude Friendly: Originally developed for 5,280 feet, this recipe includes flexibility to suit any elevation with a few simple tweaks.
If you’re looking for a cake that tastes like childhood and looks like a masterpiece, this is the one to try.
What You’ll Need to Make the Marble Neapolitan Cake
You’ll be creating three separate layers and three buttercream flavors, but don’t let that intimidate you. Each component is straightforward, and once you break it down, it’s all very manageable.
For the Cake Layers (½ Recipe Each):
- Vanilla Cake: A moist and fluffy base layer, perfect for anchoring the other two.
- Strawberry Cake: Made with real strawberry purée and a touch of pink food coloring for that classic color.
- Chocolate Cake: Rich, dark, and deeply flavored with a hint of espresso for depth.
For the Buttercream:
- Vanilla Buttercream: Creamy and smooth with just the right level of sweetness.
- Strawberry Buttercream: Fresh, fruity, and naturally pink.
- Chocolate Buttercream: Decadent and rich—ideal for topping off your masterpiece.
Tip: While you can use boxed cake mixes in a pinch, avoid canned frosting. The flavor and texture simply don’t compare to homemade buttercream.
Step-by-Step Instructions: Bringing It All Together
1. Bake the Cake Layers
Start by preheating your oven to 350°F and preparing three 8-inch or 9-inch cake pans. Spray the bottoms lightly with non-stick spray.
- Mix the vanilla cake batter first, followed by the strawberry, then chocolate. This way, you won’t need to clean your mixing bowl between batches.
- Bake all three layers for about 28–30 minutes. Insert a toothpick into the center—if it comes out clean, your cakes are done.
- Let them cool completely on a wire rack. If you’re prepping ahead, wrap each cooled layer in plastic wrap and store at room temperature for a day or freeze for up to three months.
2. Make the Buttercream
Prepare each buttercream flavor in separate bowls and cover them with plastic wrap to prevent drying.
- The vanilla and strawberry versions pair perfectly with their respective layers.
- The chocolate buttercream, which goes on top, finishes the cake with a rich flavor contrast.
3. Assemble the Layers and Apply the Crumb Coat
To build a smooth and sturdy cake:
- Level the tops of each cake layer if needed.
- Start with the vanilla layer. Spread a thin layer (1/8 to 1/4 inch) of vanilla buttercream on top and around the sides.
- Add the strawberry layer next, repeating the process with strawberry buttercream.
- Finally, place the chocolate cake on top and cover it with chocolate buttercream.
- Use a bench scraper to smooth out the sides and remove excess frosting. Chill the cake in the fridge for 30 minutes to set the crumb coat.
4. Add the Final Coat and Create Stripes
Now it’s time to give your cake that signature striped look:
- Spread vanilla buttercream around the bottom third of the cake.
- Follow with strawberry in the middle section and chocolate on the top third and top of the cake.
- Use a bench scraper to blend the layers together smoothly. A turntable helps a lot here, but you can still achieve good results with a steady hand and patience.
Pro Tip: Save the excess buttercream scraped off the sides for your ice cream cone topper.
Optional: Decorate with an Ice Cream Cone Topper
To create the “ice cream” scoop effect:
- Chill the leftover buttercream and use an ice cream scoop to shape it into scoops.
- Place the scoops on top of a sugar cone, then chill until firm.
- Insert a skewer into the scoops and cone to secure it. Flip it upside down and push it into the top of the cake for a fun, playful finish.
Creative Decorating Variations
Don’t feel limited to stripes. Here are a few decorating ideas to make the cake your own:
- Pipe rosettes in each flavor for a floral look.
- Leave the sides “naked” for a rustic effect with the colorful layers showing through.
- Add a chocolate ganache drip for a polished, bakery-style finish.
- Use multiple ice cream cones for a festive, party-style cake.
Nutritional Information (Per Serving – based on 20 slices)
- Serving Size: 1 slice
- Calories: Approximately 480
- Sugar: About 40g
- Sodium: Around 160mg
- Fat: Roughly 24g
- Saturated Fat: 14g
- Unsaturated Fat: 9g
- Trans Fat: 0g
- Carbohydrates: 58g
- Fiber: 1g
- Protein: 4g
- Cholesterol: 75mg
FAQs About Marble Neapolitan Cake
Can I make this cake ahead of time?
Absolutely. The individual cake layers can be baked and stored a day in advance or even frozen. Just be sure to wrap them tightly in plastic. You can also prepare the buttercream early and store it covered in the fridge.
Can I use 9-inch pans instead of 8-inch?
Yes, you can. The layers will come out slightly thinner, but the flavor and structure remain the same. Just watch the bake time—they may cook a bit faster.
How do I keep the ice cream cone from falling?
Make sure the buttercream scoops are well chilled and firm before assembling. Inserting a wooden skewer through the cone and into the cake adds essential support and stability.
Conclusion
Marble Neapolitan Cake is more than just a dessert—it’s a joyful blend of flavors, a visual delight, and a sweet nod to childhood favorites. By combining three classic tastes into one harmonious creation, you’re not just baking a cake—you’re crafting an experience that’s sure to leave a lasting impression.
Whether you’re baking for a birthday, a special gathering, or just want to explore something new in the kitchen, this pink marble cake offers the perfect opportunity. It’s not only a treat for the tastebuds but also a fun, creative project that invites you to experiment, decorate, and most of all—share. So pull out those mixing bowls, gather your ingredients, and bring a little magic to your next celebration.
More Tasty Ideas
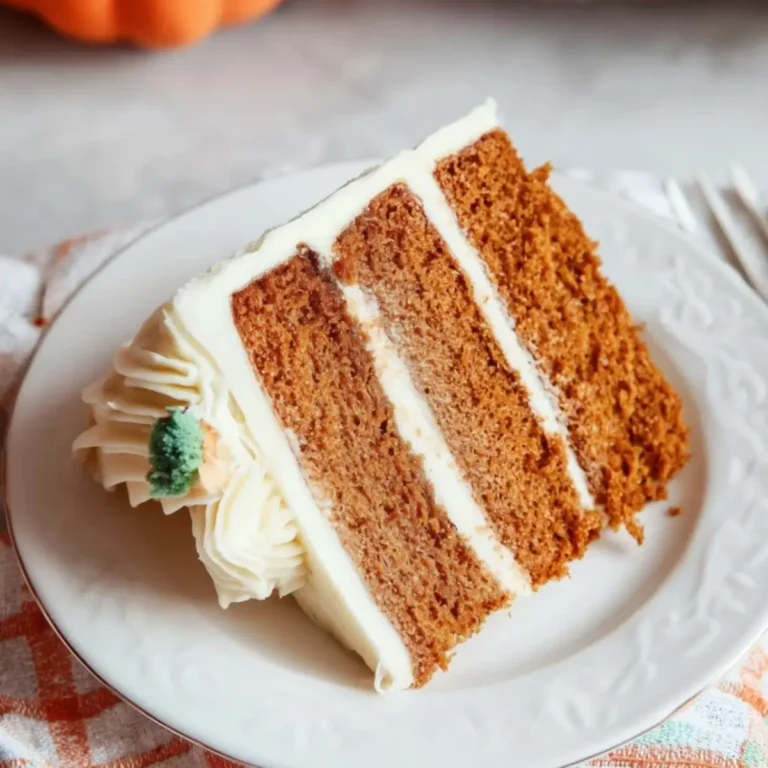
- Pumpkin Layer Cake: This layered dessert offers a rich and spiced flavor profile, making it a perfect seasonal cousin to the Marble Neapolitan Cake. With its soft crumb and creamy frosting, it’s ideal for festive occasions that call for something elegant and comforting.
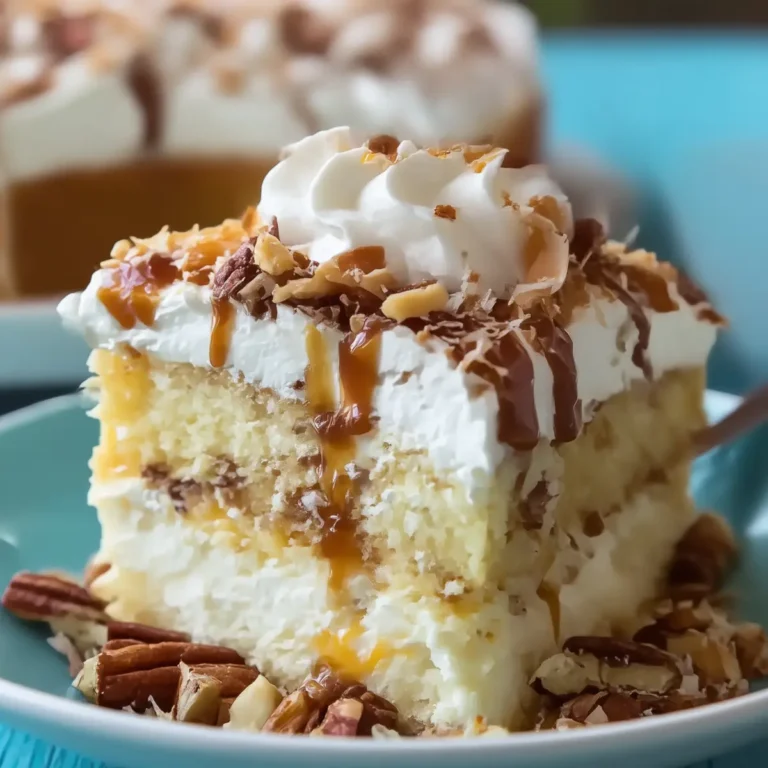
- Strawberry Cheesecake Dump Cake: If you’re drawn to the strawberry component of a Neapolitan cake, this easy-to-make dump cake is a fruity, creamy alternative. It delivers all the strawberry richness without the need for complex assembly, perfect for quick yet indulgent desserts.
- Christmas Tree Cake Macarons: These festive macarons echo the whimsy and colorful flair of the Marble Neapolitan Cake. Featuring a light texture and decorative finish, they’re a fun and flavorful treat that also makes a beautiful addition to dessert tables.
Marble Neapolitan Cake
A whimsical layered cake featuring vanilla, strawberry, and chocolate cake layers, frosted with matching buttercreams and topped with a playful ice cream cone made of scooped buttercream. This festive dessert combines the nostalgic flavors of Neapolitan ice cream into a visually stunning treat perfect for celebrations.
- Prep Time: 15 minutes
- Cook Time: 30 minutes
- Total Time: 45 minutes
- Yield: 20 servings
- Category: Dessert
- Method: Baking
- Cuisine: American
- Diet: Vegetarian
Ingredients
- 1/2 recipe Vanilla Cake
- 1/2 recipe Strawberry Cake
- 1/2 recipe Chocolate Cake
- 1/2 recipe Vanilla Buttercream
- 1/2 recipe Strawberry Buttercream
- 1/2 recipe Chocolate Buttercream
- 3–4 drops red or pink gel food coloring
- Non-stick spray (for pans)
- 1 sugar cone (for topper)
Instructions
- Preheat the oven to 350°F and spray the bottoms of three 8-inch cake pans with non-stick spray.
- Prepare 1/2 recipe of each: Vanilla Cake, Strawberry Cake (add gel food coloring), and Chocolate Cake.
- Pour batters into prepared pans and bake for 30 minutes until a cake tester comes out clean.
- Cool the cakes completely on a rack. Wrap and store if making ahead.
- Prepare 1/2 recipe of each buttercream flavor and cover with plastic wrap.
- Trim cake layers if domed. Place vanilla layer on cake board and frost with vanilla buttercream (1/8–1/4 inch thick). Lightly frost sides.
- Repeat with strawberry layer and strawberry buttercream, then chocolate layer with chocolate buttercream.
- Use a bench scraper to smooth sides and remove excess. Chill cake for 30 minutes.
- Frost the bottom third of the cake with vanilla buttercream, middle third with strawberry, and top third with chocolate. Smooth and blend using a bench scraper and turntable.
- Chill remaining buttercream, then scoop with an ice cream scoop onto a sugar cone. Chill until firm.
- Insert a skewer into the cone and position upside down into the top of the cake as decoration.
Notes
- Make cake layers a day ahead to save time during assembly.
- Use a turntable and bench scraper for best results with striped buttercream.
- Piping bags offer cleaner stripes but an icing spatula can work too.
- Save leftover buttercream for decorating or additional cone toppers.
- If using 9-inch pans instead of 8-inch, layers will be thinner but still work.