If you’ve ever found yourself staring at a fancy box of chocolate truffles, feeling equal parts temptation and intimidation, you’re not alone. For ages, I thought making truffles at home was reserved for expert bakers or special-occasion foodies—definitely not something for a messy Tuesday afternoon in my own kitchen. Turns out, I was very, very wrong.
The first time I tried homemade chocolate truffles, everything changed: rich, creamy centers, a hint of bittersweet snap, and you get that elegant finish no store-bought treat can quite deliver. Plus, you get to choose exactly how chocolatey, nutty, or perfectly soft your truffles turn out. Best part? It only takes a few ingredients and zero candy-thermometer stress.
Why These Chocolate Truffles Are Irresistible
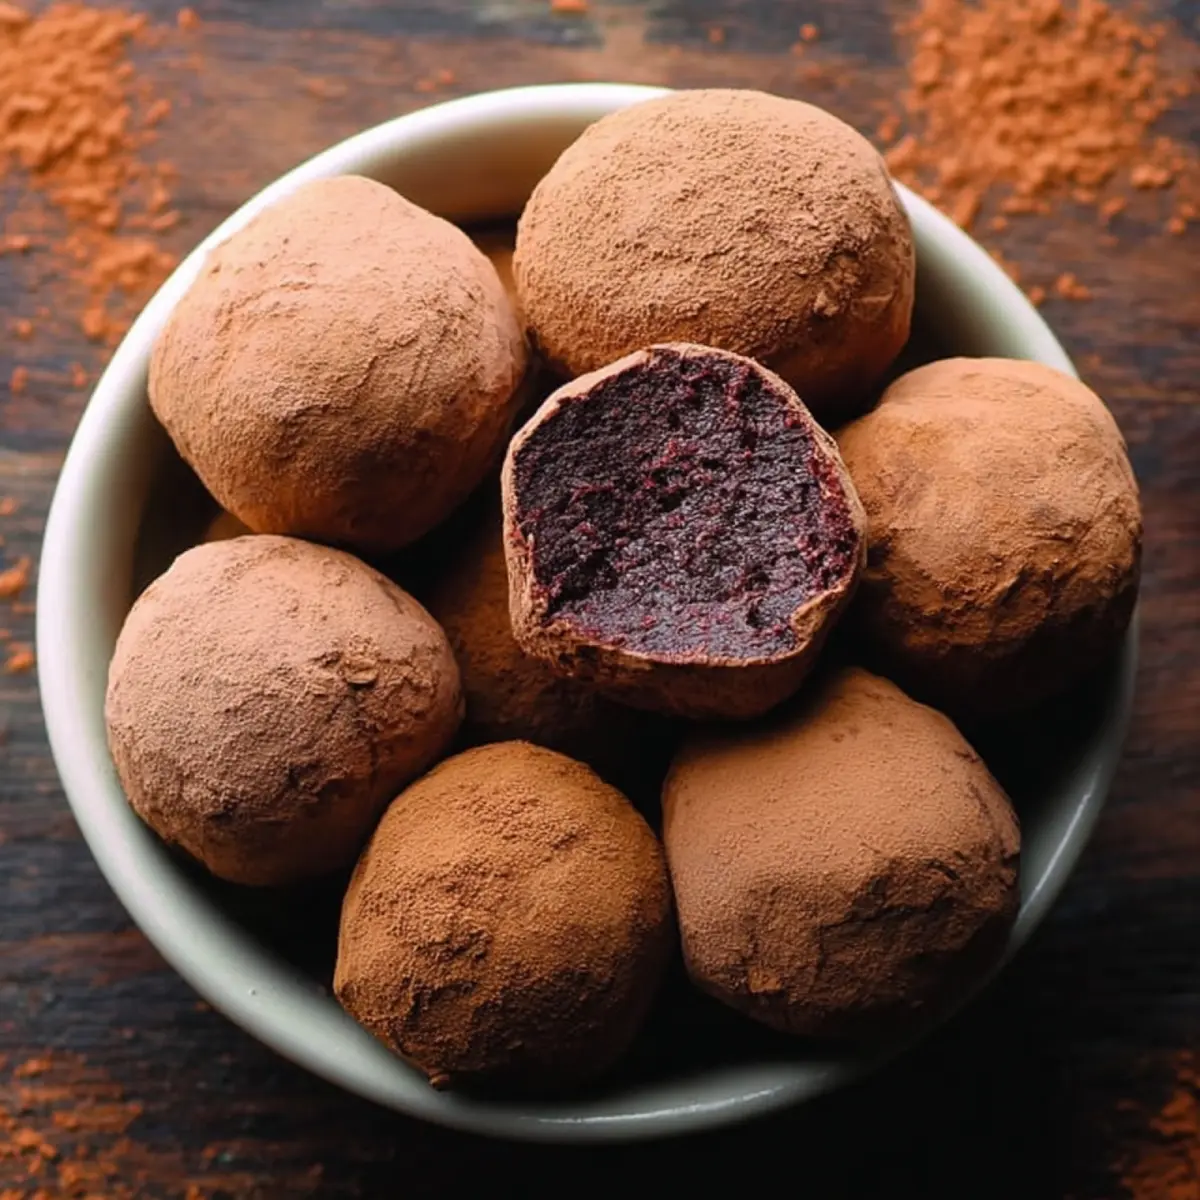
What’s not to love about a plate of homemade chocolate truffles? They’re what dessert dreams are made of—petite orbs of deep chocolate that look stunning at a dinner party but feel perfectly at home in your fridge for late-night nibbling.
The beauty here is in the simplicity: a base of luscious chocolate and creamy richness, just the tiniest touch of vanilla, and maybe an optional sprinkle of salt to dial up every flavor note. You don’t need anything fancy—no heavy gear or tricky techniques—but you end up with candies that melt instantly the moment they hit your tongue.
I’m a big believer in treats that are as fun to share as they are to enjoy solo. These chocolate truffles practically beg to be boxed up as a last-minute gift or displayed beside a steaming cup of coffee after a special meal. If you’ve tried store-bought truffles, you’ll be shocked by how much more vivid, bold, and satisfying fresh ones can be.
Inside the Ingredients for Chocolate Truffles
You won’t believe how much decadence you can coax out of just a few pantry staples. Here’s how each piece fits into the big picture:
- chocolate – The soul of your truffle. Go with high-quality dark or semi-sweet for the deepest flavor—this is where you’ll taste the most difference.
- Heavy cream or full-fat coconut milk – Adds that signature silky texture and rounds out the intense chocolate with gentle richness. Coconut milk doubles for a dairy-free twist, just be sure to use the canned kind for best results.
- Pure vanilla extract (optional) – Just a dash brightens up all the chocolate’s natural flavors, almost like flipping on a light in a dark room. Totally optional, but so good.
- Pinch of salt (optional) – Not mandatory, but if you’re a sweet-and-salty fan, a tiny sprinkle brings out a little more magic in every bite.
See the recipe card below for the full list of ingredients and measurements.
Easy Steps to Homemade Chocolate Truffles
Making chocolate truffles is less about precision and more about unlocking that unbeatable, ultra-smooth finish. Here’s how it goes down:
- Chop your chocolate as finely as you can. The smaller the pieces, the easier and more evenly they’ll melt. You want bits, not big chunks.
- Warm your cream (or coconut milk) gently—just until it starts bubbling around the edges. Pour that hot cream straight over the waiting chocolate.
- Let it sit for a moment, then start stirring from the center out. Soon you’ll have a glossy, thick ganache that’s impossibly tempting. Now’s the time to stir in vanilla or a tiny pinch of salt if you’re using them.
- Cover the bowl and pop it in the fridge. You want the chocolate mixture to be firm enough that you can scoop it out and shape it—like thick fudge, but still a bit pliable.
- When it’s set, use your hands or a mini scoop to roll the chilled ganache into balls. This part is a little messy (and a little fun—I always leave truffle making to the end of the night for a kitchen “reward”!).
- Finish with your favorite coating: roll in cocoa powder, toss in chopped nuts, shredded coconut, powdered sugar, or go full-on showstopper and dip the balls in melted chocolate.
- Set your truffles on a parchment-lined plate, then refrigerate or freeze them to keep them perfect until serving. They’re ready as soon as they’re firm and glossy.
Secrets for Silky-Smooth Truffles Every Time
A few smart tricks can mean the difference between amazing chocolate truffles and a batch that’s just “meh.” Trust me, these tiny details pay off big!
First, always start with good-quality baking chocolate—skip the chocolate chips if you want the smoothest, richest texture. Cutting your chocolate fine makes the melting much more reliable; nobody wants surprise lumps.
If you’re using coconut milk, stick with the real deal: full-fat and canned. The lighter refrigerated versions won’t set up as well and you’ll miss out on some of that dreamy, creamy vibe.
Had trouble with truffling hands? Let the mixture chill until it’s just right—too soft, and you’ll be chasing blobs around your kitchen; too firm, and it’s a workout. If it gets too cold, just let it warm at room temp a few extra minutes.
For rolling, lightly dust your palms with cocoa powder, or pop your hands in the fridge before you start—you’ll keep the truffles from getting sticky. The flavor is even better the next day, and these little beauties keep well, so don’t be shy about making them ahead.
Store your chocolate truffles in an airtight container in the fridge for maximum freshness. They also freeze beautifully, making them a godsend for party prep or last-minute chocolate emergencies.
Flavor Twists and Serving Ideas for Chocolate Truffles
Chocolate truffles are a blank canvas for every craving or season. If you’re feeling classic, cocoa powder or finely chopped nuts are a go-to. But don’t let tradition hold you back! Try rolling your truffles in toasted coconut, crushed freeze-dried raspberries, colorful sprinkles, or a dusting of espresso powder for a grown-up finish.
For holiday flair, stir in a drop of peppermint extract or a hint of cinnamon and chili for warmth. Swirl a spoonful of nut butter into your ganache, or tuck a roasted hazelnut into the center for a secret surprise.
As for serving, chocolate truffles love company. Top them on a platter with berries and fresh mint, use them to crown a bowl of ice cream, or stack them up as edible centerpieces for brunch. They’re dreamy as part of a dessert board, too.
If you’re making them ahead, keep the coated truffles refrigerated until ready to serve. For a glossy look, dip them in tempered chocolate just before party time. And if you’re feeling extra, finish with a sprinkle of flaky salt or gold dust for instant “wow.”
FAQs about Chocolate Truffles
How long can I store homemade chocolate truffles?
Homemade chocolate truffles will stay fresh in the refrigerator for several weeks if you keep them in an airtight container. For extra-long storage, you can freeze them for up to two months. Let them come back to room temperature before serving for the best texture.
Are chocolate truffles gluten-free or dairy-free?
Classic chocolate truffles are naturally gluten-free as long as your chocolate and add-ins are certified gluten-free. For a dairy-free version, use full-fat canned coconut milk instead of cream—just check the chocolate packaging, as some brands may contain milk.
Can I freeze chocolate truffles for later?
Absolutely! Chocolate truffles freeze very well. Place them on a tray to set, then transfer to a freezer-safe container with layers of parchment between. Thaw in the fridge overnight when you’re ready to serve.
What should I do if the truffle mixture is too soft or too firm to roll?
If your truffle ganache is too soft, let it chill in the refrigerator until it firms up enough to scoop easily. If it’s gotten too hard, simply leave it out at room temperature until it softens, giving it an occasional stir to check the texture.
There’s just something quietly magical about making chocolate truffles in your own kitchen—no candy store lines, no need to share (unless you really want to). The process is soothingly simple, yet feels like a special little gift to yourself. Whether you keep them stashed for midnight snacking or serve them up as a dazzling party finale, these chocolate truffles bring pure, melt-in-your-mouth joy every time. Just one silky bite and you’ll know exactly why they’re worth making on repeat.
More Delicious Recipes
- French Chocolate Truffles: These truffles provide a classic take on the indulgent treat with rich flavors reminiscent of French desserts.
- Salted Caramel Fudge Truffles: A delightful twist that combines the sweetness of caramel with a hint of salt for an irresistible taste experience.
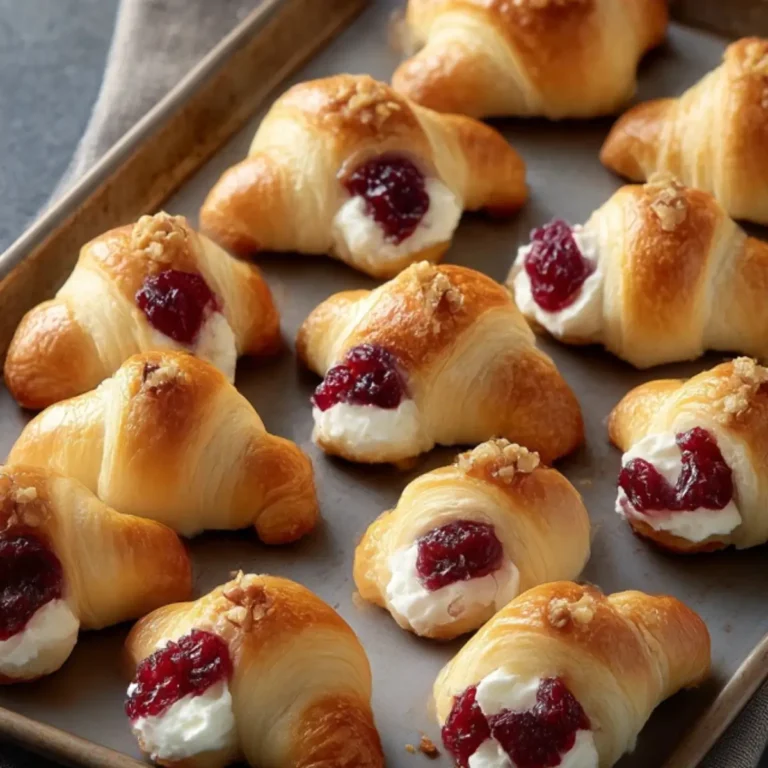
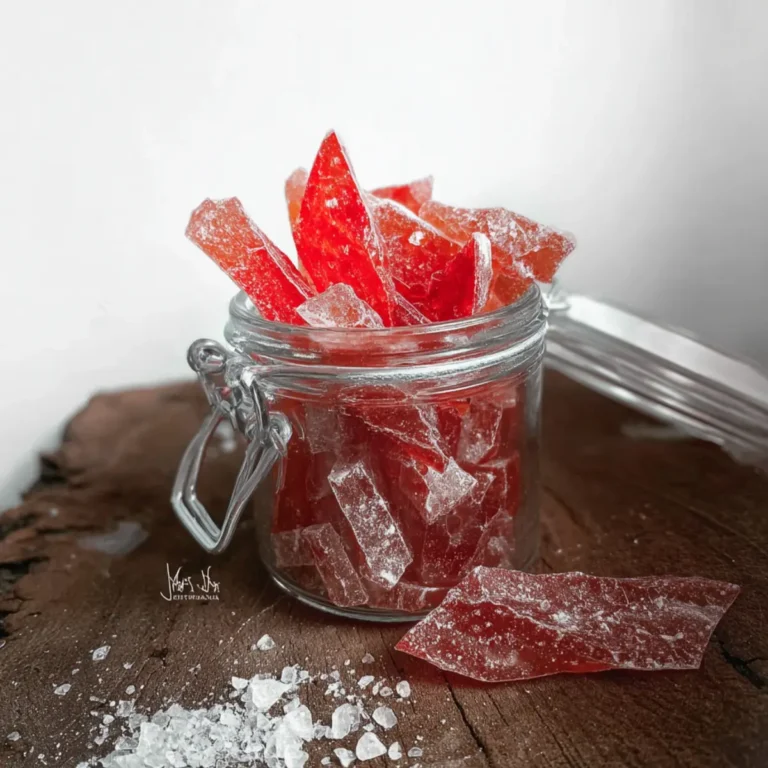
- Dark Jolly Rancher Candy Apples: While different in presentation, these treat apples offer a fun, fruity flair that adds a surprising element to any dessert table.
Chocolate Truffles
Ingredients
Method
- Chop chocolate finely so it will melt more quickly and evenly. If using coconut milk, be sure it’s the full-fat canned type. Heat the milk or cream just until it barely begins to boil. Pour over the chocolate, add the salt and vanilla if using, and stir until smooth. Refrigerate at least 2 hours, or until firm enough to scoop out and roll balls with your hands or a mini cookie scoop. If desired, roll truffles in cocoa powder, sprinkles, crushed walnuts or almonds, coconut, powdered sugar, or melted chocolate. Set on a parchment-lined plate, and refrigerate or freeze until ready to serve. Leftover truffles can be refrigerated for 1-2 months.