If you’ve ever had the store-bought kind and thought, “These are good, but I know they could be amazing,” you’re not alone. The first time I made homemade strawberry pop tarts, everything changed. Real fruit, crisp corners, and that unmistakable smell of buttery pastry baking? Kind of addictive.
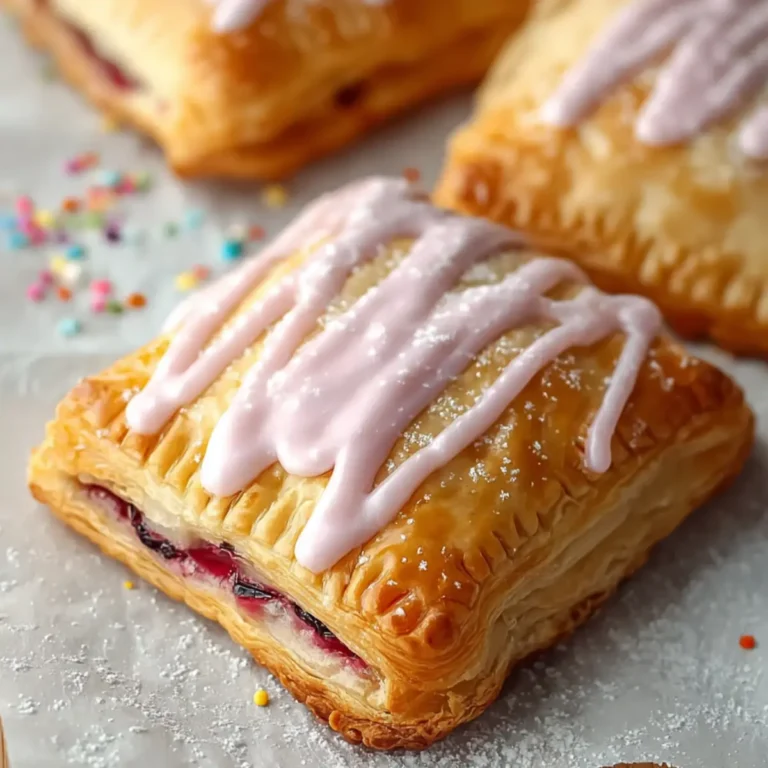
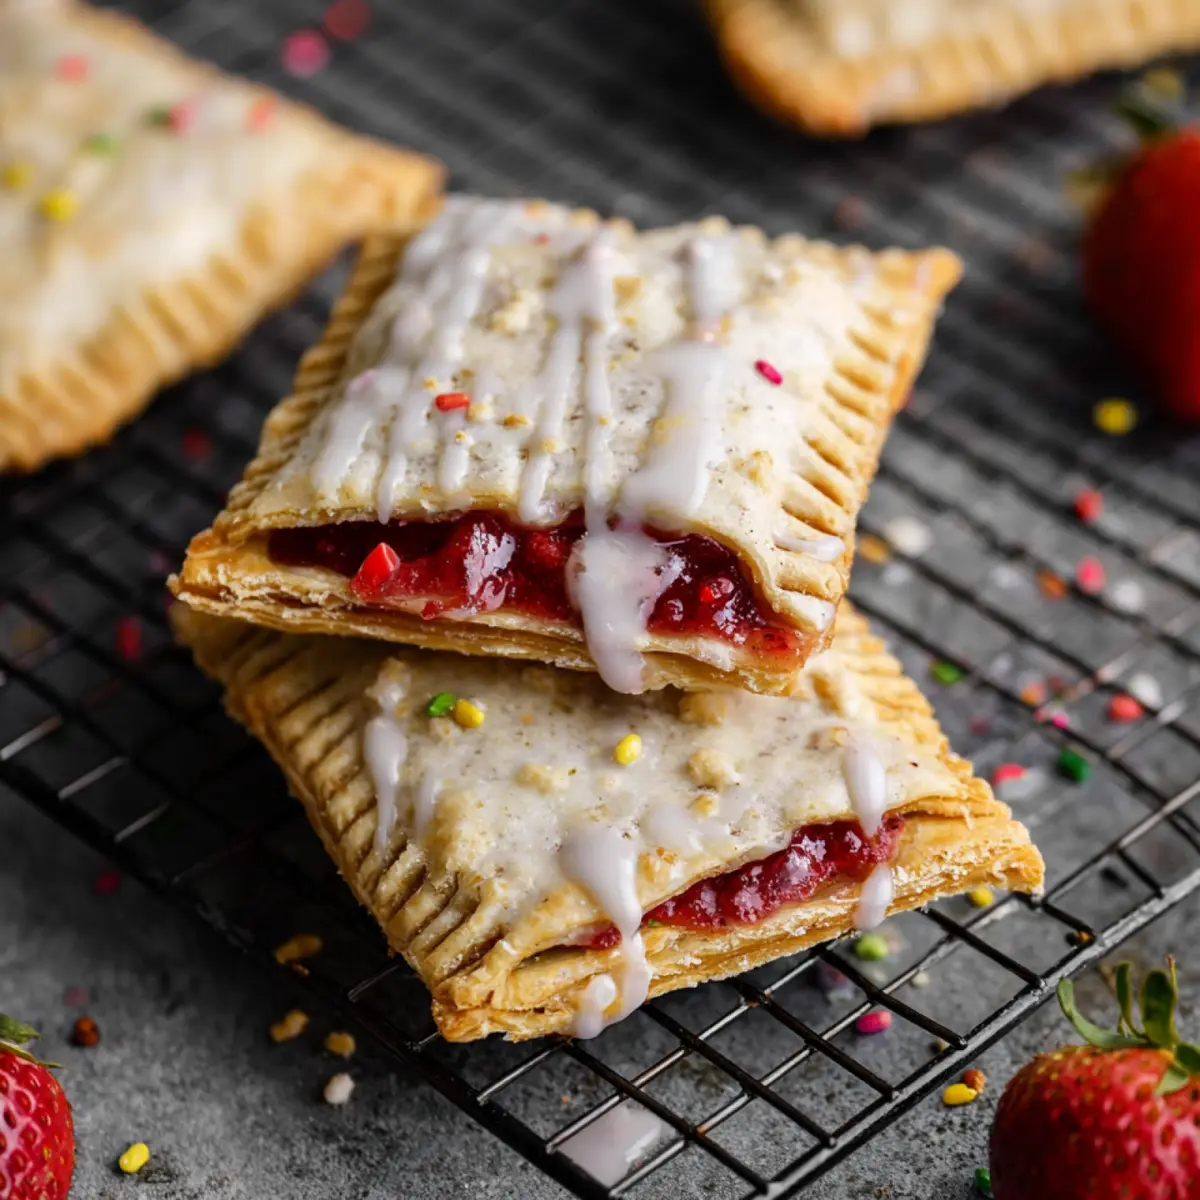
Biting into one, you get flaky crust giving way to a bright, tangy-sweet strawberry jam, topped with a creamy glaze and scattered sprinkles. These are the pop tarts you always wanted as a kid—but all grown up, and shockingly easy to make in your own kitchen. Trust me, there’s no comparison.
Why Homemade Pop Tarts Are So Worth It
When you bake pop tarts yourself, you’re instantly rewarded with a filling that tastes like summer—sweet-tart strawberries, layered inside a pastry that’s crisp, rich, and dangerously buttery. Unlike the boxed kind, every piece is packed with flavor and feels genuinely homemade.
Making these at home means you control the sweetness, you get to use real fruit (not jammy mystery goo), and the glaze is silky, never chalky. These homemade strawberry pop tarts always make brunch feel a little extra special, but they’re casual enough for a midday snack or a playful dessert. If you’ve got a hankering for nostalgia done right, you’re in for a treat.
Homemade Strawberry Pop Tarts: Ingredient Guide
- Flour: forms the backbone of the dough, giving structure and a tender bite.
- Sugar: adds just enough sweetness and helps the pastry brown up.
- Kosher salt: balances out the sweetness and sharpens flavors in the crust.
- Unsalted butter: key for a flaky, rich, melt-in-your-mouth pastry.
- Cold water: brings the dough together without activating too much gluten.
- Strawberries: provide the jammy, explosive fruitiness inside each bite.
- Honey: naturally sweetens the strawberry filling and gives it a warm depth.
- Lemon juice: brightens the jam, making the berries taste even more vibrant.
- Egg yolk: acts as a seal and gives structure to the pastry edges.
- Powdered sugar: makes the simple, creamy glaze.
- Milk: used in the glaze to get that perfect pourable consistency.
See the recipe card below for the full list of ingredients and measurements.
Smart Swaps for Different Needs
If you want to tweak your homemade strawberry pop tarts to fit your pantry or diet, there are lots of easy options. Need a gluten-free version? Use your favorite 1:1 gluten-free baking mix instead of standard flour—just keep a gentle hand with the dough since alternative flours can be less forgiving.
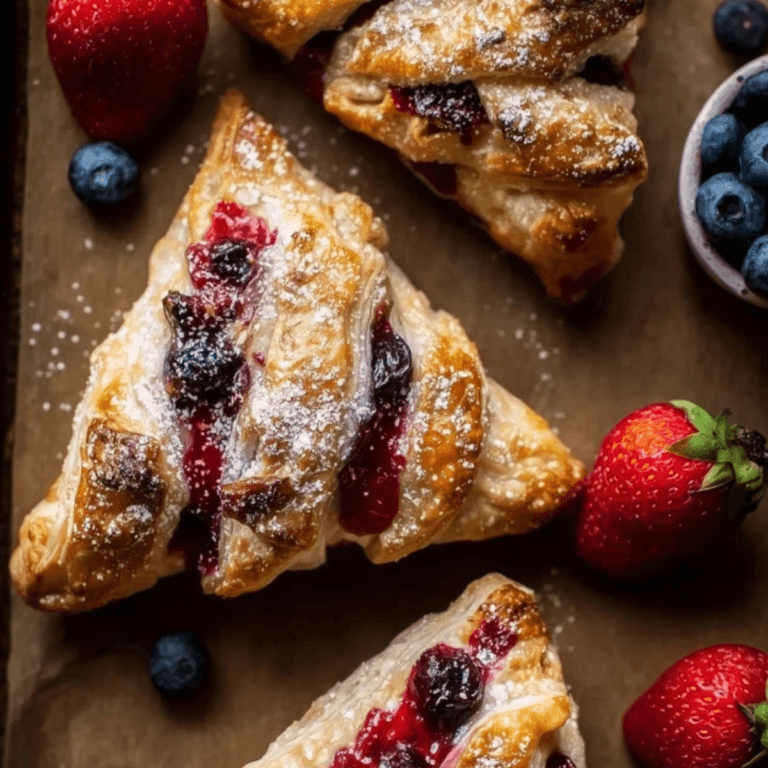
For a vegan treat, plant-based butter and a little plant milk can replace their dairy counterparts. Maple syrup or agave work in place of honey, and if strawberries aren’t in season, frozen ones (fully thawed and drained) work beautifully. No strawberries? Try raspberries, blueberries, or even cherries for your filling. The technique stays the same, but each fruit brings its own unique jammy punch.
Step-by-Step: How to Make Pop Tarts at Home
- Start by making your pastry dough. Pulse the dry ingredients with cold butter so you’re left with little pea-sized bits—a sure sign you’re on your way to those famously flaky layers. Once you add cold water, the dough will look a bit rough, but resist over-mixing. Chill it thoroughly so it’s easy to roll and holds its shape.
- While the dough chills, turn your attention to the filling. Blend up your berries with honey and lemon, then strain to lose as many seeds as possible. Cook the mixture over medium heat, stirring occasionally. When the jam thickens up and lets you see a trail at the bottom of the pan, let it cool—that’s when it’s just right for spreading.
- Next up: roll out the dough on a floured surface. You want it thin, but not so thin it tears. Hear a faint snapping sound when you peel it off your countertop? That means it’s ready for cutting.
- Cut the dough into rectangles—don’t worry about perfection, rustic edges have their own charm. Place a bottom piece onto a prepared baking sheet, drop a spoonful of strawberry filling in the center, and spread gently, leaving space around the edges.
- Brush around the filling with beaten egg yolk so the pastries seal well. Lay a second piece on top, press the edges together (use your fingers, then a fork for crimping), and dock the tops with a skewer or fork so steam can escape. This step keeps your pop tarts from exploding and adds that classic look.
- Bake until the pastry starts turning lightly golden with a hint of brown underneath. Let them cool—if you glaze while they’re warm, things get messy fast.
- Mix up a quick glaze with powdered sugar and just enough milk. Spread onto each cooled pop tart, add sprinkles if the mood strikes, and let everything set before digging in.
Little Secrets for Better Pop Tarts
Getting the ultimate flaky crust is all about cold butter and a gentle hand. If your kitchen is warm, pop your bowl and utensils in the fridge for a few minutes before starting. Always chill your pastry before rolling—warm dough equals tough pastry.
Don’t rush the jam; slow and steady reduction gives you a filling that’s thick, bright, and doesn’t leak. If crimping the edges feels fiddly, know that imperfect lines just add to the homemade vibe. And yes, glazed pop tarts dry best on a wire rack with a piece of parchment underneath for easy cleanup.
Store leftover homemade pop tarts in an airtight container at room temperature for a day or two; longer if you tuck them into the fridge. They reheat delightfully with a quick trip to the toaster oven—just skip reheating if glazed, as the icing will melt.
Pairing Ideas and Fun Variations
Pair your homemade strawberry pop tarts with a creamy latte or a tall, cold glass of milk for that classic breakfast feel. They also work beautifully as a lunchbox treat or afternoon snack, especially alongside a handful of fresh berries.
Feeling creative? Drizzle your glaze with a little lemon or orange zest for citrus vibes. Swap the filling for a handful of blueberries, raspberries, or go wild with a blended mix of stone fruits in late summer. Kids love a sprinkle of rainbow jimmies, while you might try freeze-dried berry dust or chopped pistachios for an adult twist.
To make ahead, prepare the unbaked pop tarts and freeze on a tray. Bake them straight from frozen—just add a few extra minutes in the oven. The finished pastries also freeze well, but hold off on glazing until after they’re thawed and ready to serve.
FAQs about Homemade Strawberry Pop Tarts
Can I use jam instead of fresh fruit in the filling?
Absolutely—you can use strawberry jam if you’re short on time. The texture will be a little softer since jam is usually runnier, but the results are still delicious and satisfyingly sweet.
What’s the best way to keep the crust flaky?
Keep all your ingredients cold, especially the butter and any liquids. If your dough ever feels too soft or sticky, pop it in the fridge for a quick chill before rolling to preserve those tender layers.
Are homemade strawberry pop tarts freezer-friendly?
Yes, they freeze beautifully! You can freeze unbaked pop tarts and bake straight from frozen, or freeze baked (unglazed) pop tarts and glaze after thawing for best results.
Can I make them without egg?
Yes—just skip the egg wash and use a bit of milk or cream to seal the pastry edges instead. Your homemade strawberry pop tarts might look a little less golden, but they’ll still taste wonderful.
Final Thoughts on Homemade Strawberry Pop Tarts
Once you try homemade strawberry pop tarts, it’s tough to go back to the boxed version. They’re fresh, fragrant, and completely customizable—perfect for weekend baking or as a nostalgic breakfast surprise.
Go ahead, get a little flour on your apron and enjoy transforming simple ingredients into something you’ll truly crave. You might find yourself making these pop tarts on repeat, just for that first perfect, jam-filled bite.
More Delicious Recipes
- Raspberry Almond Puff Pastry Danish: This pastry features a fruity filling similar to the homemade pop tarts, providing a delightful flavor experience.
- Strawberry Shortcake Truffles: These truffles offer a decadent strawberry flavor that pairs beautifully with the pop tart’s jammy filling.
- Breakfast Danish Pastries: Perfect for brunch, these pastries bring a light and flaky texture reminiscent of the homemade pop tarts.
Homemade Strawberry Pop Tarts
Ingredients
Equipment
Method
- In a food processor, pulse together flour, salt, sugar, and butter a few times, until the butter pieces are about the size of peas. Stream in the water, pulsing as you go.
- Move the dough to a bowl or lightly floured surface and gently knead into a ball – be careful not to overwork the dough. Wrap in plastic wrap and shape it into a rectangle that's about 1/2" thick. Place the dough in the refrigerator to chill for 2 hours.
- While the dough chills, blend your strawberries, honey, and lemon and strain through a fine mesh sieve directly into a saucepan to remove the seeds.
- Cook over medium heat for 20-25 minutes, until the strawberry mixture is reduced to the point where you can scrape the bottom of the pan and the jam takes a little while to run back together again. Move to a bowl to cool.
- Preheat oven to 300˚F and line a sheet pan with parchment paper.
- Divide your dough in half and roll into a roughly 14 x 14" square on a floured surface. You should just barely be able to see the lines of your silpat or work surface through your dough, which should be about 1/8" thick. Make sure your surface is well floured, and sprinkle some flour on the dough before rolling.
- Cut the dough into roughly 3.5 x 4.75" rectangles. You'll need to two for each pop tart. Combine your scrap dough and roll out again to minimize waste.
- Spoon about a tablespoon of filling into each pop tart, then spread into a thin layer, leaving about 1/3" around the border. Beat an egg yolk and brush around the border of the jam. Dock the tops of your pop tarts with a skewer or a fork, then place over the bottom, and press down and then crimp the sides.
- Bake for 30-35 minutes. They should be very lightly browned when you take them out, and the bottoms browned slightly.
- Whisk together powdered sugar and milk until a thick glaze forms. Let pop tarts cool, then spread ~1 tbsp glaze on each pop tart and top with sprinkles.