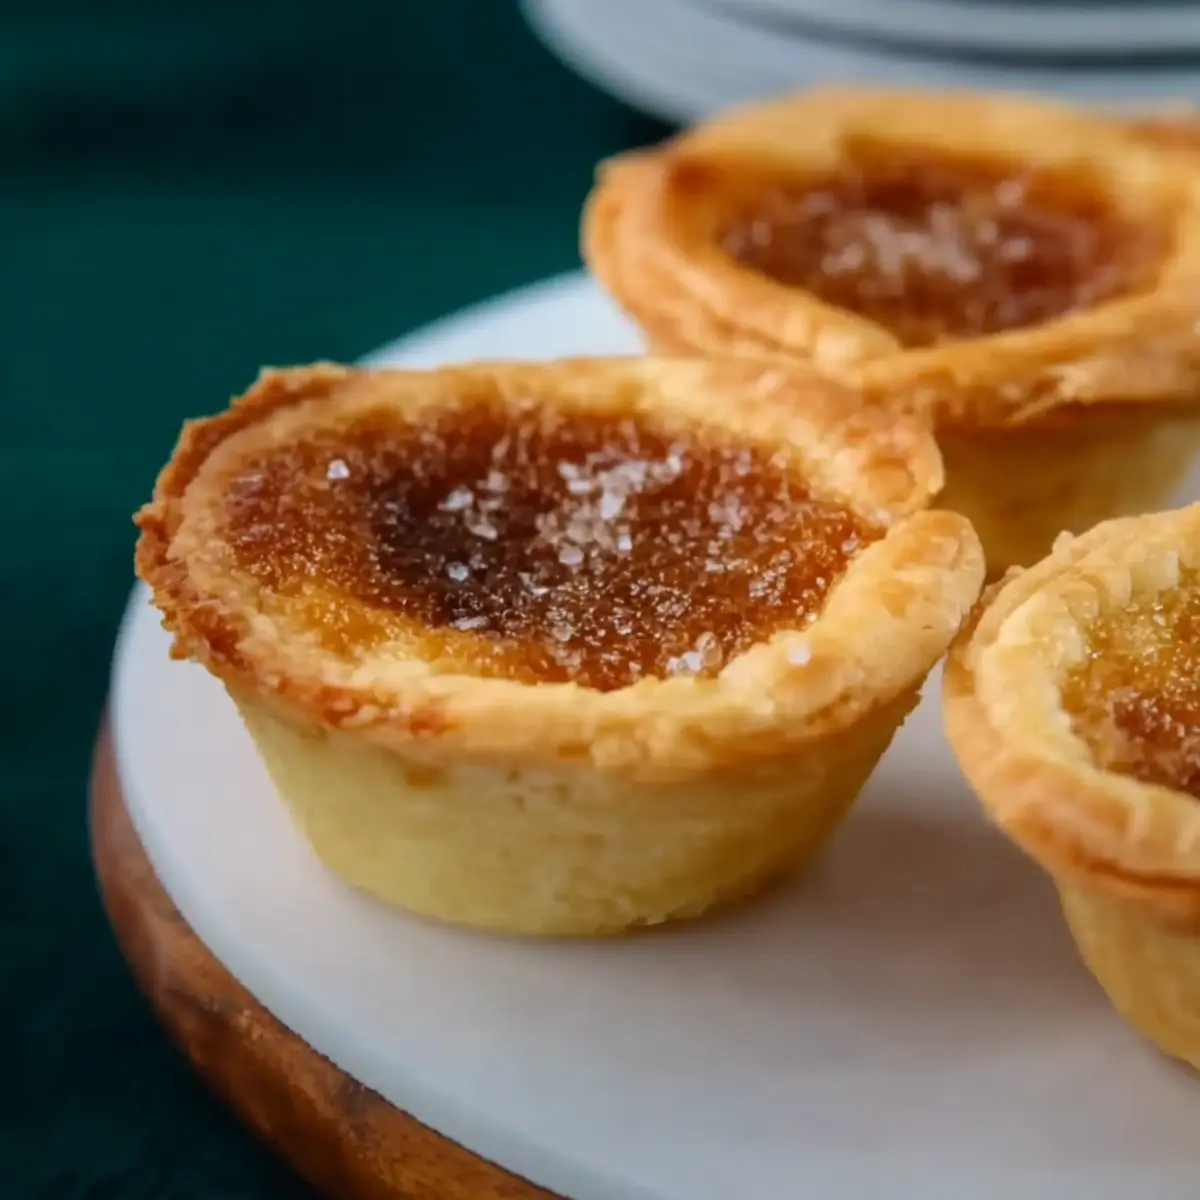
If you’ve ever tasted Mom’s Old Fashioned Butter Tarts warm from the oven, you know why I can never resist making them come the cooler months. There’s something so nostalgic about the scent of caramelizing butter and brown sugar drifting through the house. Even before that first taste, just seeing them puffed and glossy in their tins sparks a whole tumble of memories—hands sticky from sampling the filling, the crinkle of cooling pastry, always that one tart that leaks just a little… and always vanishes first.
Making these butter tarts is more than just following a recipe. It’s a little ritual in dough rolling and filling whisking, punctuated by stolen tastes of that sweet, velvety mixture. The best part? When the crust shatters under your fork and the filling oozes out, sticky and just barely set, with edges caramelized but the center gooey. Add raisins if you like—there’s a whole family feud in my house over that—but trust me, either way is pure, buttery joy.
When Mom’s Old Fashioned Butter Tarts Steal the Show
If you ask me, there’s no dessert that divides a room—then brings everyone back together—like Mom’s Old Fashioned Butter Tarts. It’s never just about the taste (though, oof, that sugar-butter hug in every bite!); it’s how they show up at every gathering, from holiday feasts to quick coffee catch-ups. Someone always claims “I’m only having one,” but that resolve melts faster than the pastry in your mouth.
I can picture it: a plate slipped onto the table, those golden, sticky tarts glistening. Neighbors lean in. Kids hover—not too subtly. Even the “I don’t really eat dessert” folks eye the stack, then quietly tuck one away. That’s the real power of a butter tart. It turns a regular Tuesday night or a raucous holiday weekend into something quietly special. They may look unassuming, but trust me—once that tray comes out, these tarts don’t just share the spotlight; they own it.
The Ingredients That Transform Butter Tarts from Simple to Stunning
It’s remarkable how a handful of kitchen staples can cast such a rich spell. The real secret to a great butter tart is quality ingredients and a little patience.
- Flour – forms the backbone of a crisp, delicate pastry; all-purpose is best, but you can swap for a 1-to-1 gluten-free blend if needed.
- White sugar – softens the dough’s flavor and helps the crust brown just right without excess sweetness.
- Salt – don’t skip it; a pinch keeps the pastry and filling from tasting flat.
- Unsalted butter – essential for both crust and filling; using it cold in the dough gives a flaky bite, while softened butter melts into that heavenly gooey center.
- Water (chilled) – keeps pastry tender and easy to work with; ice-cold water is a tiny trick for the best results.
- Light brown sugar – brings a subtle toffee tone to the filling; you can experiment with dark brown sugar for extra depth, but it’ll make the tarts richer.
- Corn syrup – gives that classic glossy, chewy filling and helps everything hold together (honey or golden syrup can be subbed for a twist, but the flavor will shift a bit).
- Eggs (beaten) – these add structure, so the filling sets without losing its luscious, slightly runny heart.
- Vanilla extract – just a dash to round out the butter and sugar flavors with a gentle warmth.
See the recipe card below for the full list of ingredients and measurements.
From Chilled Dough to Bubbling Filling: Building Each Layer by Hand
There’s real comfort in making tarts the old-fashioned way, letting each small step layer flavor upon flavor. For me, it always starts with the dough—cold butter, sifted dry ingredients, and minimal fuss. You want each cube of butter coated in flour, not melted or manhandled. Fingers work just as well as a pastry blender, honestly, as long as you move quickly and keep things as cool as a winter windowpane. When the dough just starts to come together (barely sticking, but not sticky), you’re on the right track.
Wrapping it up and letting it chill for a while isn’t just optional; it’s mandatory if you want those flaky layers. There’s no faking that snap when the pastry is treated right.
Rolling is half the fun—just enough flour on your countertop, gentle but firm pressure, and roll until it’s about as thick as a maple leaf. Cutting perfect circles isn’t the point. If the rounds are rustic and a bit irregular, your butter tarts will look hand-crafted, which (between us) always draws more praise than those factory-perfect ones.
Press the dough into greased muffin tins, careful not to stretch or tug—just nudge it in so the edges stand up straight. Now, for the filling: mix up the softened butter, brown sugar, and corn syrup until silky. The sugar should vanish into the swirl. That’s when you beat in the eggs, vanilla, and just a hint of salt. If you’re feeling traditional or simply can’t resist a debate, stir in a generous handful of raisins at this point.
Spoon the filling into each shell—not too full or you’ll have caramel volcanoes (delicious but messy). Fill just until you see that line where pastry meets filling, and stop there.
Bake them hot until the filling is bubbling and the pastry edges are golden, about the time your kitchen smells like you’re inside a buttery cloud. Let them rest in the tins until the bubbling quiets down—this helps the centers set up just enough so you don’t lose all your filling to the cooling rack.
Texture, Flavor, and That Sticky Bite of Butter Tarts
What sets these tarts apart isn’t just the ingredients—it’s the experience you get from that first, slightly greedy bite. The pastry is crisp, shattering between your teeth before melting away. The filling beneath is the real prize: gooey, rich, and so buttery it feels almost lawless. There’s a lovely contrast between the chewy, caramelized edges and the still-soft, almost pourable center.
When you include raisins, they plump and burst, offering small hits of tanginess inside the sea of sweetness. Without them, it’s a whisky-smooth ride all the way through. Each bite is the push-and-pull of sugar and salt, flaky and fudgy, simple but somehow never plain.
If there’s any better advertisement for making enough to eat two, I haven’t found it.
Little Details That Define a Truly Classic Batch of Butter Tarts
Tiny tweaks, small pauses—these are the moves that push your butter tarts from “pretty good” to crave-worthy. Always let the dough chill fully; it stops the butter from melting early and keeps the crust crisp. Don’t overwork the dough—once it holds together, walk away.
Watch your filling amount. Overfilling leads to bubbling lava all over the muffin tin. The right amount gives that iconic, domed look with glossy centers. If you want your tarts extra gooey, take them out of the oven when the filling still jiggles in the center. If you crave a firmer set, wait until the bubbling dies down and the top looks barely golden.
Try swapping raisins with chopped pecans if you’re hunting for a nutty twist, or leave out add-ins altogether for a purist’s touch. Golden syrup in place of corn syrup will nudge the flavor subtly, edging it closer to treacle tart territory.
For leftovers—if they happen—store in an airtight container at room temperature for a day or two. After that, tuck them into the fridge. A quick blast in the microwave brings back the ooze, but if you ask me, cold butter tarts with morning coffee are a delight of their own.
Serving Butter Tarts When One Is Never Enough
Butter tarts rarely need an elaborate setup—they do the heavy lifting all on their own. If you want to dress them up, a little dollop of softly whipped cream (not too sweet) is perfect. I’ve even served them with a scoop of vanilla ice cream on the side for full cozy decadence.
There’s no wrong time for these: stack them on a holiday dessert tray, tuck them into lunchboxes, or pass them around at a summer picnic. They travel like a dream, which makes them popular as a “I’ll just bring dessert” move. If you want a heartier edge, pair them with a mug of black tea or a bold, dark coffee—the sweetness levels out in the best way.
Warm from the oven is top tier, of course, but letting them cool until just barely warm yields the best texture, with every bite holding together—until you get to that syrupy puddle at the bottom.
FAQs about Mom’s Old Fashioned Butter Tarts
Can Mom’s Old Fashioned Butter Tarts be frozen for later?
You can freeze butter tarts successfully, as long as you let them cool completely and wrap each tart snugly in plastic wrap. Tuck them into an airtight container—they’ll keep for up to two months. Thaw at room temperature before serving or gently warm in the oven.
What’s the best substitute for corn syrup in butter tart filling?
If you don’t have corn syrup, golden syrup is a great swap and adds a richer, slightly caramel flavor. Honey can also work, though your tarts will have a distinct floral note. Try to avoid pancake syrup, as it’s often too thin and too strongly flavored.
How should I store Mom’s Old Fashioned Butter Tarts to keep them fresh?
Once cooled, store butter tarts in a sealed container at room temperature for up to two days. For longer storage, refrigerate them. To enjoy later, reheat in a low oven or microwave for a few seconds to bring back that signature gooey filling.
Can I make Mom’s Old Fashioned Butter Tarts ahead of time for a party?
Absolutely! The pastry can be made and shaped ahead, covered in the muffin tin, and chilled for a day. The tarts themselves can be baked a day in advance; just keep them sealed in an airtight tin. Serve at room temperature or slightly warmed for best results.
Mom’s Old Fashioned Butter Tarts aren’t just a dessert—they’re a little bit of sweet, sticky nostalgia served with every flaky, golden shell. Every bite is rich and buttery, bursting with simple ingredients and old-fashioned comfort. Honestly, nothing compares to the sound of a fork breaking the browned crust and hitting that warm, gooey center. Whether you serve them for a special occasion or just because you feel like celebrating the everyday, these tarts turn any moment into something a little extraordinary. So go ahead—pour a cup of coffee, share with friends (or don’t!), and enjoy what home baking is all about.
More Delicious Recipes
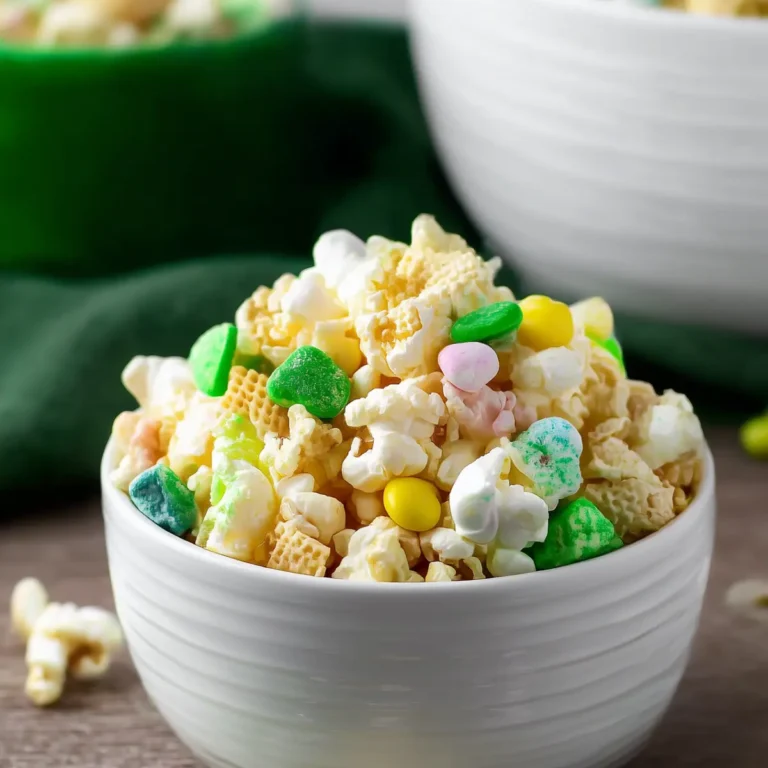
- Christmas Eve Snack Mix: This sweet and salty snack mix captures the festive spirit, making it a delightful treat alongside your homemade butter tarts.
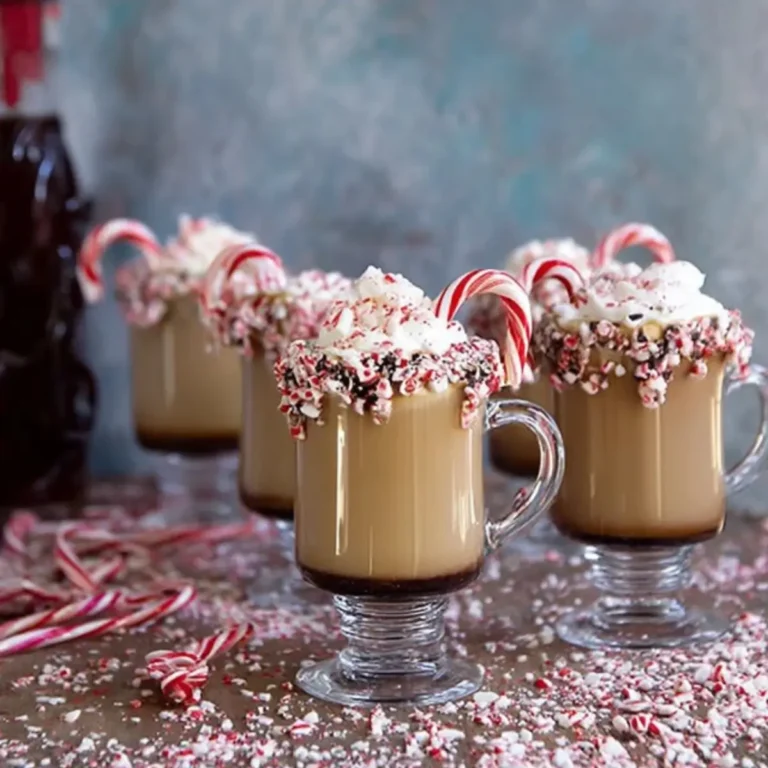
- Peppermint Hot Chocolate: Enjoying a cozy cup of peppermint hot chocolate complements the rich flavors of butter tarts perfectly during chilly months.
- Cider Braised Pot Roast: This hearty dish is ideal for warming up on cool days when you’re baking butter tarts for dessert.
Mom's Old Fashioned Butter Tarts
Ingredients
Equipment
Method
- In a mixing bowl, sift the flour, salt and sugar together.
- Using a pastry blender or your hands, cut the butter into the flour mixture until it resembles coarse meal. Add the cold water a bit at a time until the dough just starts to hold together.
- Press the dough together and shape it into a disk. Wrap the dough in plastic wrap and refrigerate for at least 30 minutes.
- Roll out the dough to about 1/8 inch thick and cut 4-inch circles. Press dough in greased muffin cups trying not to stretch the dough too much.
- Preheat the oven to 400°F.
- In a large bowl, mix together the butter, brown sugar and corn syrup. Stir until butter is creamed and sugar is dissolved.
- Add the eggs, vanilla extract and salt. Optionally add raisins. Mix well.
- Fill each tart shell with the butter filling. Each tart should hold about 1 tablespoon of filling, Be careful not to overfill!
- Bake for 15-20 minutes. The filling should be lightly browned and still bubbling.
- Let the tarts cool in the pan for about 10 minutes before transferring them to a cooling rack.