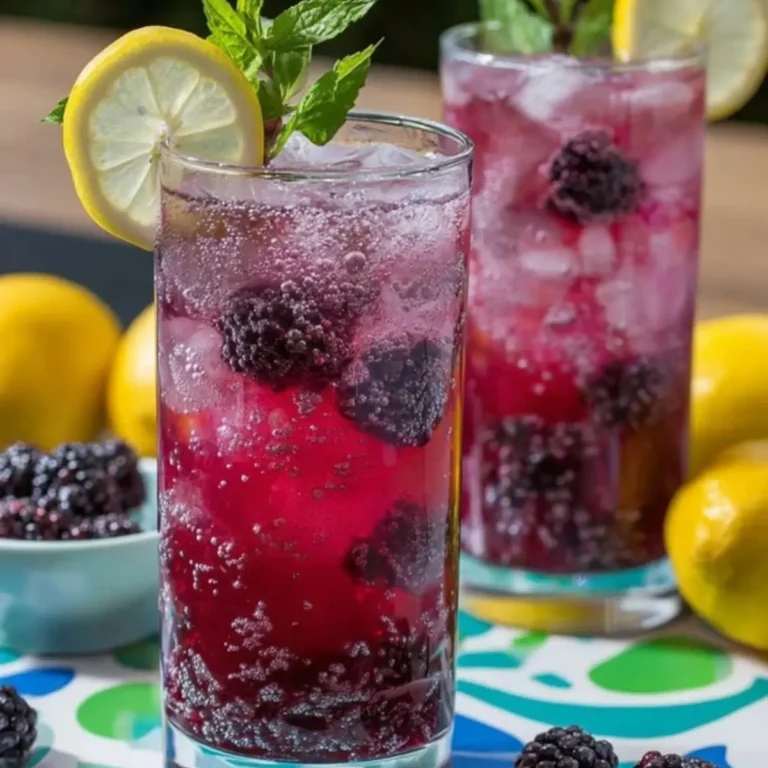
If you grew up snacking on brightly colored licorice ropes from the corner store and dreaming of tasting every flavor under the rainbow, then making Homemade Kool-Aid Licorice is basically a nostalgia trip in your own kitchen. The first time I whipped up a batch, my kitchen filled with that telltale fruity cloud—a swirl of sweet, almost electric scent that set everyone wandering in, curious. It’s part mad science, part classic candy-making, honestly.
Every strip has this playful, chewy bite—there’s a bounce to the texture that just feels right under your teeth. And the colors? They’re impossible to miss. Vivid purples, punchy pinks, even a startling electric blue if the mood strikes you. This is what happens when you decide Kool-Aid flavors are way too good to be left just for drinks.
What I love most about this recipe is just how hands-on (and a little messy) it gets. You start with bubbling syrup and finish by slicing up snappy, jewel-toned licorice pieces you can pile into a jar—or sneak straight from the tray. Each flavor has its own mood: tropical, tangy, classic cherry, or an eye-popping blue raspberry that never gets old. Grab a saucepan and prep yourself for a little throwback magic.
Making Candy Memories with Homemade Kool-Aid Licorice
When the craving for something sweet lands, there’s something extra special about rolling out a batch of chewy, homemade licorice—especially when it’s amped up with bright, tangy Kool-Aid flavors. There’s a sort of kitchen theater to it: bubbling syrup, vivid powders, the gradual transformation as everything comes together. Honestly, making Homemade Kool-Aid Licorice never fails to create a bit of childlike wonder, even for the designated “grown-ups” circling the mixing bowl.
This isn’t just a recipe; it’s a hands-on, color-splattered experiment. Each time you slice open that pan of glistening licorice, you’ll get a hit of nostalgia and satisfaction that’s tough to match with anything store-bought. I’ve found it’s impossible to resist watching people pick over the jelly-bright strips for their favorite color—everyone has a signature Kool-Aid pick, and that’s half the fun.
The Ingredients That Create Every Fun Batch
Even classic candies like these don’t need complicated lists, just the right staples tweaked for a blast of fun.
- Sugar – forms that all-important sweet, glassy backbone for your candy and balances out tart flavors.
- Water – gives your syrup body and helps everything meld into that signature stretchy texture.
- Kool-Aid (any flavor) – this is your flavor artist: whether you pick grape, cherry, or something wild, it’s what gives each batch its burst of character and color.
- Unflavored gelatin – the secret to that perfect licorice chew, turning liquid syrup into long, bouncy strips.
- Citric acid (optional) – adds a sour, almost puckery edge if you’re after a little extra zing (think of those sour belts everyone loved as a kid).
See the recipe card below for the full list of ingredients and measurements.
The Candy Process: Getting Your Hands Sweet and Sticky
Turning these everyday pantry items into Homemade Kool-Aid Licorice is more about timing and feel than anything else. You don’t need fancy gadgets—just a sturdy saucepan, a solid spoon, and a bit of patience.
- Start by setting your saucepan on medium heat and pour in your sugar and water. Stir as the mixture comes up to a gentle boil—the goal here is that smooth, glass-clear syrup where no gritty sugar remains on the bottom. You’ll know it’s ready when it turns almost glossy and runs clean off your spoon.
- Lower the heat and sprinkle in the Kool-Aid, quickly followed by the pile of unflavored gelatin. This part demands constant stirring—watch as the powders disappear and the hue deepens, turning your syrup into a vibrant, opaque color. Don’t walk away, as gelatin loves to cling and clump otherwise.
- If you want a sour punch, sprinkle in some citric acid now, stirring until it’s completely dissolved. You’ll get an intense, almost tangy smell wafting up—always makes me grin.
- Once you’re convinced everything’s dissolved and the syrup feels slightly thick, pour the hot mixture straight into a lightly greased baking pan. It should settle into an even layer, ready to chill and set. Let the pan take a trip to your fridge for a couple of hours. Resist poking it! The wait is what earns you that satisfyingly elastic bite.
- Once it’s nice and firm, pop the sheet out onto a clean cutting board. This is the playful bit—slice the licorice into thin ropes, chunky strips, or any odd fun shape. The pieces should bend without breaking and have a springy snap that’s pure childhood energy.
Texture, Flavor, and the Pop of Homemade Kool-Aid Licorice
If you’re chasing that perfect chew—somewhere between classic licorice and gummy bears—this recipe lands right on target. The gelatin transforms the syrup into pliable, bouncy candy that stands up to a real bite. Tear a strip and you’ll see what I mean: it stretches just enough before giving way with a soft, satisfying snap. It never feels rubbery or tough—just that sweet spot.
Each flavor of Kool-Aid brings its own personality: grape is grapey in a candy way, cherry is bright and punchy, and anything citrusy seems to practically glow. There’s a playful acidity, especially if you’ve dusted in some citric acid. And the colors—those vivid, candy-shop brights—are a joy themselves. There’s really no disguising these on a snack tray, so embrace the rainbow and let people choose their favorites.
Tricks, Tweaks, and Serving Ideas for a Licorice Party
Getting that smooth, taut batch of Homemade Kool-Aid Licorice is more about rhythm than perfection. Keep these tricks in your back pocket:
- If you want extra-smooth licorice, make sure every last grain of sugar has dissolved before adding anything else. Grainy syrup means grainy candy.
- Don’t let the mixture boil too fiercely after adding the gelatin or Kool-Aid—it can get foamy or develop an odd texture if overheated.
- Mix up flavors by splitting the batch between pans and swirling in two colors—it creates bright, striped licorice that’s as fun to look at as it is to eat.
- For an even tangier sensation, roll the cut strips in a dusting of citric acid and a little sugar just before serving.
- Licorice likes to dry out, so stash leftovers in an airtight container—somewhere cool and out of the sun. That’ll keep them bouncy rather than brittle for a week or more.
- Planning a party? Cut the pan into bite-sized squares and toss them together in a big bowl. They never last long, but if you want to make ahead, chill everything overnight and slice fresh the next day for best texture.
FAQs about Homemade Kool-Aid Licorice
How should I store Homemade Kool-Aid Licorice to keep it fresh?
Your licorice will stay soft and chewy tucked away in an airtight container at room temperature. If your kitchen runs especially warm or humid, store it in the fridge for extra bounce. Licorice tends to dry out and turn stiff if left exposed to air for too long.
Can I swap the Kool-Aid powder for another flavor powder?
Absolutely—it’s fine to use any powdered drink mix you like, provided it’s unsweetened and mixes up vibrantly. Just be cautious, since some brands may be less concentrated or offer different shades and flavor strengths.
Is it possible to freeze Homemade Kool-Aid Licorice for later?
You can freeze your homemade licorice, though the texture may firm up a bit once thawed. Layer pieces between sheets of baking paper and seal tightly. Thaw in the fridge for best results, as returning to room temperature gently helps avoid condensation.
What are some creative ways to serve or present Homemade Kool-Aid Licorice?
Cutting the licorice into fun shapes or braiding ropes together makes for a striking candy platter, especially with lots of vivid colors. They work well as party favors or lunchbox treats, or try adding tiny pieces to ice cream sundaes or birthday cake toppers for a punchy, playful touch.
There’s something infectious about the whole process of making Homemade Kool-Aid Licorice: the bright powders, the wild colors, and that unmistakable sweet-tangy scent wafting through the kitchen. This is the kind of recipe that makes you want to call the family in, pass around the pan, and share in the playful joy of picking out a favorite flavor. The chewy bite and dazzling colors are pure nostalgia, and honestly, there’s never a wrong time to whip up a batch just for the fun of it.
More Delicious Recipes
- Loaded Leprechaun Popcorn: This colorful treat shares a playful, vibrant spirit that complements the fun of making Kool-Aid Licorice.
- St Paddy’s Mint Cheesecake Cups: These sweet mini desserts add a twist of flavor and color, making them great for parties alongside your licorice.
- Easter Egg Fruit Pizza: Bursting with bright colors and fruity flavors, this fun dessert pairs perfectly with the nostalgic vibes of homemade licorice.

Homemade Kool-Aid Licorice
Ingredients
Equipment
Method
- In a saucepan, combine sugar and water. Bring to a boil over medium heat, stirring until sugar is dissolved.
- Add Kool-Aid and gelatin. Stir constantly until gelatin is completely dissolved.
- If desired, stir in citric acid for extra sourness.
- Pour mixture into a lightly greased 9x13 inch pan. Let set in the refrigerator for at least 2 hours, or until firm.
- Cut into strips or desired shapes and enjoy!