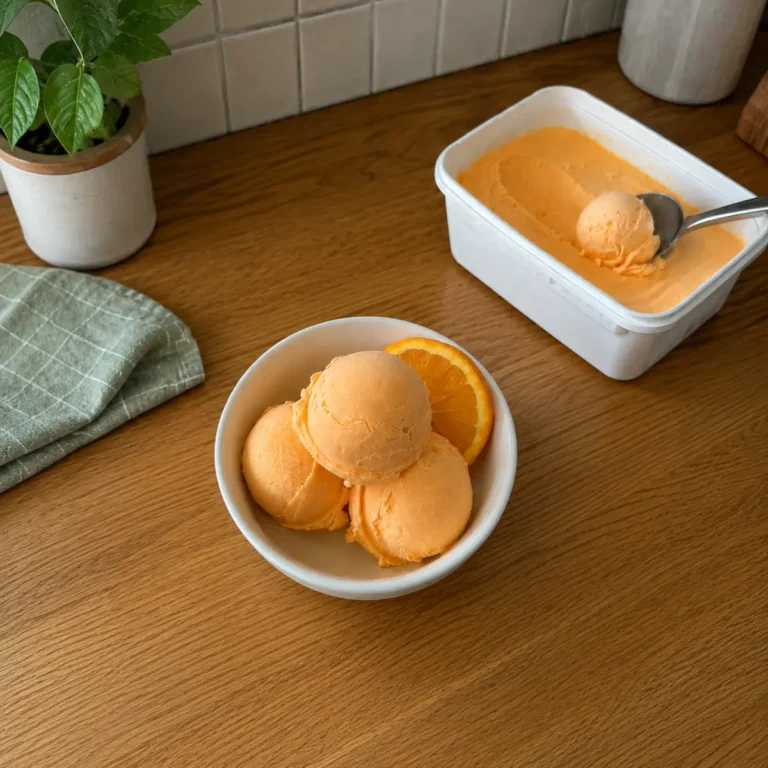
Vanilla ice cream is a timeless treat that never goes out of style. With its creamy texture and rich vanilla flavor, it’s the perfect dessert for any occasion. Whether you’re enjoying a scoop on a hot summer day or topping off a warm slice of pie, this homemade version will make every bite memorable.
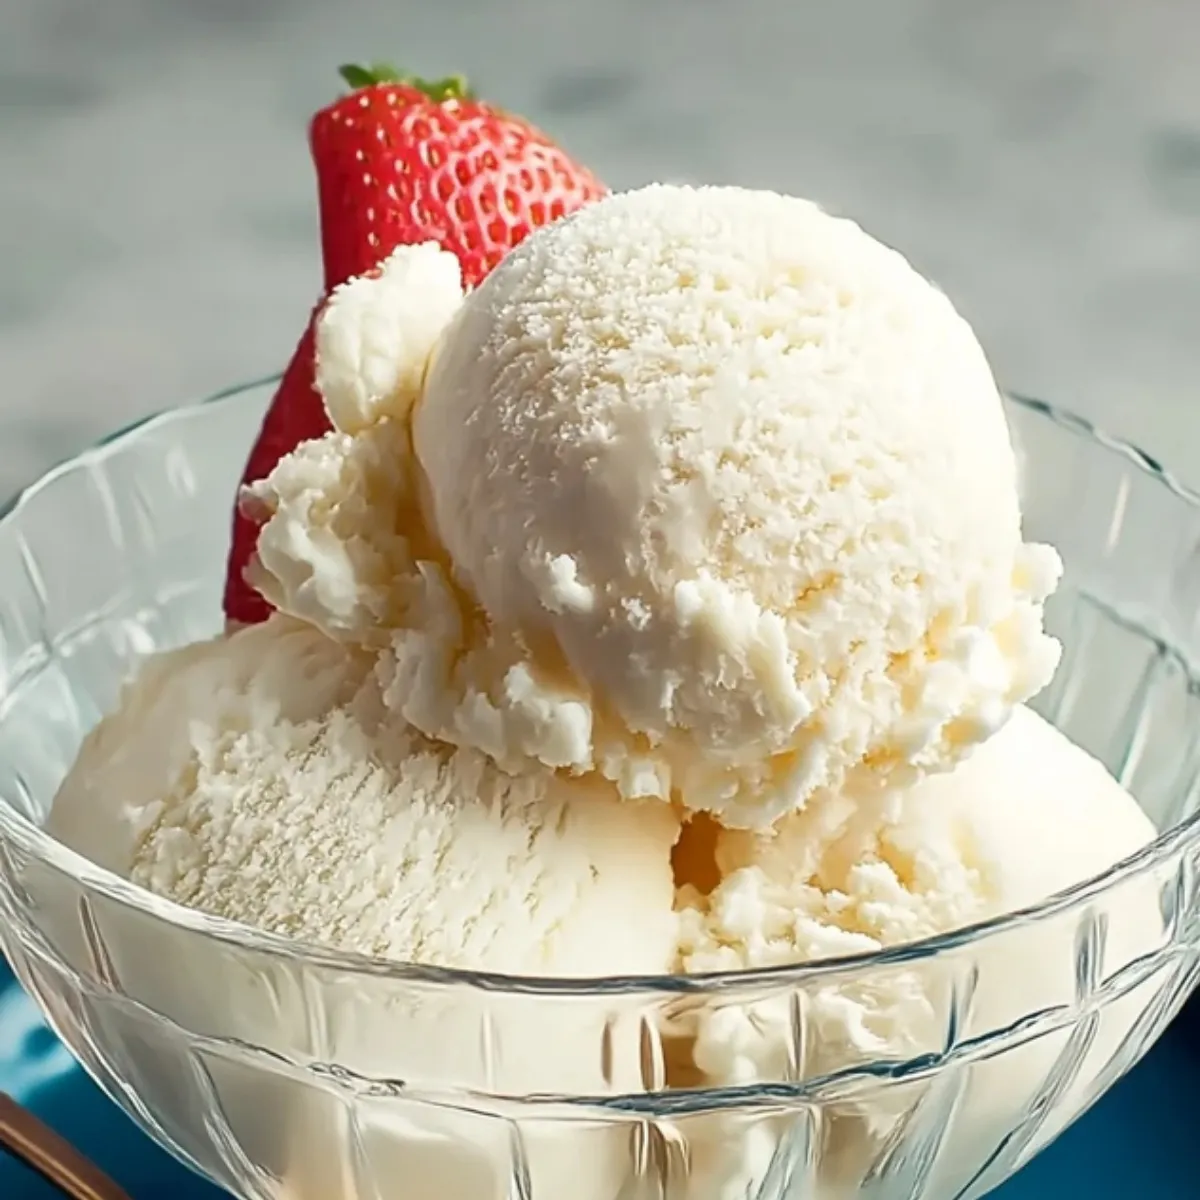
Table of Contents
A unique, recipe-specific section about what makes it great
This Vanilla Ice Cream recipe stands out due to its simplicity and use of high-quality ingredients. The balance between the creamy texture and the pure vanilla flavor is exquisite, making it a versatile base for various toppings. It’s perfect for both casual and formal desserts. By controlling the level of sweetness, you allow the vanilla notes to shine through, creating an elegant, refreshing dessert.
Equipment you’ll use
- Medium saucepan
- Whisk
- Heatproof bowl
- Plastic wrap or lid
- Refrigerator
- Ice cream maker
- Airtight container
Ingredients
- 1 1/2 cups heavy cream
- 1 1/2 cups whole milk
- 2/3 cup cane sugar
- 2 teaspoons vanilla extract
- 1/8 teaspoon sea salt
Step-by-step instructions
- Warm the Base: In a medium saucepan, whisk together the heavy cream, whole milk, cane sugar, vanilla extract, and sea salt. Heat the mixture over medium-low heat, stirring frequently until the sugar completely dissolves, about 5 minutes.
- Chill the Mixture: Pour the warm mixture into a heatproof bowl. Cover it with plastic wrap or a lid, and place it in the refrigerator. Let it chill for at least 2 hours or overnight for deeper flavors.
- Churn the Ice Cream: Once the base is thoroughly chilled, give it a quick stir. Pour it into your ice cream maker and churn according to the manufacturer’s instructions. This usually takes about 20 to 30 minutes until it thickens.
- Freeze to Firm Up: Transfer the churned ice cream to a quart-sized airtight container. For a firmer texture, place it in the freezer for an additional 2 to 4 hours.
Tips, troubleshooting, and common mistakes
- Grainy Texture: If the sugar isn’t fully dissolved during heating, it can lead to a grainy texture. Ensure the mixture is smooth before chilling.
- Over-churning: Be careful not to over-churn the ice cream as it can become too dense. Stop once it reaches the desired consistency.
- Freezer Burn: To avoid freezer burn, press plastic wrap directly onto the ice cream surface before sealing the container.
Pairing ideas and variations
- Pairings: Serve with fresh fruit, like strawberries or peaches. It also complements rich, chocolatey desserts perfectly.
- Flavor Variations: Add a splash of almond extract for a subtle twist, or swirl in some fudge or caramel for added richness.
FAQs about Vanilla Ice Cream
Can I make Vanilla Ice Cream without an ice cream maker?
How can I prevent my Vanilla Ice Cream from getting icy?
Can I use a different type of vanilla in my Vanilla Ice Cream?
Conclusion
Crafting this homemade Vanilla Ice Cream is a delight that’s well worth the effort. As the creamy mixture churns, the kitchen fills with the comforting scent of fresh vanilla, promising a treat that’s every bit as indulgent as you’d hope. Once scooped, the silky texture and the gentle, luscious flavors offer pure bliss. Enjoy it as a solo act or with your favorite dessert, and watch it steal the show every time.
Discover More Recipes
- Banana Pudding: A creamy dessert with layers of vanilla flavor, perfect for pairing with homemade vanilla ice cream.
- Oreo Truffles: These rich chocolate treats complement vanilla ice cream wonderfully, creating a delightful dessert duo.
- Caramel Apple Dump Cake: A warm dessert that pairs beautifully with cold vanilla ice cream for a classic contrast.
Vanilla Ice Cream

Vanilla ice cream is a timeless treat that never goes out of style. With its creamy texture and rich vanilla flavor, it’s the perfect dessert for any occasion. Whether you’re enjoying a scoop on a hot summer day or topping off a warm slice of pie, this homemade version will make every bite memorable.
- Prep Time: 15 minutes
- Cook Time: 50-60 minutes
- Total Time: 1 hour 15 minutes
Ingredients
- 1 1/2 cups heavy cream
- 1 1/2 cups whole milk
- 2/3 cup cane sugar
- 2 teaspoons vanilla extract
- 1/8 teaspoon sea salt
Instructions
- Warm the Base: In a medium saucepan, whisk together the heavy cream, whole milk, cane sugar, vanilla extract, and sea salt. Heat the mixture over medium-low heat, stirring frequently until the sugar completely dissolves, about 5 minutes.
- Chill the Mixture: Pour the warm mixture into a heatproof bowl. Cover it with plastic wrap or a lid, and place it in the refrigerator. Let it chill for at least 2 hours or overnight for deeper flavors.
- Churn the Ice Cream: Once the base is thoroughly chilled, give it a quick stir. Pour it into your ice cream maker and churn according to the manufacturer’s instructions. This usually takes about 20 to 30 minutes until it thickens.
- Freeze to Firm Up: Transfer the churned ice cream to a quart-sized airtight container. For a firmer texture, place it in the freezer for an additional 2 to 4 hours.
Notes
- Grainy Texture: If the sugar isn't fully dissolved during heating, it can lead to a grainy texture. Ensure the mixture is smooth before chilling.
- Over-churning: Be careful not to over-churn the ice cream as it can become too dense. Stop once it reaches the desired consistency.
- Freezer Burn: To avoid freezer burn, press plastic wrap directly onto the ice cream surface before sealing the container.