As a kid, apple desserts at our house only meant one thing: pie. My mom was fiercely loyal to her double-crusted apple pies, perfectly latticed and always made from scratch. But it wasn’t until college that I stumbled onto the magic of a Classic Apple Crumble, thanks to a roommate who made it on a chilly night in late October. Let me just say, I never looked at baked apples the same way again.
There’s something about a good apple crumble that feels like autumn in a pan. You get this bubbling layer of apples laced with cinnamon—soft, tart, and syrupy—topped by a golden, nubbly blanket that’s crisp in places, tender in others, and never, ever fussy. It’s meant to be eaten warm, the filling still a little gooey, the topping shattering under your spoon. In my house now, a Classic Apple Crumble makes regular appearances as soon as the air starts hinting at sweater weather, but honestly, the craving hits all year round.
Why Classic Apple Crumble Wins Over Pie Lovers
Crumble versus pie—it’s an age-old rivalry. I grew up on one side of the fence and then, suddenly, I hopped to the other. Classic Apple Crumble isn’t about fancy pastry skills or the pressure of a perfect slice. It’s comfort baked into a dish, all buttery, crumb-topped, and golden brown. What wins me over every time is how it feels like home, yet it’s so practical. With no pastry to roll and no chilling or blind baking, it fits even the busiest weeknight. Warm from the oven, the apples almost melt, perfumed with lemon and cinnamon, and the edge pieces go especially crisp thanks to the butter-laden topping. There really aren’t any leftovers that stick around for long.
The Ingredients That Set This Apple Crumble Apart
- Flour – creates structure in the crumble topping, and you can use all-purpose or swap half for whole wheat if you want a nuttier bite.
- Brown sugar – adds deep, caramelly sweetness; both light or dark work beautifully, depending on how molasses-forward you like it.
- Baking powder – keeps the topping light, with just a touch more lift.
- Salt – sharpens every flavor and stops the sweet from turning cloying.
- Cinnamon – woven through both the apples and the crumble for that familiar, cozy warmth.
- Unsalted butter – the secret behind that crispy, golden top; melted for easy mixing.
- Granny Smith apples – reliably tart and don’t collapse as much, but any firm, slightly sour apple will do if you want to mix things up.
- Granulated sugar (or brown sugar) – keeps the filling balanced; you can adjust to taste or swap in more brown sugar for earthiness.
- Lemon juice – brightens up the apples and stops them from browning.
- Cornstarch (or more flour) – helps thicken the fruit juices, so you get a syrupy, not soupy, base.
See the recipe card below for the full list of ingredients and measurements.
Building Flavor Layer by Layer
Start with your apples—crisp, cool, and freshly peeled. Toss them straight into a big bowl with a shower of sugar, a generous squeeze of lemon juice, a sprinkle of cinnamon, and a little cornstarch. Stir everything together and breathe it in—the smell is almost like autumn getting ready in your kitchen. The apple mix should look glossy and feel just a bit sticky, clinging to the edges.
Next, work on the crumble topping. In another bowl, stir together the flour, brown sugar, baking powder, salt, and cinnamon—make sure any brown sugar lumps get broken up, or they’ll caramelize in random pockets. Pour over the melted butter and use a fork (or your fingers, honestly) to bring it together until you get thick, nubby clumps and a few dry bits. The mixture should look more like gravel than like bread dough; uneven is the goal.
Tip your apple mixture into a baking dish and smooth it out so you have an even layer. Scatter the crumble over the top, making certain there are both big chunks and sandy bits—this is what gives you both crunch and tenderness. Into the oven it goes, and now your kitchen is about to smell like pure heaven.
Keep an eye out as it bakes. The juices from the apples will bubble around the sides and the topping should turn a solid, deep golden, especially at the edges. Don’t be tempted to pull it out too soon; that extra five minutes makes the difference between just-done and so-good-you-can’t-stop-eating.
That Perfect Crumble Topping Moment
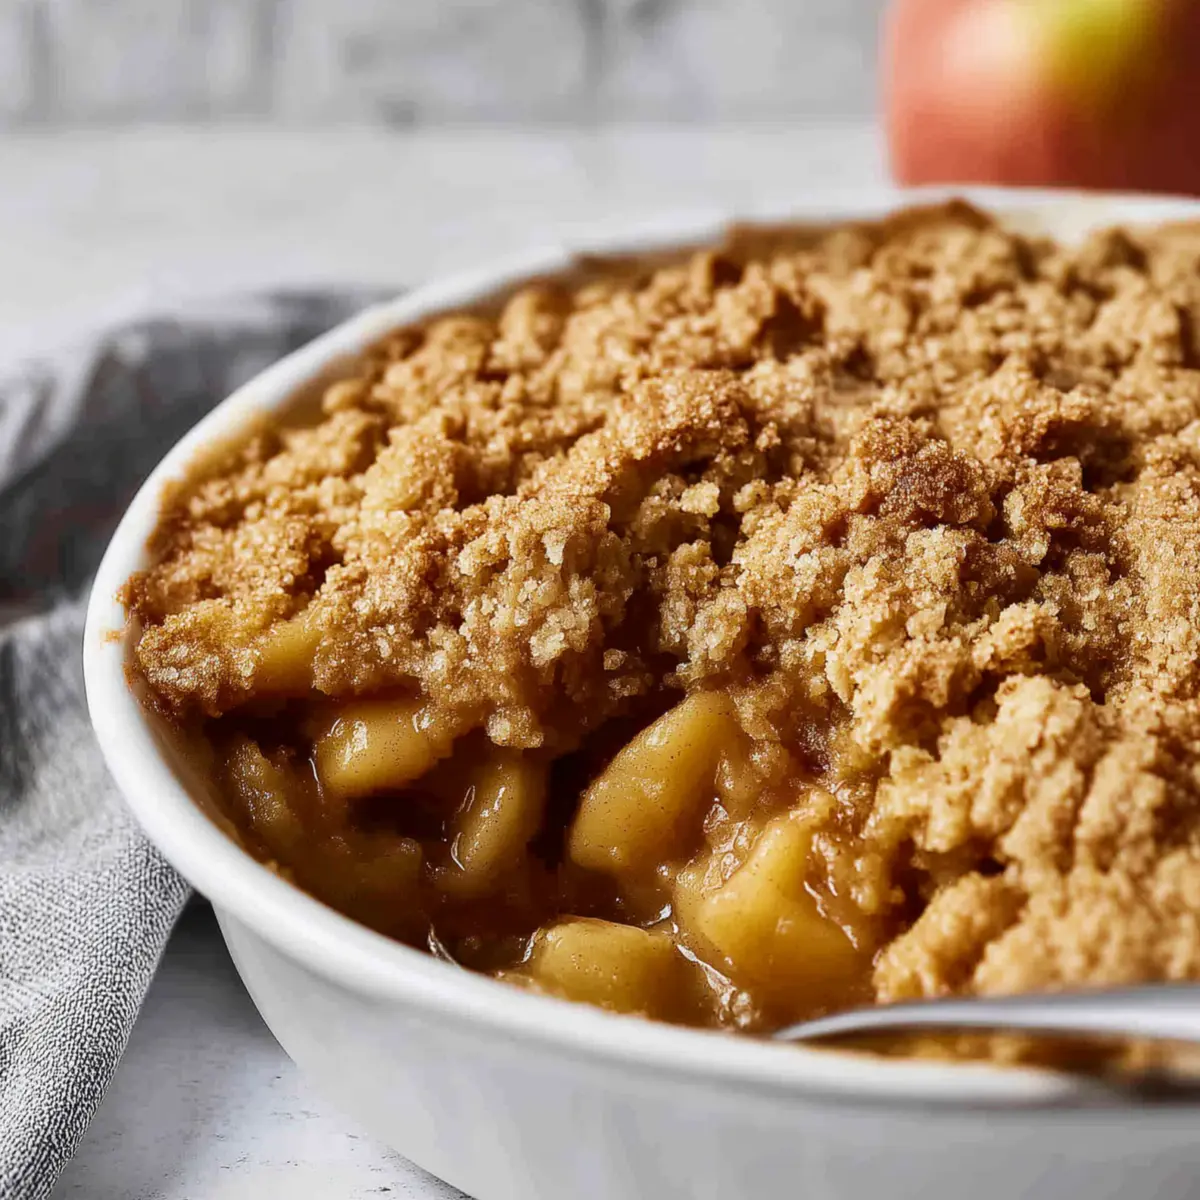
There’s something deeply satisfying about cracking through the top of a freshly baked crumble. It should be deeply golden, with crisp peaks and valleys where the topping caramelizes and turns just a little toffee-dark. Underneath, the apples collapse into juicy, sweet-tart ribbons—or, if you like them chunkier, you can dice them bigger for some bite. The smell when you open the oven door? Pure, spiced orchard. I love how a great apple crumble keeps its topping to filling ratio just right: not overwhelming the fruit, but absolutely present in every spoonful.
Let it cool for just a couple minutes (if you can wait), which helps the juices thicken. That first bite is everything—warm, a bit saucy, crumbly, and shot through with butter and spice. The mix of textures is the real joy here: a little bit crisp, a little bit soft, perfectly melded.
Details That Make This Crumble a Repeat Recipe
Classic Apple Crumble is endlessly adaptable. Swap a handful of oats into the crumble for extra chew, throw finely chopped nuts on top for more crunch, or mix in a splash of vanilla with the apples if you’re feeling fancy. If you like it less sweet, scale back the sugar slightly, or use all brown sugar for a richer, deeper flavor.
The crumble topping can be made ahead and chilled in the fridge—handy for prepping before a dinner party or just for quiet Sunday baking. Leftovers (if you actually have them) keep well covered in the fridge for a couple of days; reheat gently in the oven to crisp the topping again, or just microwave if you’re impatient.
Don’t skip the extra sprinkle of salt over the top before baking—it’s what makes the flavors pop. And if you ever worry about soggy bottoms, make sure your apples are chopped evenly and excess liquid is drained off before assembling.
Making & Serving Classic Apple Crumble: An Experience
Serving Classic Apple Crumble is where the magic happens. It’s homey enough for low-key family dinners, but generous and comforting for a group of friends after a long week. I think it’s at its best warm—ideally five or ten minutes out of the oven so you won’t scorch your tongue. Spoon big, uneven heaps into bowls, making sure each serving catches both crisp topping and the caramel-tinged, jammy fruit.
A scoop of vanilla ice cream is the classic move and for good reason—it melts into the crumble crevices, becomes a sauce, and cools your mouth between bites of steamy apples. Custard or whipped cream work too, or even a dollop of Greek yogurt if you’re eating leftovers for breakfast (which I absolutely support).
If you’re hosting, slip the assembled, unbaked crumble in the fridge and bake it right before dessert. The scent wafting through your place will have everyone wandering into the kitchen long before it’s ready.
FAQs about Classic Apple Crumble
Can Classic Apple Crumble be made in advance?
Absolutely! You can prepare both the apple filling and the crumble topping ahead of time. Store them separately in the fridge, then assemble and bake when you’re ready. You can also assemble the whole dish, cover, and refrigerate for up to a day before baking.
What’s the best way to store leftover Classic Apple Crumble?
Let it cool fully, then cover and keep it in the fridge. It stays good for about two to three days. For the best texture, reheat it in the oven so the topping crisps back up rather than softening in the microwave.
Can I freeze apple crumble after baking?
Yes, you can freeze baked apple crumble—just let it cool completely before wrapping it tight. Thaw overnight in the fridge and reheat in the oven until piping hot and golden. The topping will be a little softer, but it’s still delicious.
Are there easy substitutions for the apples in Classic Apple Crumble?
Definitely—pears are a great swap, and stone fruits like peaches or plums in summer can be wonderful. Just be cautious with very juicy fruits; you might need a little extra flour or cornstarch to soak up any extra liquid.
Sometimes you don’t need anything elaborate for dessert—just a bubbling tray of Classic Apple Crumble, a cold scoop of ice cream, and a spoon. This is the kind of recipe that pulls everyone into the kitchen, drawn by that butter-and-cinnamon aroma, and leaves you happier than you started. Whether you’re an apple pie loyalist or a newfound crumble fan, there’s a spot for this humble, golden classic on any table. Give it a try the next time you want comfort in a dish—trust me, it never disappoints.
More Delicious Recipes
- Irish Apple Cake with Custard Sauce: This recipe combines delicious apples with a moist cake, perfect for fans of fruit desserts.
- Cherry Cobbler Muffins: These muffins offer a delightful twist on cobbler with a chewy topping, similar to the crumble texture.
- Blueberry Protein Muffins: Packed with nutrients and fruit, these muffins make for a comforting breakfast treat akin to classic desserts.
Classic Apple Crumble
Ingredients
Method
- Start with your apples—crisp, cool, and freshly peeled. Toss them straight into a big bowl with a shower of sugar, a generous squeeze of lemon juice, a sprinkle of cinnamon, and a little cornstarch. Stir everything together and breathe it in—the smell is almost like autumn getting ready in your kitchen. The apple mix should look glossy and feel just a bit sticky, clinging to the edges.
- Next, work on the crumble topping. In another bowl, stir together the flour, brown sugar, baking powder, salt, and cinnamon—make sure any brown sugar lumps get broken up, or they’ll caramelize in random pockets. Pour over the melted butter and use a fork (or your fingers, honestly) to bring it together until you get thick, nubby clumps and a few dry bits. The mixture should look more like gravel than like bread dough; uneven is the goal.
- Tip your apple mixture into a baking dish and smooth it out so you have an even layer. Scatter the crumble over the top, making certain there are both big chunks and sandy bits—this is what gives you both crunch and tenderness. Into the oven it goes, and now your kitchen is about to smell like pure heaven.
- Keep an eye out as it bakes. The juices from the apples will bubble around the sides and the topping should turn a solid, deep golden, especially at the edges. Don’t be tempted to pull it out too soon; that extra five minutes makes the difference between just-done and so-good-you-can’t-stop-eating.