Had a rough week—or an amazing one? Either way, nothing hits the reset button quite like baking up a batch of classic cream cheese danish. There’s something peculiarly soothing about working with chilly pastry dough and whipping up a sweet, tangy filling that makes the whole place smell like an old-school bakery. If you’re craving that perfect combination of flaky, buttery layers and creamy, slightly lemony richness under a light vanilla glaze, this recipe is about to become your go-to for breakfast or an afternoon treat.
One reason I always circle back to this classic: store-bought danishes just don’t compare. These are beyond simple to make, thanks to ready-made puff pastry, and the results are honestly irresistible. Pull one apart while it’s still a little warm—the steam drifts up, the edges shatter, and that luscious center practically begs for a second cup of coffee.
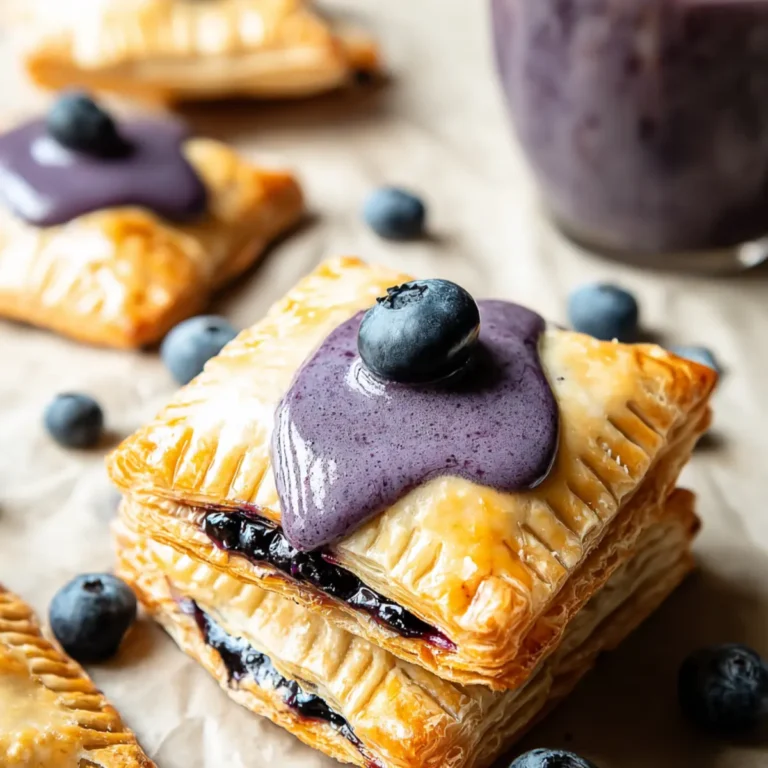
Why These Classic Cream Cheese Danishes Are So Darn Good
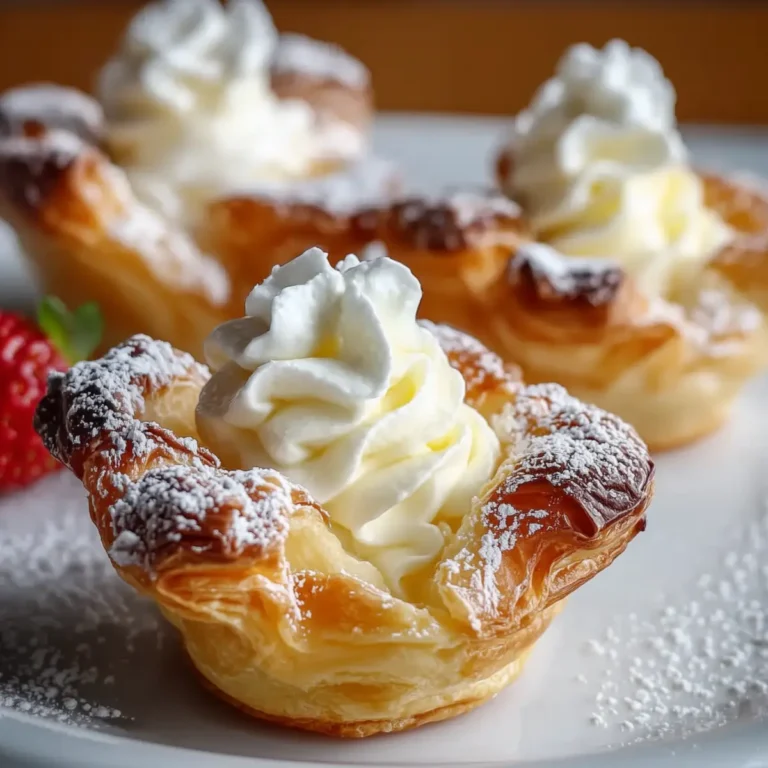
Pulling a tray of classic cream cheese danishes from the oven feels a bit like winning at breakfast. The pastry puffs up golden and delicate, sending a warm, buttery fragrance wafting through the kitchen. The creamy center is just sweet enough—rich and comforting, with a little zip from lemon zest if you want it. And once you drizzle that quick vanilla glaze over the cooled danishes, you’ve got a treat that’s bakery-worthy with zero fuss.
These are exactly what you want when brunch needs to impress, or when you’re tired of yet another box of mediocre pastries at the store. Every bite is flaky, creamy, and softly sweet, with the kind of contrast in textures you only get from doing it yourself. They’re shockingly easy, wildly adaptable, and the sort of thing everyone grabs for seconds. You could make them on a busy weekday and feel like a brunch hero, or just treat yourself any lazy Saturday.
What’s Inside These Classic Cream Cheese Danishes
When you break it down, the ingredients for a classic cream cheese danish are basics you might already have on hand (or can grab in a single trip). Here’s what goes into making each layer taste amazing:
- cream cheese – The rich, tangy heart of the filling. Full-fat is best for lush texture; low-fat won’t give the same result.
- Granulated sugar – Adds sweetness to balance the slight tanginess of the cheese and round out the filling.
- Egg yolk – For extra richness and gorgeous color in the creamy center.
- Vanilla extract – Lends warmth, aroma, and depth to both the filling and the glaze.
- All-purpose flour – Just a pinch to help thicken the filling and keep it silky after baking.
- Lemon zest – Optional, but that tiny hint lifts the flavor and cuts through the richness.
- Puff pastry sheets – Store-bought frozen pastry is your best friend here: flaky layers without the drama of homemade dough.
- Egg (for egg wash) – Brushed on for a beautiful golden finish.
- Water (for egg wash) – Loosens up the egg, so the wash goes on smooth and even.
- Powdered sugar – The base for that simple, sweet vanilla glaze.
- Milk or lemon juice – Loosens the glaze and adds just a whisper of fresh flavor.
- Vanilla extract (for glaze) – For the final touch of bakery-style aroma and flavor.
See the recipe card below for the full list of ingredients and measurements.
How to Make Classic Cream Cheese Danish Step by Step
You won’t need any fancy skills or special equipment—just a mixing bowl, electric mixer, baking sheets, and about an hour of time that’s mostly hands-off. Here’s how it’s done, from soft filling to crisp, golden finish:
- Whip up the filling. Start with room-temperature cream cheese. Beat it with a mixer until it’s smooth, creamy, and light—no lumps allowed. Add in granulated sugar, egg yolk, vanilla, flour, and (if you love a little brightness) some lemon zest. Mix until the filling turns silky and fluffy, scraping down the sides to make sure everything gets blended.
- Prep the pastry dough. Flour your counter just lightly so the pastry doesn’t stick. Lay out your thawed puff pastry sheets, one at a time. If the sheets are a bit thick, give them a gentle roll—they should feel cold but flexible. Use a sharp knife to cut each sheet into even squares; you want edges neat but rustic is fine, too.
- Score and fill. Arrange the pastry squares on parchment-lined baking sheets, giving them a little space to puff up. Using a paring knife, lightly score a border around each square—about the width of your thumb, but don’t cut all the way through. This gives your danish that tall, bakery-style edge. Poke the center of each square with a fork so it stays flatter than the puffy edges. Spoon a generous mound of cream cheese filling into the middle, letting it spread almost to the edge.
- Egg wash and bake. Whisk an egg with a splash of water to make a wash, then brush it all around the outside borders of each danish. Slide your trays into a hot oven and bake until the pastry is deeply golden, the edges crisp and shattering, and the filling is set but still just a little soft in the center. If you’re using two oven racks, switch the trays halfway so they bake evenly.
- Cool things down. Once your danishes look irresistible (the scent lets you know), move them to a wire rack. They’ll crisp up more as they cool—if you glaze them while warm, the drizzle will melt right off.
- Drizzle on the glaze. While your pastries cool, whisk together powdered sugar, a splash of milk (or lemon for a little zip), and vanilla. You want the glaze pourable but not watery. Zigzag the glaze generously over the cooled danishes. Give it a minute to set up, then enjoy straight away or hold off if you have superhuman self-control.
Tricks for Beautifully Baked Classic Cream Cheese Danish
A few small tweaks make a world of difference with this classic cream cheese danish. Keep these tips in your back pocket for flawless results every time:
– Don’t rush the thaw. Let your puff pastry thaw in the fridge (not at room temp) so it stays cold and pliable—too warm, and the butter can melt out, wrecking those flaky layers.
– Soften the cream cheese fully. Cold cream cheese stays lumpy, so give it time to come up to room temp before beating. If you forget, a quick zap in the microwave (low power!) does the trick.
– Score, but don’t cut through. When marking the border on your pastry, only go about halfway down. This creates that signature puffed edge but keeps all the filling where it belongs.
– Mind your spacing. Give the pastries room on the baking sheet so they puff up instead of fusing together. Crowded trays lead to chewy sides, not shattering lamination.
– Patience pays off with the glaze. Cool the danish completely so the glaze firms up and doesn’t slide off. If the glaze is too thick, thin it by drops; if too thin, a little more powdered sugar gets it just right.
– Storing for later. Any leftovers (ha!) keep best in an airtight container. Recrisp in a hot oven or toaster oven for a few minutes to bring back that fresh-from-the-bakery crunch.
Serving Ideas and Twists for Classic Cream Cheese Danish
Here’s where you get to put your own spin on a classic cream cheese danish—or turn it into a full brunch spread worthy of a lazy weekend.
Pair with: Hot coffee or a milky latte is a classic, but they’re also lovely with a cup of tea. For a full breakfast, add a fresh fruit salad, crisp bacon, or a pile of scrambled eggs on the side.
Dress them up: You can tuck thin slices of seasonal fruit (like strawberries, apricots, or plums) right onto the cream cheese filling before baking. Even a spoonful of jam or preserves—think raspberry, blueberry, or lemon curd—adds a pop of color and flavor.
Go nutty: Sprinkle chopped toasted almonds, pistachios, or pecans over the glaze while it’s still wet for a little crunch. Even a dusting of cinnamon before baking can warm things up.
Mini versions: Make smaller, bite-sized squares for brunch platters, holiday parties, or an easy sweet snack for a crowd.
Make ahead: Assemble and fill the pastries up to a day ahead, then cover and refrigerate. Bake fresh the next morning for that just-baked aroma.
Freeze for later: These freeze surprisingly well before baking (assemble, freeze solid on trays, then bag up). Bake straight from frozen, adding a couple extra minutes to account for the chill.
FAQs about Classic Cream Cheese Danish
Can I freeze classic cream cheese danish before or after baking?
Definitely! For best results, assemble the danishes and freeze them unbaked on a tray. Once they’re frozen solid, pop them in a bag. Bake straight from frozen—just give them a touch more time in the oven. If freezing after baking, let them cool completely and wrap them tightly; reheat in the oven for a crisp finish.
What’s the best way to store leftover classic cream cheese danish?
Leftovers stay freshest in an airtight container in the fridge. Reheat danishes in the oven or a toaster oven, not the microwave, to preserve that lovely crisp pastry. They’re best within a day or two, but a quick re-crisp brings them back to life.
Can I swap out the cream cheese for another filling?
Absolutely. While cream cheese is iconic, you can use ricotta for a milder flavor, or go sweet with fruit preserves, lemon curd, or even prepared almond paste. Play with seasonal flavors or whatever makes you happy.
Do these classic cream cheese danishes work with gluten-free puff pastry?
They sure do! Gluten-free puff pastry works as a direct swap (just handle gently, since it can be a bit more delicate). The texture may be slightly different, but you’ll still get a flaky, golden danish that’s just as satisfying.
There you have it—the kind of classic cream cheese danish that makes you want to pull up a stool, pour some coffee, and linger over each flaky, gooey bite. Whether you’re serving these to friends, family, or just sneaking one straight from the cooling rack, they deliver all the buttery, creamy, sweet satisfaction you crave. Try a fresh batch warm from the oven—the contrast between crisp pastry and silky filling is truly worth it.
Discover More Recipes
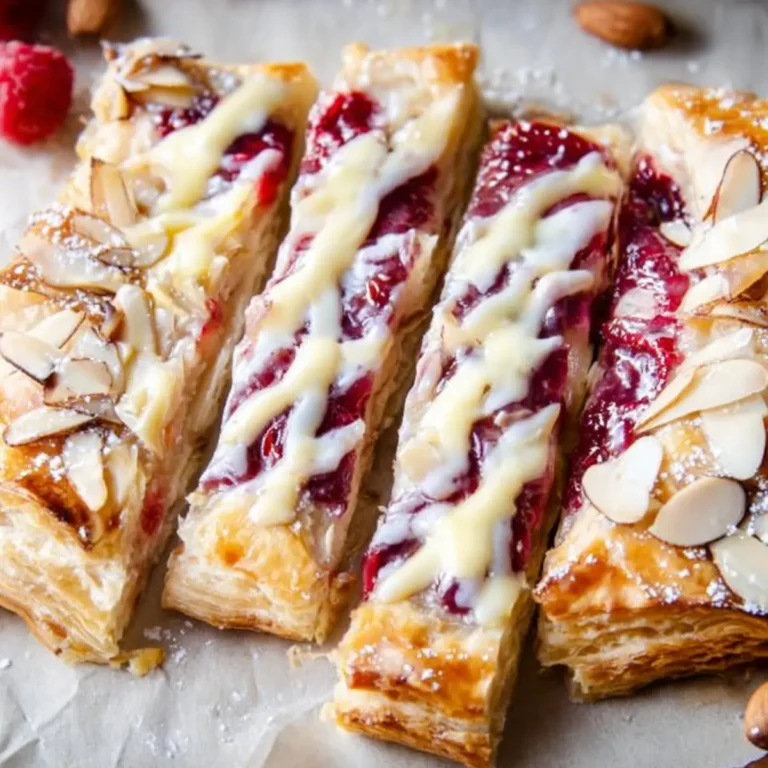
- Raspberry Almond Puff Pastry Danish: This delightful twist on the classic danish incorporates sweet raspberry and nutty almond flavors, making it a perfect brunch treat.
- Breakfast Danish Pastries: These versatile pastries are filled with a variety of delicious ingredients, similar to the classic cream cheese danish.
- Lemon Blueberry Cheesecake: Combining creamy cheesecake and fruity flavors, this dessert complements the sweet, tangy filling of danishes beautifully.

Classic Cream Cheese Danish
Ingredients
Equipment
Method
- In a large mixing bowl, using an electric mixer, beat the softened cream cheese until smooth and creamy, about 1-2 minutes.
- Add the granulated sugar, egg yolk, vanilla extract, all-purpose flour, and optional lemon zest. Continue beating on medium speed until all ingredients are well combined and the mixture is light and fluffy, scraping down the sides of the bowl as needed. Set aside.
- Preheat your oven to 400°F (200°C). Line two large baking sheets with parchment paper.
- Lightly flour a clean work surface. Gently unroll one sheet of thawed puff pastry. If needed, use a rolling pin to lightly roll the pastry into a roughly 10x12 inch rectangle. Cut the pastry into 6 equal squares (approx. 4x5 inches each). Repeat with the second sheet of puff pastry, yielding 12 squares in total.
- Place the pastry squares onto the prepared baking sheets, leaving some space between them. Using a small sharp knife, lightly score a 1/2-inch border around the edge of each square, being careful not to cut all the way through the pastry. This will create a frame that puffs up higher than the center.
- Prick the center of each pastry square a few times with a fork to prevent it from puffing up too much. Spoon about 1 to 1.5 tablespoons of the cream cheese filling into the center of each scored square.
- In a small bowl, whisk together the large egg and 1 tablespoon of water to create an egg wash. Lightly brush the scored pastry borders with the egg wash. This will give them a golden, shiny finish.
- Bake in the preheated oven for 20-25 minutes, or until the pastry is puffed, golden brown, and the filling is set. If baking on two racks, rotate the baking sheets halfway through the baking time for even cooking.
- Once baked, remove the danishes from the oven and transfer them to a wire rack to cool completely.
- While the danishes are cooling, prepare the glaze. In a small bowl, whisk together the powdered sugar, 2 tablespoons of milk (or lemon juice), and vanilla extract until smooth. If the glaze is too thick, add more milk/lemon juice, a teaspoon at a time, until it reaches a drizzly consistency. If it's too thin, add a bit more powdered sugar.
- Once the danishes are cool, drizzle the glaze generously over each one. Let the glaze set for a few minutes before serving.