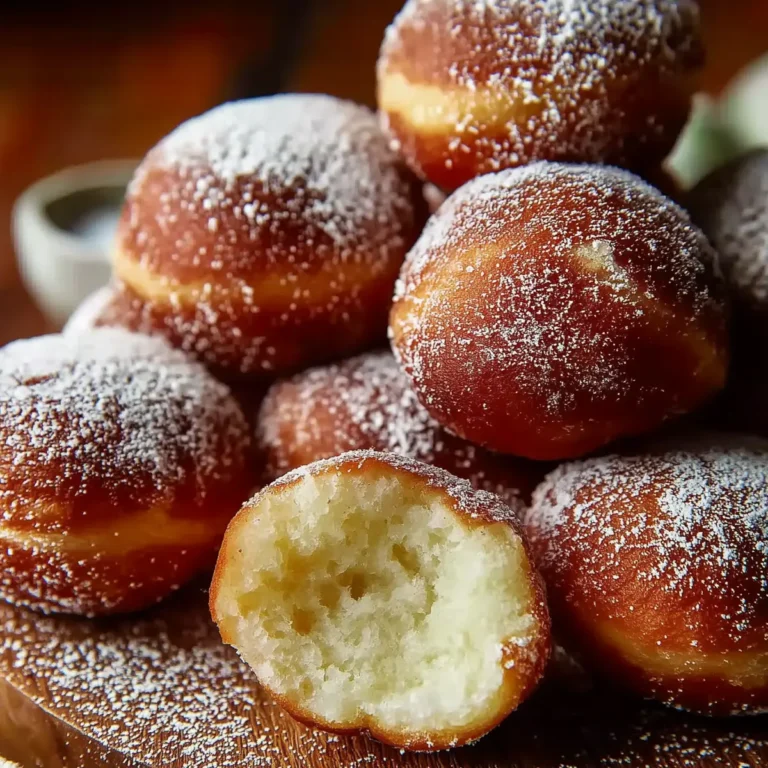
You know those weekend mornings when the kitchen feels extra quiet and you just crave something special—a breakfast you’d find at a little European café, but made right in your own home? Breakfast Danish Pastries totally deliver that dream, minus the jet lag. The buttery, golden layers and creamy, tangy filling hit all the right notes when you’re after something comforting but not the same old toast or cereal.
If you love that mix of flaky dough, sweet jam, and a little tang from cream cheese, you’re in for a treat here. These homemade pastries bring together the richness you’d expect from a Danish with just enough ease that you won’t need a pastry chef diploma (or an entire free day) to pull them off. Let’s jump straight into the cozy, buttery mess of it all.
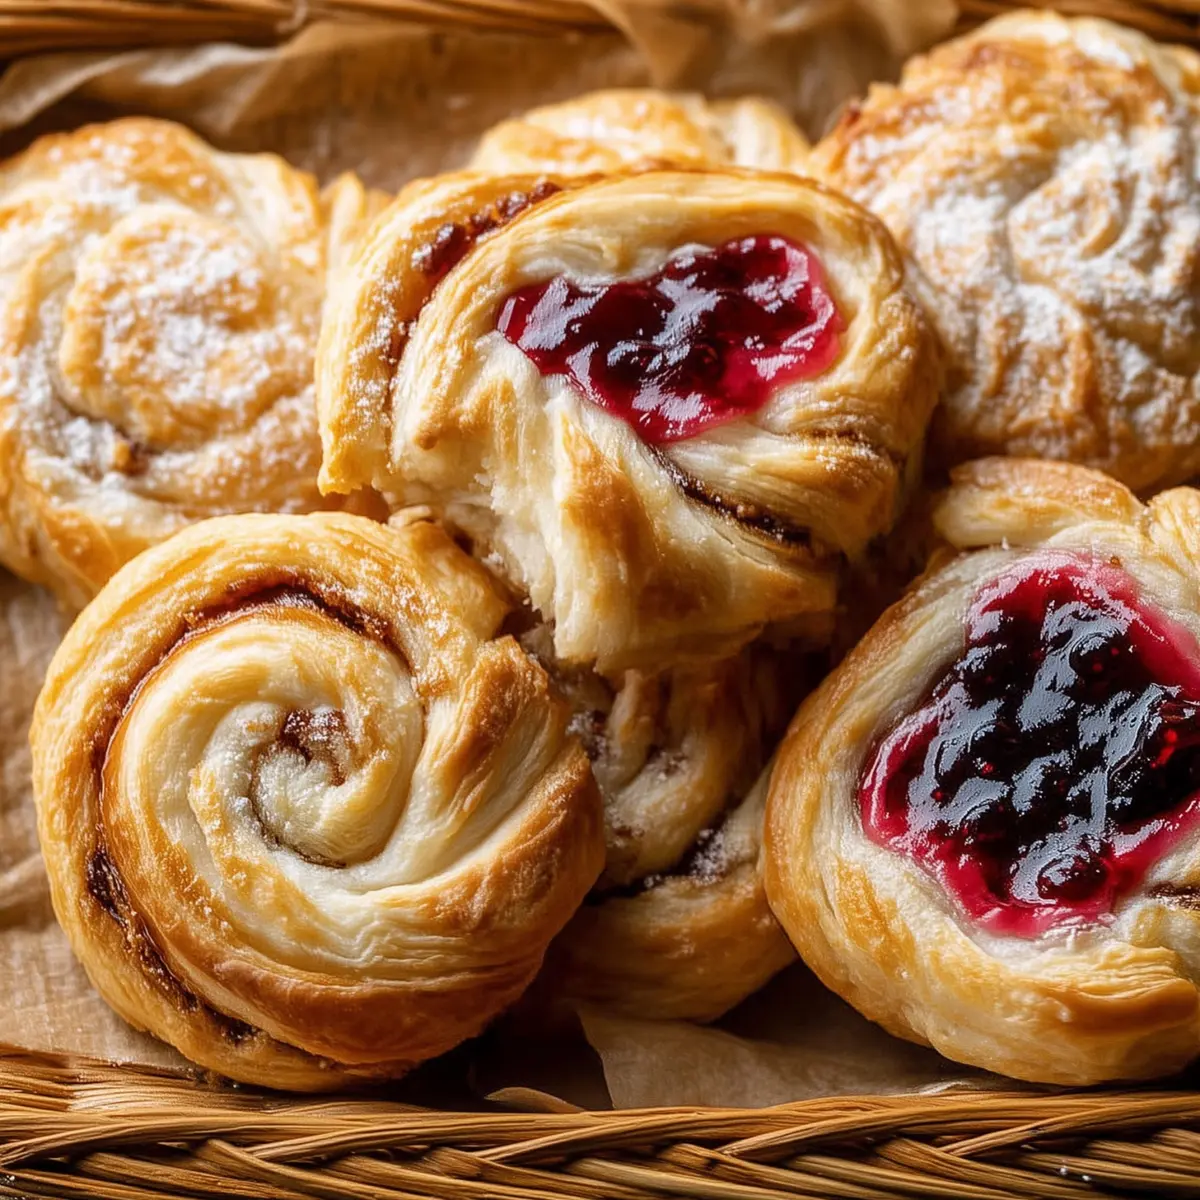
Flaky Mornings: Why These Pastries Stand Out
If you ever wished classic bakery treats tasted as good at home as they do in the shop, breakfast Danish pastries are the answer. You get those golden, crisp edges, the soft, pillowy center, and that delicate, layered richness created by folding and chilling cold butter into the dough. There’s a certain satisfaction in biting into a warm pastry you made with your own hands—slightly rustic, perfectly imperfect, and a lot fresher than anything from the grocery store.
What sets these Danishes apart is the simple but luxurious filling—a creamy base of sweetened cream cheese and a pop of thick fruit jam. The flavor balance in every bite is just as inviting at brunch with friends as it is on a solo morning with your coffee mug.
Your Breakfast Danish Pastries Ingredient Guide
- flour: forms the backbone of the dough and delivers that essential chew and crumb.
- Granulated sugar: brings sweetness and a little structure to both dough and filling.
- Active dry yeast: lifts the layers for a light, airy finish and classic pastry texture.
- Salt: highlights the rich flavor and balances out all the sweetness.
- Warm milk: helps bind everything together, making the dough supple and rich.
- Eggs: add richness and help the dough bake up golden and tender.
- Unsalted butter: creates those irresistible flaky layers and a buttery aroma as the pastries bake.
- Cream cheese: gives the filling its creamy, tangy heart—the stuff that keeps folks reaching for seconds.
- Powdered sugar: sweetens the cream cheese and forms the finishing glaze.
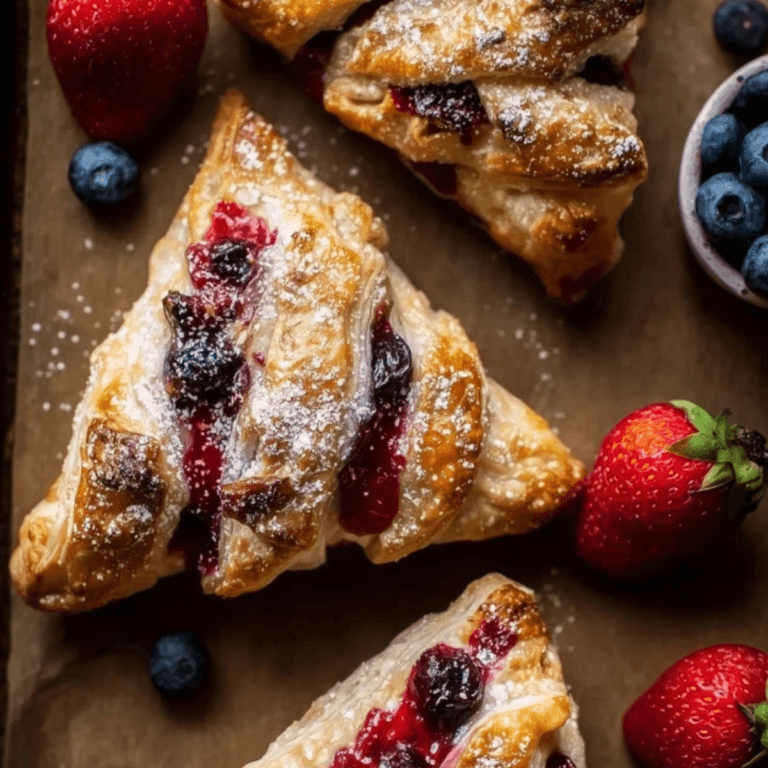
- Raspberry jam (or any thick fruit preserve): adds tart fruitiness and beautiful color.
- Egg (for egg wash): brushed on top for that tempting, shiny crust.
- Milk: blends into the glaze for a slick, pourable finish.
- Vanilla extract: perfumes both filling and glaze, tying everything together.
See the recipe card below for the full list of ingredients and measurements.
Mixing It Up: Ingredient Swaps for Danish Pastries
You don’t have to stick with tradition every time. If you’re out of cream cheese, mascarpone or ricotta make lovely stand-ins—just note the subtle shift in flavor and texture. Any thick fruit jam works if raspberry’s not your thing; try apricot, blueberry, or even a swirl of Nutella for a chocolatey twist.
Whole wheat flour can sneak in for part of the white flour if you’re after a nuttier taste (don’t push it too far, or you’ll lose some flakiness). Vegan options are doable—plant-based butter and non-dairy alternatives for milk or cream cheese work pretty well, especially if you’re no stranger to vegan baking.
How to Make Breakfast Danish Pastries at Home
Here’s how to make Danish pastries step by step, minus the intimidation. Expect a little flour on your shirt but a serious reward at the end.
- Combine the dry ingredients in a large bowl, whisking your flour, sugar, yeast, and salt so everyone plays nice together. This makes sure the dough rises evenly and stays light.
- Pour in the warm milk and crack in the eggs. Stir the whole mix until you get a shaggy dough. Knead until smooth, soft, and a bit tacky—it’ll come together in a way that feels just right under your hands.
- Wrap the dough well and let it chill out in the fridge. Meanwhile, get your butter slab ready (cold is the key for those flaky layers).
- Roll the chilled dough out on a floured surface. Place your butter squarely in the center, then fold up the dough edges like you’re making an envelope. Seal it tight—no butter peeking out.
- Roll it out once more, fold it into thirds, and pop it back in the fridge. You’ll repeat this process of rolling and folding to “laminate” the dough, building all those beautiful layers that puff up in the oven.
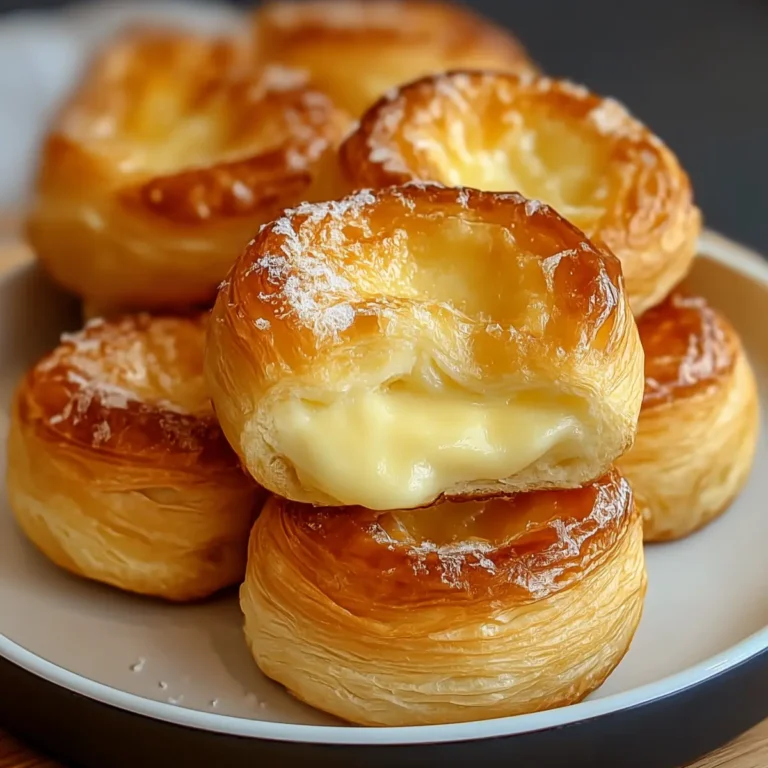
- Once your dough’s looking smooth and striped with butter, roll it out one final time and cut into even squares. Spoon a dollop of sweetened cream cheese in the center, followed by a little jam—the messier, the better.
- Fold each square into your favorite Danish shape—classic pinwheels, envelopes, or even just leave them open for a rustic look. Line your baking tray with parchment and space the pastries so they have room to grow.
- Brush the tops with a beaten egg, which helps them turn a gorgeously deep golden color in the oven. Bake until crisped, fragrant, and deeply golden—listen for the faint crackle when you break one open.
- While the pastries cool slightly, whisk up a quick glaze with powdered sugar, milk, and vanilla. Drizzle generously over the top before serving. If you aren’t licking a bit of glaze from your fingers, you’re doing it wrong.
Getting That Perfect Danish Pastry Texture
For dreamy, bakery-worthy results, start with cold ingredients—especially the butter. Don’t rush the chilling steps; they’re what make those distinct, crisp layers possible. Cracking the oven door mid-bake is tempting, but let the pastries rise and brown undisturbed for maximum lift and sheen.
If you want bakery shine, that egg wash is your secret weapon. If some jam leaks out or your folds aren’t identical, don’t sweat it. Homemade should look a little rustic, and the flavor is always the star. Letting the pastries cool a few minutes before glazing helps keep the icing pretty rather than puddled.
Storage is easy: stash any extras in an airtight container at room temp for a day or two. Gently rewarm in the oven (or even the toaster oven) to bring back their just-baked magic.
Pairings, Variations, and More Breakfast Inspiration
Somehow, Danishes just beg for a strong cup of coffee or a pot of black tea—totally café vibes at your own kitchen table. For brunch, pair these pastries with simple eggs, some smoky bacon, or a big bowl of fresh fruit on the side.
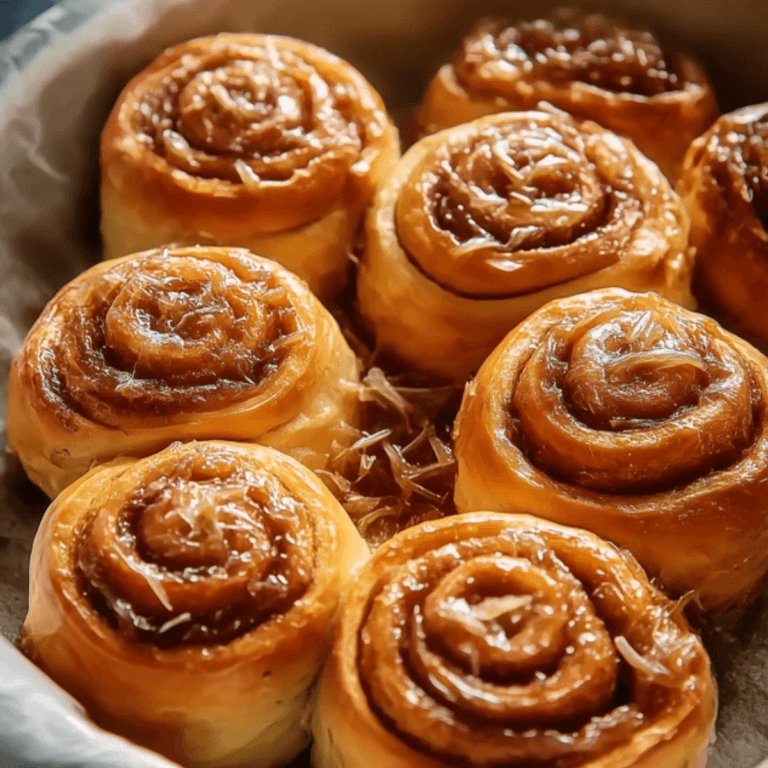
Craving something different? Switch the jam for lemon curd or a homemade berry compote, or try a savory spin with herbed cream cheese and roasted veggies. These pastries play well at any gathering—think baby showers, weekend brunch spreads, or as a special treat just for yourself.
You can prep the dough a day ahead (let it rest in the fridge overnight), or freeze the assembled, unbaked pastries and pop them straight into the oven when needed. Few smells are as tempting as Danish pastry baking from scratch, and the payoff is totally worth the little bit of planning.
FAQs about Breakfast Danish Pastries
Do I need a stand mixer for breakfast Danish pastries?
No, you can knead the dough by hand without any fancy equipment. Your hands and a sturdy spatula will do the trick, though a mixer speeds things up if you have one.
Can I make Danish pastry dough in advance?
Yes, the dough can rest in the fridge overnight. This actually improves the flavor and makes it easier to handle when shaping your pastries.
What’s the best way to store leftover Danish pastries?
Keep leftover pastries in an airtight container at room temperature for a day or two. To freshen them up, reheat briefly in the oven to restore flakiness.
Can I use store-bought puff pastry for this recipe?
You can use puff pastry for a shortcut, but authentic Danish pastries have a slightly different, more tender crumb. The homemade dough gives you those distinct, layered results.
Final Thoughts on Breakfast Danish Pastries
Warm, flaky breakfast Danish pastries at home feel like a special occasion, only without much fuss. Making these from scratch is both a little project and a genuine treat, and the aroma alone is worth it.
You’ll end up with pastries that taste straight from a cozy bakery, loaded with buttery layers and creamy filling. Whether for a laid-back brunch or just because you want something beautiful alongside your morning coffee, this recipe won’t let you down.
More Delicious Recipes
- Chocolate Chip Scones: These scones have a delightful flaky texture similar to Danish pastries, perfect for a cozy breakfast.
- St Paddy’s Mint Cheesecake Cups: Featuring a creamy filling that complements the richness of your breakfast pastries with a fresh twist.
- Irish Soda Bread with Cranberries and Raisins: A sweet, fruity bread that pairs wonderfully with your homemade Danish pastries for a hearty breakfast spread.
Homemade Breakfast Danish Pastries
Ingredients
Equipment
Method
- In a large bowl, combine flour, sugar, yeast, and salt.
- Add warm milk and eggs. Mix to form dough and knead until smooth.
- Wrap dough and chill for 30 minutes. Prepare a slab of cold butter.
- Roll out dough, place butter in center, fold like an envelope and seal edges.
- Roll dough and fold into thirds. Chill. Repeat lamination 2 more times.
- Roll out and cut into squares. Add cream cheese and jam to center.
- Fold into desired shape. Transfer to baking sheet lined with parchment.
- Brush with egg wash. Bake at 375°F (190°C) for 20 minutes until golden.
- Mix powdered sugar, milk, and vanilla for glaze. Drizzle over cooled pastries.