If you’ve ever needed an easy Easter treat that actually gets squeals from kids and adults, these Easter Bunny Coconut Tails are your new best friend. I made them on a whim one rainy spring afternoon—without baking, without special molds, and with only one bowl to wash. My kitchen filled up fast with the scent of sweet vanilla and coconut, and it just felt like Easter, you know? And by the time those little pastel-coated balls hit the table, half were gone before I could even take a photo.
The soft chew, the burst of coconut, and that playful color—each bite is pure spring joy. Whether you’re wrangling little helpers or need to whip up something crowd-pleasing in a flash, these bunny tails are as fun to make as they are to eat.
Why These Easter Bunny Coconut Tails Are an Absolute Easter Essential
There are plenty of cute Easter recipes floating around, but nothing gets kids giggling—or adults hovering in the kitchen—quite like these Easter Bunny Coconut Tails. What makes them special? Three words: no-bake, hands-on, and instantly festive. You don’t need any fancy kitchen tools or a ton of clean-up time. Just combine everything in a bowl, roll into little balls, and send them for a pastel dip—so quick, you can make them between dying eggs and racing out to the garden.
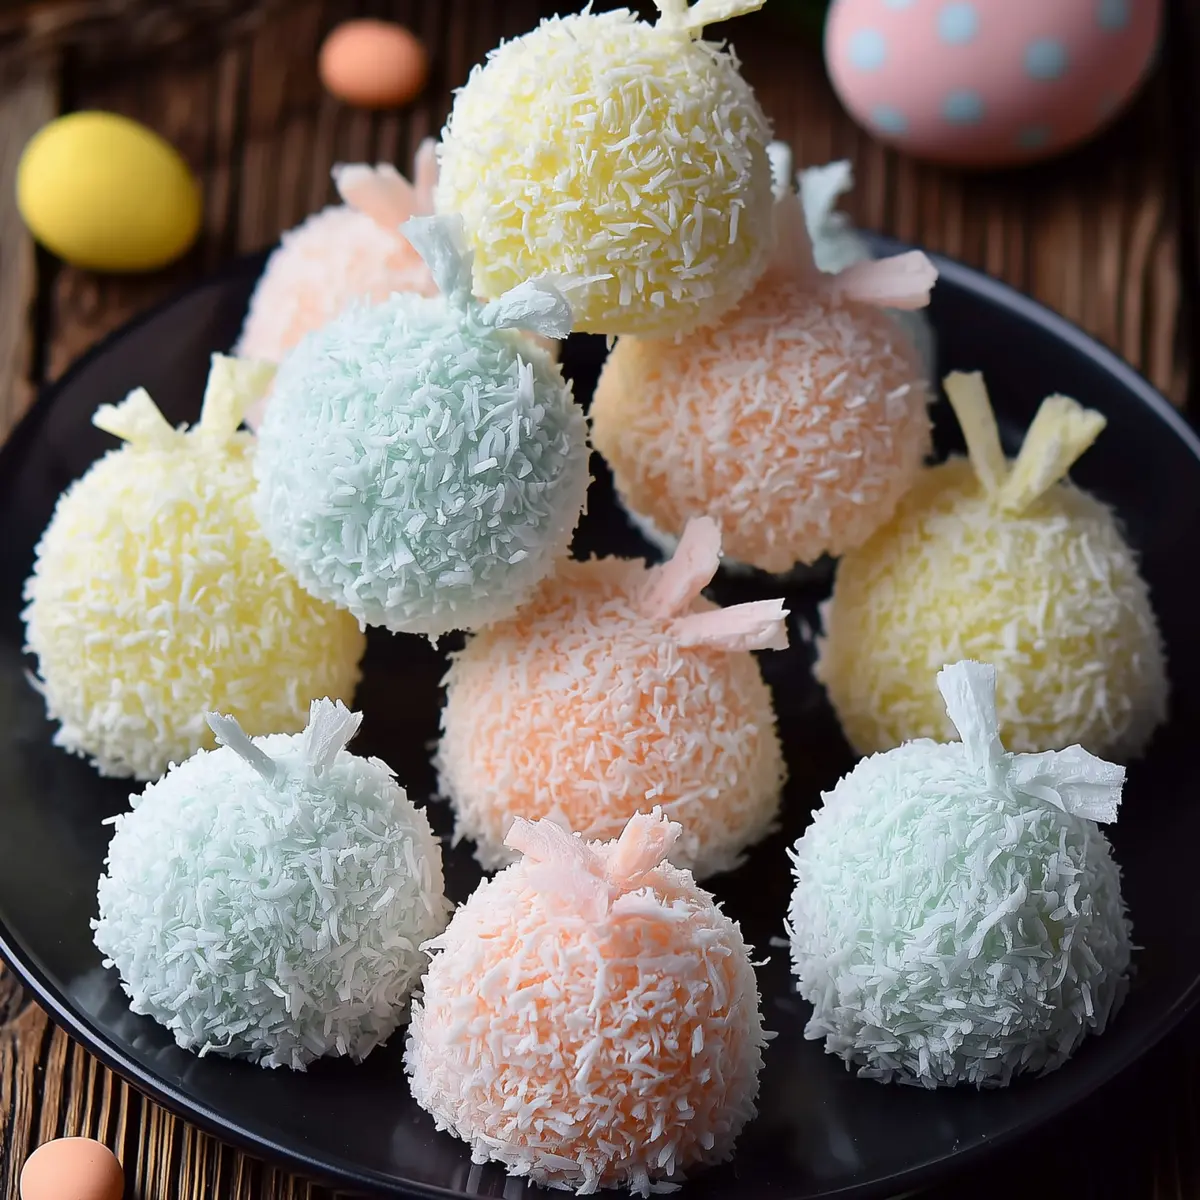
The magic really happens when you press the coconut flakes into soft, sticky centers: suddenly, you’ve got snowy “tails” in shades of yellow, pink, blue, or whatever spring colors you dream up. They manage to look like you spent all day baking, but they’re honestly foolproof enough for impatient little hands. Whether you’re setting up an Easter dessert table or looking for a sweet project to do with the kids, these coconut tails are pure cheerful nostalgia—and always disappear faster than you expect.
Breaking Down What Goes Into Easter Bunny Coconut Tails
Here’s what brings those pastel bunny tails to life (and a few notes on why each one matters):
- Unsweetened coconut (medium shred) – This provides the chewy, snowy “tail” body and a classic coconut bite.
- Unsweetened coconut (fine shred) – The fine texture is perfect for holding pastel colors and coating each ball so they don’t stick.
- Sweetened condensed milk – This is the sweet, sticky base that binds everything together and gives every bite a milky richness.
- Butter – Melted and cooled, it adds silkiness and just the right amount of creamy, buttery background flavor.
- Vanilla extract – Deepens the sweetness and rounds out the coconut flavor with warmth.
- Confectioner’s sugar – For a cleaner, melt-in-your-mouth sweetness and a little extra stick.
- Liquid food coloring – Here’s where you can get creative: pastel pinks, blues, greens—whatever your Easter celebration needs!
See the recipe card below for the full list of ingredients and measurements.
Your Foolproof Guide to Making Easter Bunny Coconut Tails
Ready to make the softest, chewiest Easter Bunny Coconut Tails you’ve ever tasted? Here’s what you’ll do, step by step—messy hands encouraged.
- Start by whisking together the sweetened condensed milk, your melted (and cooled) butter, and a splash of vanilla. This should turn thick, glossy, and smell like fudge and vanilla pudding meeting in a bowl.
- Stir in the medium-shred coconut along with the confectioner’s sugar. The mixture will get dense and sticky—almost like playdough but with the obvious upgrade of coconut aroma. Set the bowl in your fridge so things get firmer and scoopable, just enough to roll easily.
- While that chills, it’s time for the fun part: coloring the fine coconut shreds. Scoop a little into several bowls, add a few drops of food coloring to each, and rub with your fingers until you get pastel clouds. Repeat for as many colors as you like. The coconut should look evenly tinted, soft, and dry.
- Now, grab the chilled coconut mixture and scoop it out. Roll each piece between your palms until you get balls—think the size of big marbles or the roundness of a bunny’s tail. Immediately toss and press them into the colored coconut shreds so the outside is completely covered. If you want perfect coverage, gently press the shreds on with your fingertips.
- Line up all your coated balls on a tray or baking sheet. Pop everything back into the fridge so the Easter Bunny Coconut Tails firm up and hold their cute, round shape. You’ll know they’re ready when they feel sturdy and the pastel shells no longer leave marks on your fingers.
- Keep those beauties in the fridge until you’re ready to serve. When served cold, they hold together perfectly—each bite is chewy, cool, and everything you want from a spring treat.
Little Tricks to Perfect Easter Bunny Coconut Tails Every Time
A few little tricks from my own kitchen to make these extra delightful:
Chill your coconut mixture long enough that it’s easy to roll—too soft, and you’ll have hands coated in goo; too firm, and it’ll be crumbly. If it starts sticking to your palms, just dust them with a pinch of coconut or sugar.
For brilliantly colored “tails,” use only enough food coloring to tint the coconut shreds lightly; a little goes a long way. Too much can make them taste artificial or stain your hands.
If your mixture ends up too dry (maybe you packed your coconut really tight), drizzle in just a splash more condensed milk until it comes together. Too wet? Sprinkle in a bit more coconut to soak up the extra moisture.
Store finished Easter Bunny Coconut Tails well-chilled in an airtight container. If you’re stacking them, lay a sheet of parchment or wax paper between layers to prevent sticking and keep your colors looking sharp.
Festive Variations and Playful Serving Ideas
Switch things up for even more fun: try flavoring the base with a bit of almond extract or swap in lemon or orange zest for a faint citrus twist. Want something a little more luxe? Roll the finished balls in shredded white chocolate along with the pastel coconut.
To go for a classic look, stick with pastel pink, blue, yellow, and green. But don’t stop there—lavender and gold look gorgeous on an Easter table! If you’re feeling cheeky, press a tiny pink jellybean in the center of each tail for a “bunny nose.”
Serving-wise, pile these Easter Bunny Coconut Tails in a big bowl or scatter them over a green napkin “meadow.” They’re perfect for stuffing into Easter baskets, wrapping as gifts, or dotting along your dessert board with chocolate eggs and carrot-shaped candies.
Craving a make-ahead treat? These keep beautifully for several days in the fridge—just cover well so they don’t dry out. You can even freeze them for longer storage, though the coconut color might fade a tad after thawing.
FAQs about Easter Bunny Coconut Tails
How should I store Easter Bunny Coconut Tails for best freshness?
Keep your finished coconut tails in an airtight container in the fridge. They’ll stay fresh, chewy, and colorful for several days. If you need to layer them, place parchment between each layer to prevent sticking and keep the pastel coating looking its best.
Can I make Easter Bunny Coconut Tails ahead of time?
Absolutely—these no-bake treats are perfect to prep a day or two before your event. Just store them well-covered in the fridge; don’t leave them out at room temperature for hours, or they can become too soft and lose their shape.
Is there a way to make Easter Bunny Coconut Tails dairy-free?
You can find dairy-free sweetened condensed milk in most large grocery stores, and dairy-free butter substitutes also work well. The texture might be a little different, but they’ll still hold together and taste great.
Can I freeze leftover Easter Bunny Coconut Tails?
Yes, you can freeze them—but keep in mind the color on the coconut coating may fade and the texture might soften a bit after thawing. Place the tails in a single layer on a tray to freeze solid, then transfer to a container or freezer bag. Thaw in the fridge and enjoy within a month.
There’s just something so heartwarming about a plateful of Easter Bunny Coconut Tails on your spring table. Kids can’t resist the pastel colors, grown-ups get nostalgic about classic coconut treats, and you? Well, you get a dessert that’s as easy as it is beautiful. Serve these cool, chewy bites after a family brunch, sneak them into little lunch boxes, or just keep them in the fridge for whenever you need a bit of Easter cheer. However you enjoy them, each bite is a little taste of spring’s sweetest traditions.
More Delicious Recipes
- Easter Egg Fruit Pizza: This colorful and festive dessert is perfect for adding a fun touch to your Easter celebrations.
- Loaded Leprechaun Popcorn: A whimsical treat that combines sweet flavors and festive colors, ideal for spring festivities.
- St Paddy’s Mint Cheesecake Cups: These creamy, minty bites make a delightful addition to any Easter table with a touch of nostalgia.
Easter Bunny Coconut Tails – A Sweet No-Bake Treat!
Ingredients
Equipment
Method
- In a large bowl, whisk condensed milk, melted butter & vanilla.
- Stir in medium-shred coconut & confectioner’s sugar. Chill for 15 min.
- Meanwhile, color the fine-shred coconut: Mix ½ cup with 3-4 drops of food coloring and blend until evenly colored. Repeat for each color.
- Scoop chilled mixture into 1½ teaspoon portions, roll into balls, then coat in colored coconut.
- Place on a baking sheet and chill for 1 hour to set.
- Keep refrigerated until serving. Enjoy these sweet little bites!