I’ll admit it: sometimes you just need a creamy, comfort-filled dessert that doesn’t require turning on the oven or breaking a sweat. That’s exactly where No-Bake Biscoff Cheesecake Bars come in—layers of velvety cheesecake with Lotus Biscoff’s deep caramel spice, all brought together with a buttery cookie base. They’re decadent, hassle-free, and honestly, a little hard to stop eating.
When I first pressed those golden crumbs into the pan and smoothed on the rich Biscoff topping, it was the aroma—warm, cinnamon-sweet—that told me these were going to be dangerously good. If you love that unique cookie butter flavor and crave creamy desserts with a little crunch, this one is for you.
Biscoff Bliss in Every Bite
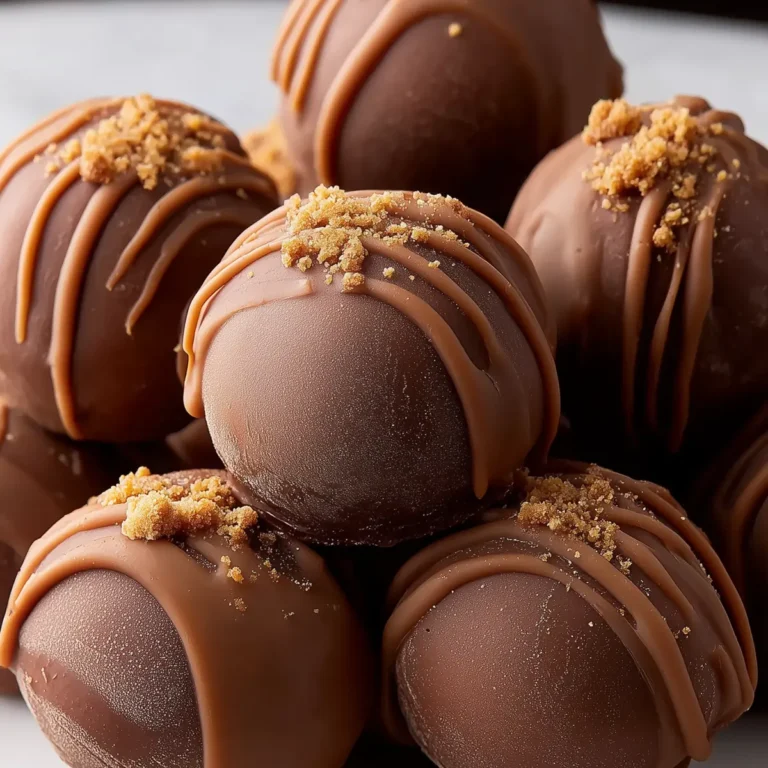
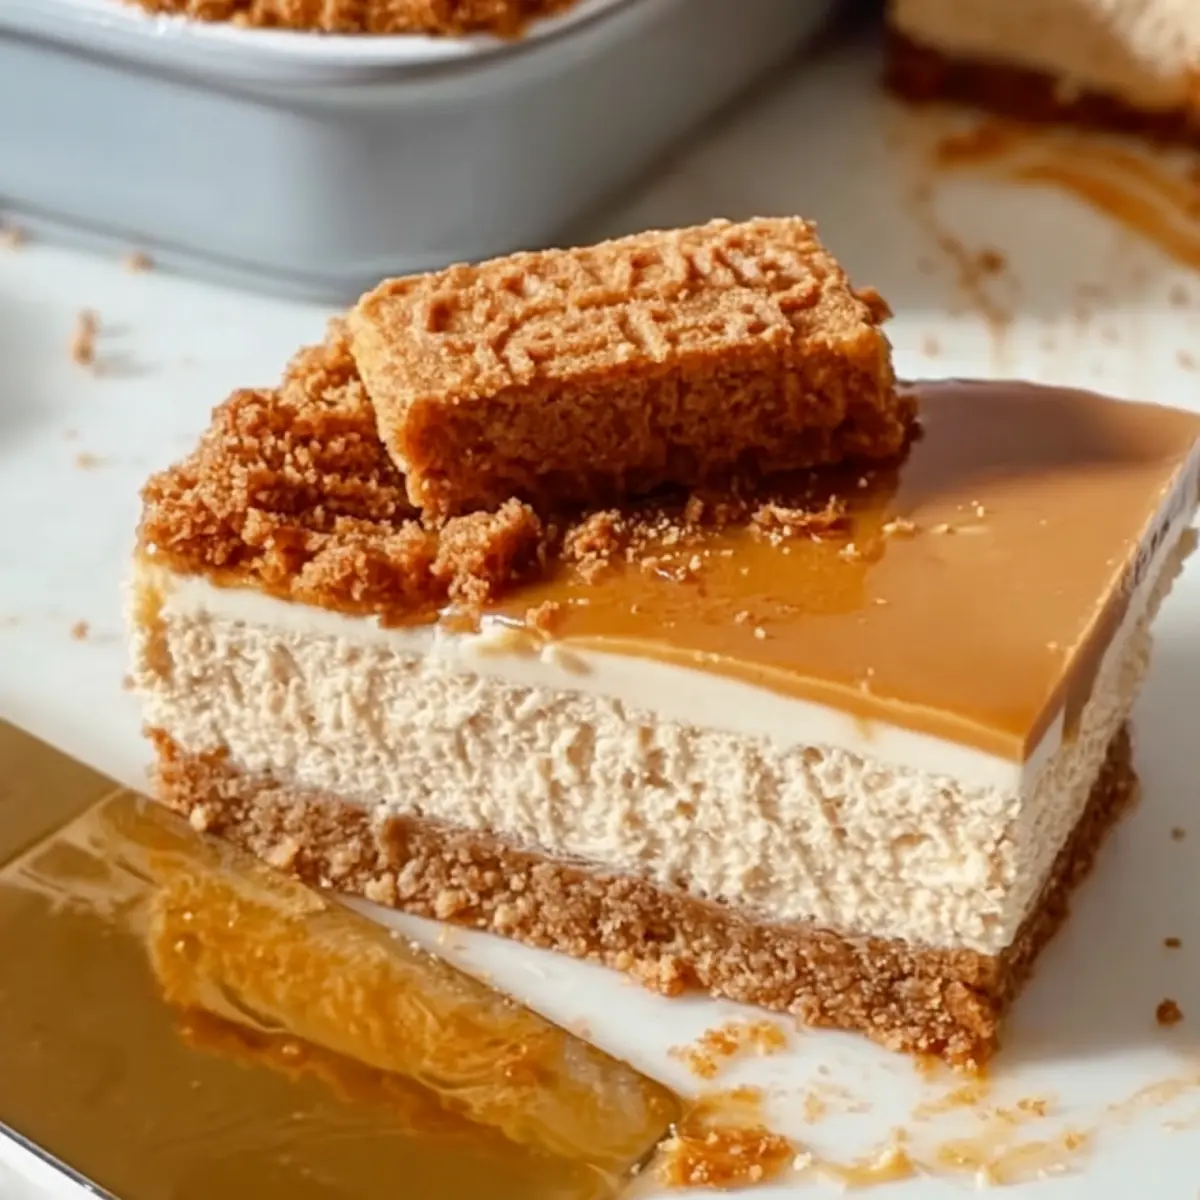
If you’ve ever swirled a spoon through a jar of Biscoff spread and wondered what happens when you combine it with silky cheesecake, these No-Bake Biscoff Cheesecake Bars are the answer. The cookie base is thick and just the right level of crumbly, offering that unmistakable caramel-spice depth. Each bar layers on a cloud of tangy cheesecake filling with melted Biscoff for an ultra-luxurious twist, finished off with a glossy spread of Biscoff topping and even more cookie crunch.These bars are perfect for celebrations, work parties, or when you want a make-ahead treat with a wow-factor. You don’t need an oven, just a bit of time in the fridge. Their neat, creamy squares are as easy to slice as they are to devour, making them a go-to for both Biscoff lovers and anyone new to the wonders of cookie butter desserts.
Building Your Biscoff Bar: Ingredient Notes
Everything you love about a cheesecake bar is dialed up with Biscoff’s signature flavor, but the ingredients couldn’t be simpler. Here’s a quick look at what each element brings to the recipe:- Biscoff (Speculoos) cookies – Create the deeply spiced, buttery base and the crunchy topping garnish.
- Butter – Binds the crust and adds richness.
- Full-fat cream cheese – Delivers the creamy body and tangy flavor of the filling.
- Powdered sugar – Sweetens and smooths the cheesecake mixture.
- Biscoff cookie butter – Stars in both the filling and shiny topping, infusing every bite with caramelized flavor.
- Whole and crushed Biscoff cookies – For decoration and an extra little bite on top.
See the recipe card below for the full list of ingredients and measurements.
Step-by-Step: No-Bake Biscoff Cheesecake Bars Method
No-Bake Biscoff Cheesecake Bars are all about easy layers with irresistible texture. Bring out your food processor or rolling pin and a good spatula, and you’re set for smooth assembly. Here’s how it comes together:- Line an 8-inch (20 cm) square baking pan with parchment paper so the bars are easy to lift out and slice.
- Crush the Biscoff cookies into fine crumbs—either a food processor or a zip-top bag and rolling pin does the trick. You want a sandy, even texture.
- Stir the crumbs together with the melted butter until every bit is coated. This is the foundation—rich and fragrant.
- Press the mixture firmly into the base of your lined pan, making sure the layer is even and compact. Pop the pan in the fridge so the crust can set.
- In a large mixing bowl, beat the cream cheese, powdered sugar, and melted Biscoff cookie butter. Mix until the filling is smooth, thick, and has a pale caramel color throughout.
- Spread the cheesecake filling over the chilled crust. Use a spatula to smooth it right to the edges for sharp, clean layers in each bar.
- Pour the melted Biscoff cookie butter over the filling. Gently swirl or spread into a glossy, even layer on top.
- Sprinkle finely crushed Biscoff cookies around the edge to create a pretty border. Place a whole cookie in the center for eye-catching garnish.
- Refrigerate everything for at least 4 hours (overnight is best) so it firms up properly and slices cleanly.
- Once set, use the parchment to lift the bars from the pan. Slice into squares and serve cold for the ultimate creamy-crunchy treat.
Troubleshooting and Texture Tips
Getting no-bake bars just right is mostly about texture and those irresistible layers. Here’s how to make sure your No-Bake Biscoff Cheesecake Bars shine:- Soften the cream cheese fully before mixing. Cold cream cheese can make the filling lumpy instead of smooth.
- Press the cookie base down firmly and evenly. A flat-bottomed glass works great for this and avoids crumbly corners.
- After adding the topping, tilt the pan gently to spread it in an even, gleaming layer.
- Don’t rush the chill time—even if it looks set on top, the bars need time in the fridge to become sliceable and creamy throughout.
- If your topping cracks slightly when slicing, let the bars sit at room temperature for a few minutes. Use a sharp, clean knife for the neatest squares.
If you notice the filling isn’t setting up, double-check that your cookie butter and cream cheese weren’t warm when assembling. Also, avoid skimping on chilling time—a chilled bar is a clean bar.
Serving Ideas and Creative Variations
These bars are almost too easy to love just as they are, but you can definitely have fun with flavors and pairings. Serve chilled straight from the fridge, or plate with an extra drizzle of cookie butter for dramatic effect. They’re best enjoyed with hot coffee, a latte, or even a scoop of vanilla ice cream on the side for the ultimate dessert bar plate.If you want to riff on the classic, try swapping half of the Biscoff cookies in the crust for chocolate or ginger cookies. The creamy cheesecake center also welcomes a swirl of salted caramel or a handful of crushed toffee bits. For a little crunch, add chopped toasted pecans or hazelnuts on top just before serving.
For individual mini cheesecakes, use muffin liners in a cupcake pan—no slicing required and perfect for picnics or parties.
Making Ahead, Storing, and Refrigerating
No-Bake Biscoff Cheesecake Bars are a dream when it comes to prepping ahead. Once assembled, keep the pan covered and refrigerated until you’re ready to slice. For the freshest texture, they’re best enjoyed within a couple of days, though the flavor only deepens and the filling stays smooth and luscious even after a day or two.If you have leftovers, stack bars with wax or parchment paper between layers in an airtight container in the fridge. For longer storage, these bars freeze surprisingly well—wrap individual squares tightly and freeze. Thaw the bars in the fridge before serving so the filling stays creamy instead of icy.
FAQs about No-Bake Biscoff Cheesecake Bars
Can I use low-fat cream cheese for these bars?
Full-fat cream cheese is best for texture and taste. Low-fat varieties can result in a softer, less creamy filling and won’t set as firmly.
How long will No-Bake Biscoff Cheesecake Bars keep in the fridge?
No-Bake Biscoff Cheesecake Bars will stay fresh about three days if stored in an airtight container in the refrigerator. They’re ideal for making ahead for gatherings.
Is it possible to freeze these cheesecake bars?
Yes, you can freeze the bars. Slice and wrap individual pieces, then place in an airtight container for up to a month. Thaw overnight in the fridge before serving.
What’s the best way to cut clean slices of these bars?
Use a sharp knife, wiping it clean between cuts, and slice while the bars are very cold. If the topping starts to crack, let them warm up for a few minutes before slicing.
Sweet Finish: No-Bake Biscoff Cheesecake Bars
If you’re craving a treat with all the creamy comfort of cheesecake and the spicy-caramel magic of Biscoff, these bars deliver every time. They’re quick to assemble, a joy to slice, and never fail to look—and taste—like something special.Serving them chilled showcases every dreamy layer, from crumbly cookie base to the glossy swirl of Biscoff on top. Each bite is pure bliss, the kind of simple-but-decadent dessert you’ll want on repeat.
Try These Next
Craving more sweet treats or easy desserts? Here are some great picks to keep the deliciousness going.
- Rice Krispie Easter Nests — share that no-bake simplicity perfect for a quick festive dessert.
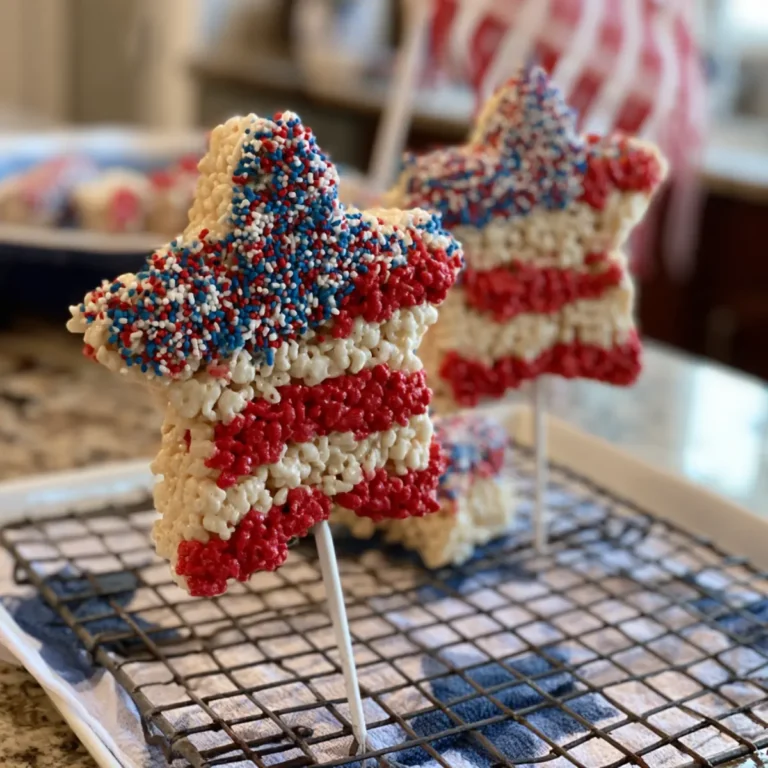
- Patriotic Rice Krispie Treats — ideal for casual gatherings with a fun and colorful twist.
- Rice Krispie Christmas Puddings — a seasonal dessert option with a crunchy texture contrast to creamy cheesecake.
Recommended Equipment
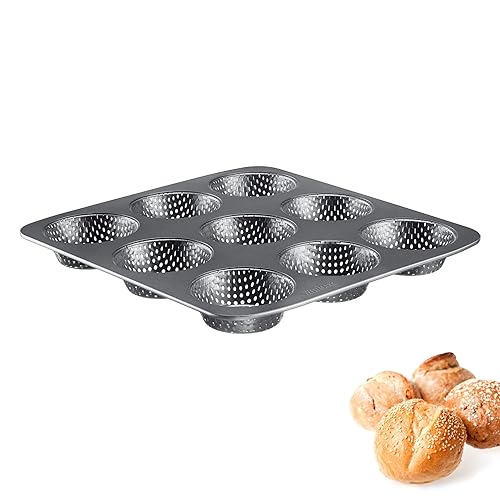

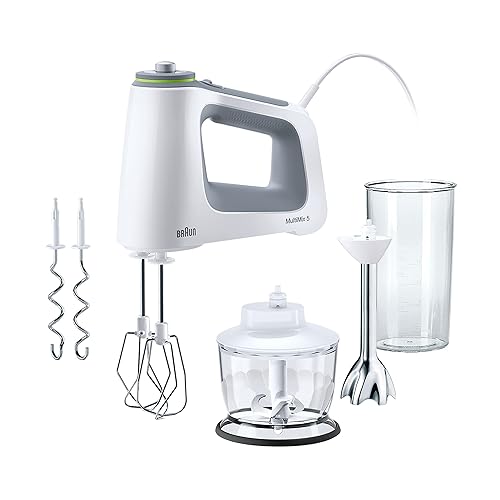
* As an Amazon Associate, I earn from qualifying purchases. There is no extra cost to you.

No-Bake Biscoff Cheesecake Bars
Ingredients
Equipment
Method
- Line an 8-inch (20 cm) square baking pan with parchment paper.
- Crush the Biscoff cookies into fine crumbs using a food processor or rolling pin.
- Stir the crumbs with the melted butter until evenly coated.
- Press the mixture firmly into the bottom of the prepared pan to create an even crust. Refrigerate while preparing the filling.
- In a large bowl, beat the softened cream cheese, powdered sugar, and melted Biscoff cookie butter until smooth, creamy, and lump-free.
- Spread the cheesecake filling evenly over the chilled crust, smoothing the top with a spatula.
- Pour the melted Biscoff cookie butter over the filling and gently spread it into a smooth, even layer.
- Sprinkle the crushed Biscoff cookies around the edges to create a decorative border, then place the whole cookie in the center.
- Refrigerate for at least 4 hours, or overnight, until the cheesecake is completely set.
- Slice into 16 bars and serve chilled.