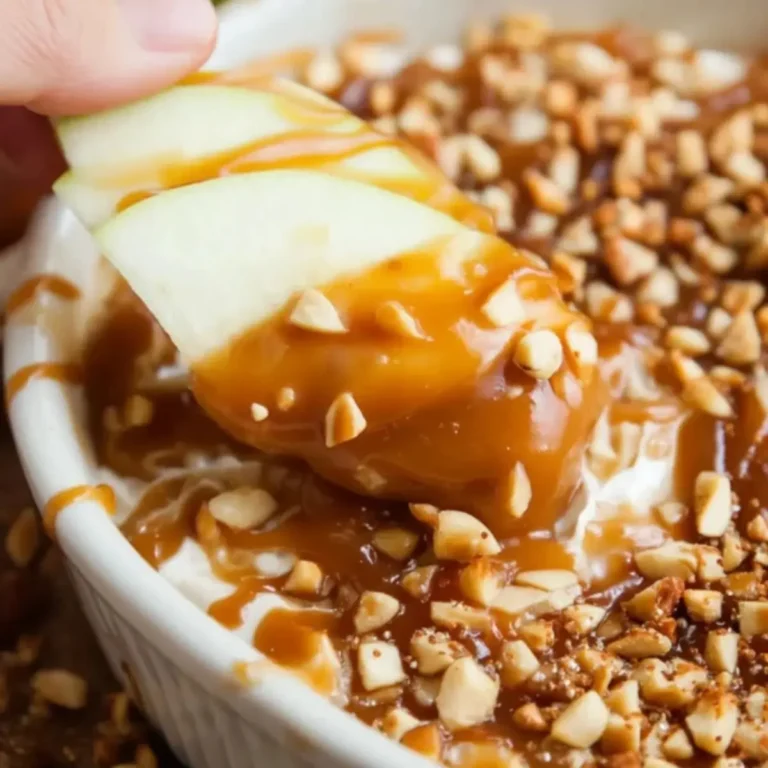
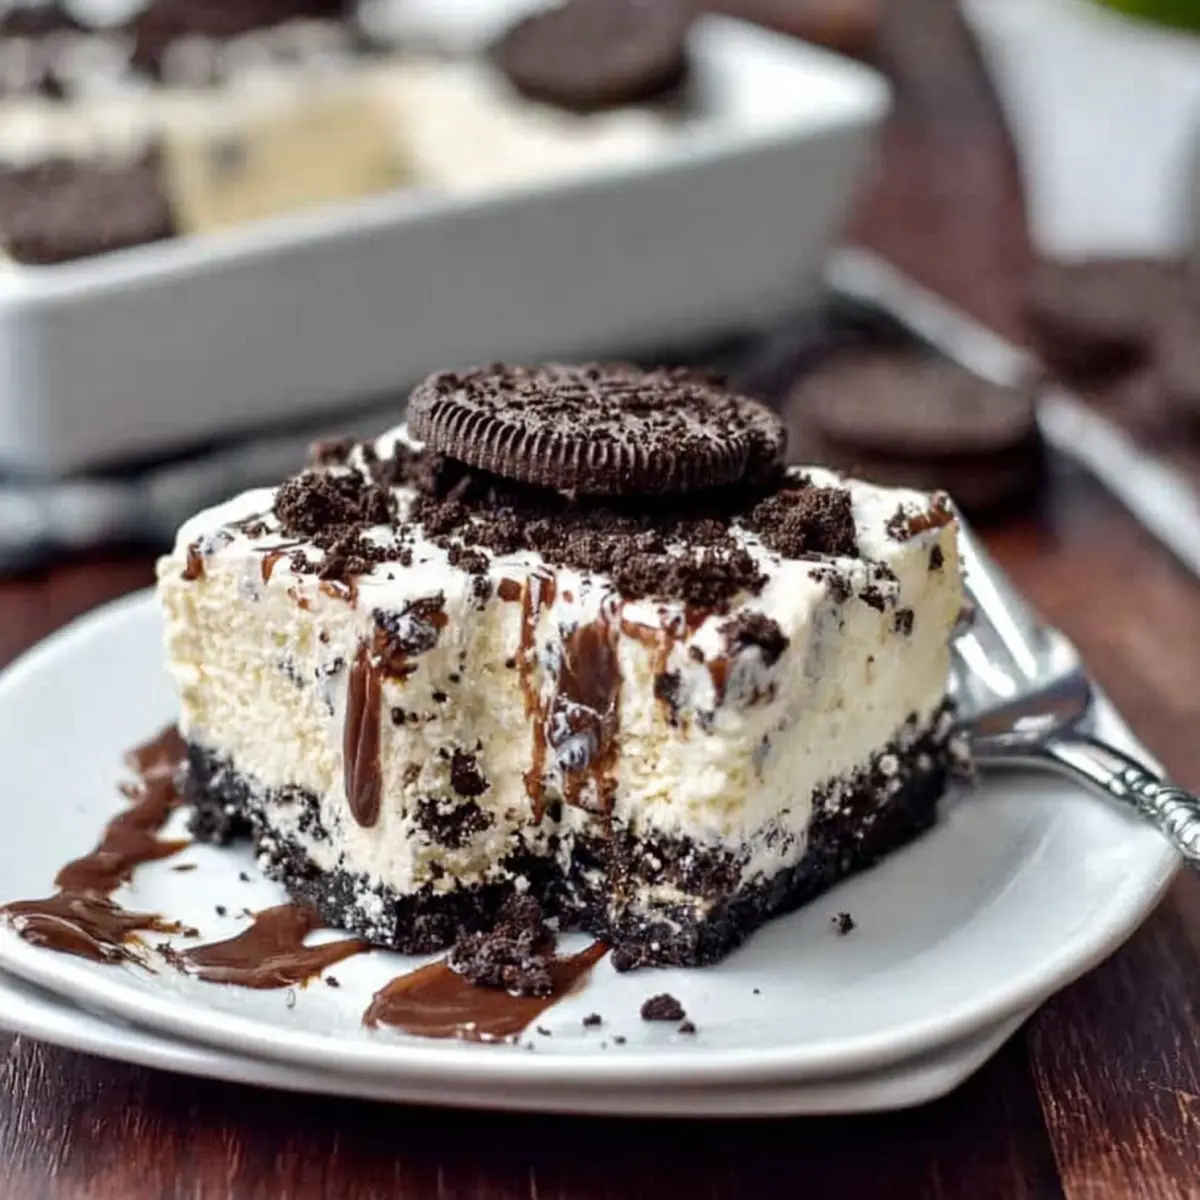
If you’ve ever found yourself staring at an empty dessert table ten minutes before friends arrive, you know that desperate last-minute scramble. It’s a mood. That’s exactly when I started relying on this No Bake Oreo Cheesecake. No oven, no water bath, just layers of creamy, cookie-studded goodness that somehow make it to the table before anyone notices the chaos behind the scenes. The contrast of the crunchy cookie base and velvety filling always makes people think you spent hours on it, which let’s be honest, is one of my favorite party tricks.
Why This Gluten-Free No Bake Oreo Cheesecake Wins Every Time
You know those desserts that are secretly the first to disappear at a potluck? This is always that one. No Bake Oreo Cheesecake delivers all the nostalgia of classic cookies-and-cream, but the entire thing is gluten free and ridiculously simple to throw together.
There’s zero baking involved, which means no worries about cracking tops or fussy cooling instructions. The crust comes together in moments, and you get that rich, unmistakable Oreo flavor in every slice. When it’s hot out and you want to keep the kitchen cool, this is the kind of recipe that lets you still serve something impressive and irresistible.
It’s got that pillowy cheesecake layer—lush and a little tangy—with the subtle crunch and chocolatey flavor from the cookie crust and extra bits swirled inside. Basically, it eats like a cross between a dreamy mousse and your favorite childhood treat, and it’s perfect for birthdays, barbecues, or any excuse you can think of to treat yourself.
No Bake Oreo Cheesecake Ingredients Up Close
- Gluten free chocolate vanilla creme cookies: These are your gluten-free Oreos, bringing all the classic taste (and crunch) to your crust and filling.
- butter: Does the heavy lifting binding the cookie crust, while adding that melt-in-your-mouth richness.
- Cream cheese: Softened to dreamy smoothness, it’s the star of your creamy, tangy filling.
- Granulated sugar: Balances the cream cheese with just enough sweetness.
- Vanilla extract: Brings a subtle warm flavor that ties everything together.
- Cool whip: Folds in effortlessly for lightness and that classic no-bake cheesecake texture.
See the recipe card below for the full list of ingredients and measurements.
Creative Substitutions for Your Cheesecake Cravings
If your kitchen’s running low or you want to switch up your No Bake Oreo Cheesecake, don’t stress. You can use any gluten free sandwich cookie that’s got a cream filling—think chocolate or even a fun seasonal flavor for the crust and topping.
For the filling, if cool whip isn’t handy, homemade whipped cream (just lightly sweetened) is lovely, though the texture may be a bit softer. Vegan butter and plant-based cream cheese work well for a dairy-free spin, and you can even sneak in a flavored extract (like almond or coconut) to change up the background notes. It’s a forgiving recipe, so feel free to get creative and make it your own.
Easy Step-by-Step: How to Nail No Bake Oreo Cheesecake
- Crush the gluten free cookies into small, crumbly pieces. You’ll want some larger bits for a bit of texture, so you don’t need to turn them into total dust. Reserve some for mixing in and for that all-important sprinkle on top.
- Melt your butter gently and mix it into those cookie crumbs. You’re aiming for a texture that clumps together when squeezed but doesn’t drip butter everywhere. Press this cozy mixture firmly into your pan to make a crust that actually holds its shape.
- In a fresh bowl, start beating your cream cheese with sugar and a splash of vanilla. You want things super smooth, with every trace of sugar dissolved before you add more ingredients.
- Fold in the cool whip (or your whipped cream) along with a generous handful of those reserved cookie bits. This step is where all the pillowy, mousse-like texture comes from.
- Scoop the filling onto the crust, smoothing it into every corner—an offset spatula helps if you’re feeling official, but a butter knife works like a charm, too. Finish with the rest of the cookie pieces sprinkled all over the top for those gorgeous chunks and extra crunch.
- Pop the whole thing into the fridge and give it time to chill. This is where the magic happens—the filling sets up beautifully, the flavors meld, and slicing becomes a breeze.
Secret Tips for Creamy Cheesecake Success
Let your cream cheese come up to room temperature for the smoothest, lump-free filling. Go gently when folding in your whipped topping—too much stirring can deflate all that lovely air and leave you with a dense cheesecake.
Press the crust down really firmly so it doesn’t crumble when you cut slices later. A flat-bottomed glass works wonders here. Give your cheesecake plenty of chilling time for clean, picture-perfect slices—overnight is even better if you can swing it.
Leftovers will keep well in the fridge, tightly wrapped, for a few days. If you’re prepping ahead for a party, you can fully assemble it a day before serving.
Serving Ideas, Variations, and Making Ahead
This No Bake Oreo Cheesecake really shines solo, but if you want to up the decadence, a drizzle of chocolate or caramel sauce right before serving is outrageously good. Top with some fresh berries for a pop of tartness and color—raspberries or strawberries play beautifully with chocolate and cream.
For mini desserts, press the crust and filling into individual jars or ramekins: adorable for parties and picnics. You can also mix up the cookie type for different flavors—think peanut butter cookies, mint cookie sandwiches, or any other gluten free favorites.
If you need to make it ahead, just cover and chill. The texture actually improves after a good, long chill. Prefer a frozen treat? Pop slices in the freezer for an hour before serving for a more ice-cream-like vibe.
FAQs about No Bake Oreo Cheesecake
Can I make No Bake Oreo Cheesecake with regular Oreos instead of gluten free?
Yes, you can swap in regular Oreos if you don’t need a gluten free dessert. Just use the same method for crushing and layering—everything else stays the same.
How long does no bake cheesecake need to chill before serving?
No bake cheesecakes are best after several hours in the fridge. This chill time keeps the texture creamy but sliceable and lets the flavors meld completely.
Can I use homemade whipped cream instead of cool whip?
Absolutely! Homemade whipped cream works well in place of cool whip but will result in a slightly softer set, so chill thoroughly before serving.
Is it possible to freeze this Oreo cheesecake?
Yes, you can freeze this No Bake Oreo Cheesecake. Wrap slices tightly and freeze for up to a month; let them sit at room temperature for about 20 minutes before enjoying.
Final Thoughts on No Bake Oreo Cheesecake
There’s something special about a dessert that’s this easy yet tastes like you fussed over every layer. No Bake Oreo Cheesecake delivers pure comfort and nostalgia in every creamy, chocolate-flecked bite.
Next time you need a foolproof, crowd-pleasing treat—no oven required—you’ll know exactly where to turn.
More Delicious Recipes
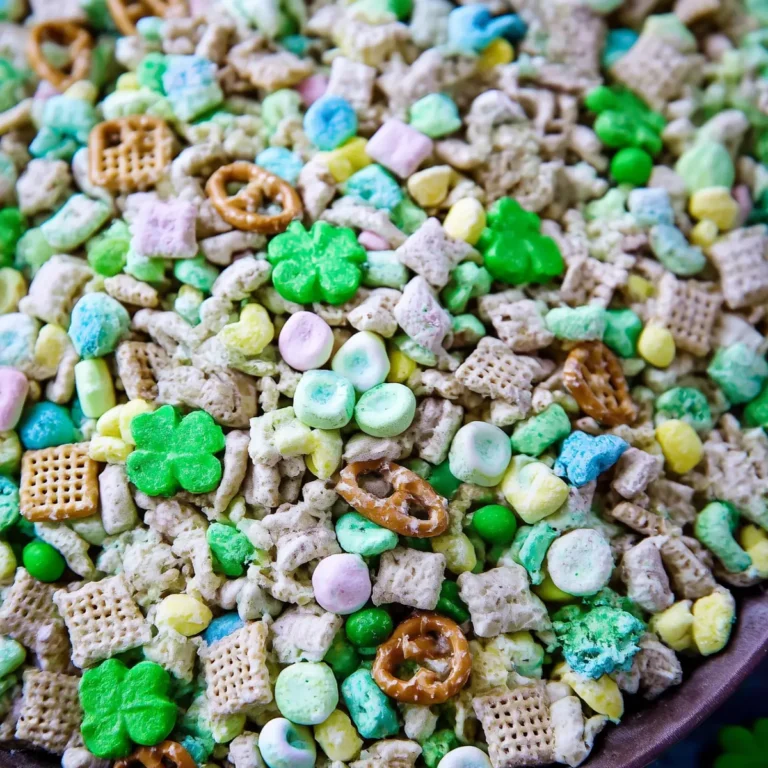
- Christmas Eve Snack Mix: This festive treat is perfect for gatherings, combining sweet and salty flavors that everyone will enjoy.
- Peppermint Hot Chocolate: A delightful drink that pairs perfectly with dessert, especially during the holiday season.
- Cranberry Cream Cheese Crescent Bites: These tasty bites are easy to make and offer a sweet and savory flavor that complements your No Bake Oreo Cheesecake well.
No Bake Oreo Cheesecake Recipe (Gluten Free)
Ingredients
Equipment
Method
- Place the cookies in a large Ziploc bag and, using your hands or a rolling pin, crush into small pieces. Reserve 1/3 of the pieces to mix with the filling and to decorate the top.
- Melt the butter in a small saucepan.
- In a large mixing bowl, combine the cookie pieces and melted butter. Press the mixture into the bottom of a 9"x13" pan and set aside.
- Place the cream cheese, sugar, and vanilla in a large mixing bowl. Use an electric mixer to beat until well blended.
- Fold the cool whip and 1/2 of the reserved cookie pieces into the cream cheese mixture.
- Spoon the mixture onto the crust. Use a table knife or off-set spatula to smooth the mixture evenly over the crust. Sprinkle the remaining reserved cookie pieces over the top.
- Chill the cheesecake, in the refrigerator, for at least 4 hours before serving.