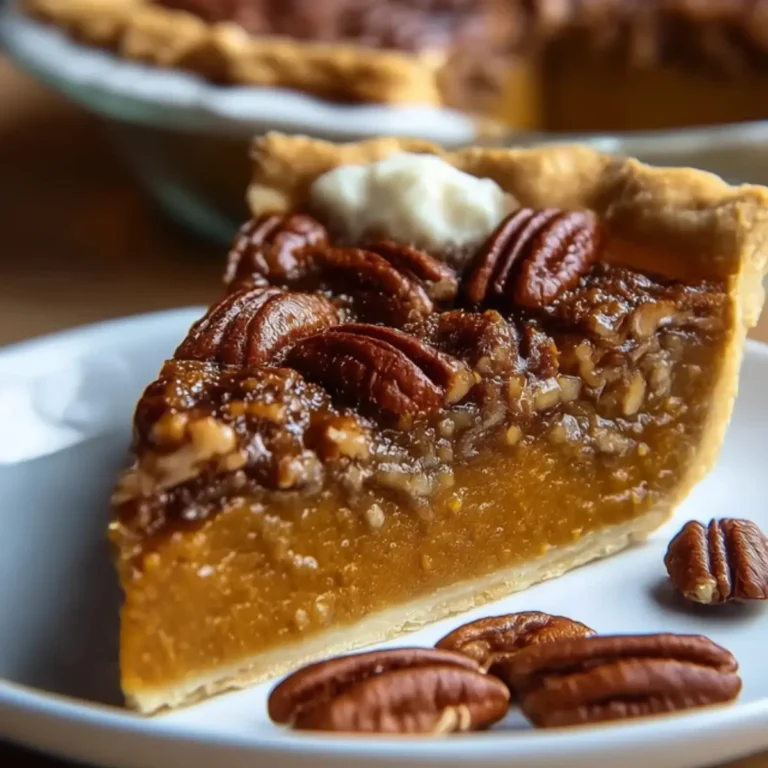
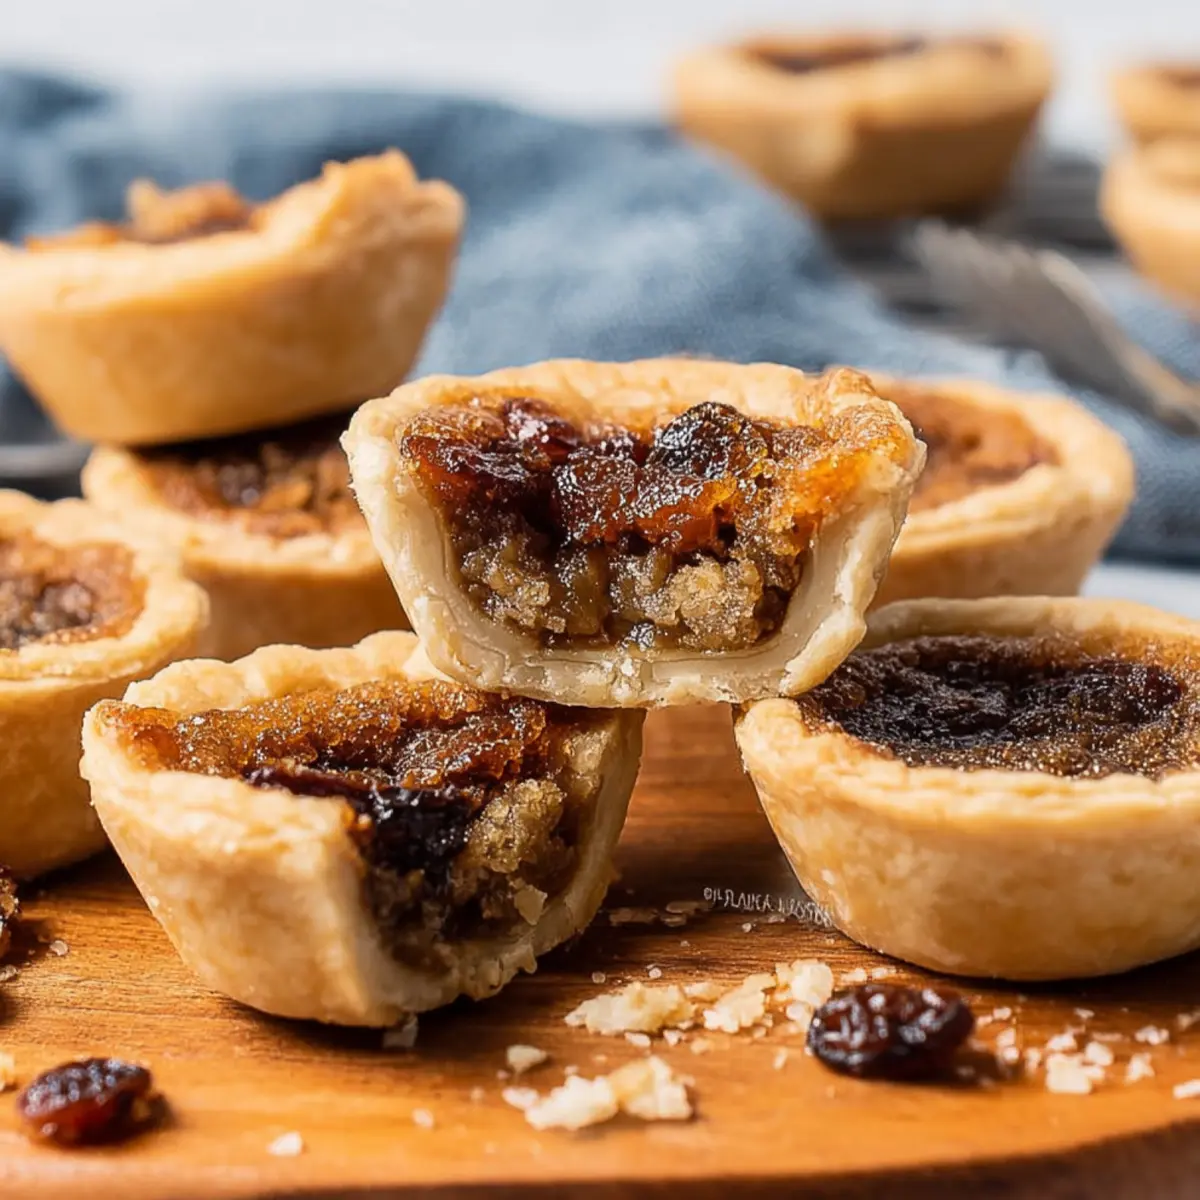
There’s just something magical about a tray of Old Fashioned Butter Tarts cooling on the counter, the aroma of caramelized sugar, butter, and vanilla drifting through the kitchen. These tarts have earned their reputation as a must-have treat at every Canadian holiday table—crisp, golden pastry cradling a gooey, sweet filling dappled with plump raisins. If you crave nostalgic desserts that make you close your eyes with the first bite, you’ll want to add this butter tart recipe to your baking collection.
What makes these Old Fashioned Butter Tarts irresistible is their rich, brown sugar filling, which firms up just enough to be sliceable but stays beautifully soft and sticky in the center. One batch disappears in no time—trust me, I’ve seen family members sneak a second tart before dinner is even served.
Canadian comfort: Why these butter tarts are unbeatable
Butter tarts have been a cherished Canadian treat for generations, showing up at family gatherings, on holiday dessert tables, and in cozy kitchens across the country. What sets these apart is the perfect balance: a flaky pastry shell that crunches lightly when bitten, and a luscious, brown sugar filling that isn’t too runny or too firm.
The rich flavor of brown sugar melds with real vanilla and pops of sweet raisin in every bite. The joy is in their simplicity—no fancy equipment or hard-to-find ingredients, just a straightforward method that brings the nostalgic taste of old-fashioned baking into your home. These tarts have a way of sparking memories and smiles, whether you’re sharing them with new friends or re-creating a childhood favorite.
Tools and pans for perfect butter tarts every time
- Mixing bowl – For combining your filling; use a medium-sized one for easy whisking.
- Electric mixer or sturdy whisk – To blend the butter and sugar until creamy.
- Muffin tins – Standard size, ideally two 12-cup tins to bake all your tarts in one go.
- 3.5-inch round cutter or wide-mouth jar lid – If you make homemade pastry, this forms the ideal shell size.
- Non-stick cooking spray – A quick spritz ensures the tarts come out cleanly.
- Measuring spoons and cups – For precise, no-fuss measuring.
These are all you’ll need for tarts with crisp, even shells and a glossy, golden filling that sets just right.
Inside the filling: Essential ingredients for Old Fashioned Butter Tarts
- Tart shells (uncooked, homemade or store bought) – The crisp, buttery base that cradles the luscious filling; choose homemade for an authentic touch or store-bought for ease.
- Butter (softened) – Delivers rich flavor and that melt-in-your-mouth texture; use regular salted or unsalted, as you like.
- Light brown sugar – Adds deep caramel notes and keeps the filling gooey.
- Large eggs – Bind the filling, giving it structure and a hint of custardy richness.
- Milk – Softens the sweetness, creating a creamier, more balanced interior.
- Vanilla – Brings warmth and a classic aroma that lingers as they bake.
- Raisins – Old-school and oh-so-satisfying; they plump up in the filling for little bursts of chewy sweetness.
See the recipe card below for the full list of ingredients and measurements.
Bake like a pro: Step-by-step to Old Fashioned Butter Tarts
- Preheat your oven to 190°C. This ensures a nice, even heat that’ll help the pastry crisp while the filling sets beautifully.
- If you’re making pastry from scratch, roll your dough and cut out rounds with a 9-centimeter cutter or wide-mouth jar lid. Lightly spray two standard 12-cup muffin tins with non-stick spray, then gently press your pastry rounds into the cups, forming shallow shells. Try not to stretch the dough—that’s how you keep those gorgeous, crisp edges.
- In a medium bowl, beat the butter and brown sugar until creamy and well combined. The mixture should turn a bit paler and slightly fluffy. Then, add the eggs, milk, and vanilla, mixing until the filling looks smooth and glossy.
- Stir in the raisins so they’re evenly distributed throughout the filling.
- Spoon the filling into each tart shell, filling them about two-thirds full. This helps prevent spillover and gives you that signature domed, golden look.
- Bake for 25 minutes, or until the pastry is golden brown and the filling is set with a slight jiggle in the center. You’ll notice the tops turning glossy and lightly caramelized.
- Let the tarts cool in the muffin tin for at least 10–15 minutes. This makes them much easier to remove—just loosen the edges gently with a small knife if needed. Once cool, transfer the tarts to an airtight container for storage.
Tricky tarts? Tips for troubleshooting and making them foolproof
Old Fashioned Butter Tarts are simple, but as with any classic, a few tips go a long way to ensure success:
- Prevent overflowing filling: Don’t overfill the shells—stick to about two-thirds full. This keeps the centers gooey but contained, so you avoid sticky spillover.
- Removing from the tin: Patience pays off. Let the tarts cool before removing; hot tarts can break or stick.
- Even baking: Rotate your muffin tins halfway through baking for even color and a uniform set.
- Crisp or soft pastry: If you like a crisper shell, use homemade pastry and let the tarts cool completely before eating. For a softer bite, store them in an airtight container overnight.
- Sticky bottoms: Be sure to spray the muffin tins well, especially if your pastry is homemade, as any syrupy filling can glue the tart in place.
Don’t stress over tiny cracks—these just add to their character! The aroma will win everyone over before they even see them.
Filling flavors: Pairings and tasty variations on butter tarts
Butter tarts are delightful all on their own, but they also play nicely alongside creamy desserts or bright fruit salads. Try pairing them with:
- A scoop of good vanilla ice cream for hot–cold contrast.
- Strong coffee or black tea to cut through their sweetness.
- A wedge of sharp cheddar—a classic Canadian combo that’s surprisingly tasty.
Looking for fresh twists or simple swaps? Substitute currants or chopped walnuts for the raisins, or add a sprinkle of flaky sea salt just after baking for a modern hit. Some like their tarts plain, skipping the raisins altogether for a pure, gooey filling. You can also use coconut, pecans, or mini chocolate chips for a fun, crowd-pleasing spin.
If you want to make them more festive, try adding a pinch of cinnamon or a splash of maple syrup to the filling before baking.
FAQs about Old Fashioned Butter Tarts
How long do Old Fashioned Butter Tarts stay fresh, and how should I store them?
Butter tarts keep well at room temperature for up to three days in an airtight container. For longer storage, refrigerate them for up to a week. Make sure they’re fully cooled before storing so they keep their texture.
Can I freeze Old Fashioned Butter Tarts for later?
Yes, these tarts freeze beautifully! Arrange cooled tarts in a single layer in an airtight container or between sheets of parchment. Thaw at room temperature for a few hours, and they’ll taste as good as fresh-baked.
Is it possible to substitute the raisins or make the filling nut-free?
Absolutely. You can swap out raisins for currants, nuts, or leave them out entirely for plain butter tarts. If you want to avoid nuts for allergy reasons, just stick to the original recipe or use an alternative like dried cranberries for a twist.
A sweet ending: Old Fashioned Butter Tarts worth sharing
When you pull a batch of Old Fashioned Butter Tarts from the oven, the buttery aroma and warm, golden filling set the scene for real comfort. Every bite delivers flaky pastry, gooey sweetness, and a pop of soft raisin. These tarts bring people together—whether you serve them at a festive gathering, afternoon tea, or as a midnight treat. Enjoy them with your favorite hot drink, and let each mouthful take you back to simpler, sweeter moments.
More Delicious Recipes
- Christmas Eve Snack Mix: This festive treat is perfect for holiday gatherings, echoing the sweet and cozy vibes of butter tarts.
- Honey Sesame Chicken: A delightful dish that balances sweetness and flavor, similar to the rich filling of butter tarts.
- Sweet Potato Casserole with Pecan Topping: This comforting dish brings together sweet and nutty flavors, making it a great side for any holiday meal.
Old Fashioned Butter Tarts
Ingredients
Equipment
Method
- Pre-heat oven to 375°F.
- If making your own pastry, roll and cut your pastry into rounds with a 3.5 inch cutter, or the lid of a wide mouth mason jar. Lightly spray 2 12-cup muffin tins with non-stick spray and gently press the shells into the muffin tins.
- In a medium size bowl, beat the butter and sugar together, then beat in the eggs, milk and vanilla until smooth.
- Stir in the raisins.
- Spoon filling into each of the shells, filling to 2/3 full.
- Bake for 25 minutes, or until golden brown.
- Allow to cool in the muffin tin, then remove and store in an airtight container.