You know that feeling when you spot an old-fashioned chocolate cream pie cooling on the counter? It’s almost impossible to resist sneaking a peek under the plastic wrap, catching that deep cocoa scent, and dreaming about the creamy filling nestled in a tender crust. This classic treat takes you right back to small-town diners, family holiday gatherings, or simple Sunday suppers, with every bite delivering the perfect balance of smooth chocolate and buttery pastry.
If you crave that real, from-scratch flavor—rich, silky filling and a simple, honest finish—then this old-fashioned chocolate cream pie is the nostalgic dessert you need. No fancy modern spins, just time-tested ingredients and a process that’s as comforting as the taste. So grab your saucepan, clear a spot in your fridge, and get ready to stir up a pie that’s pure chocolate joy.
Why Old-Fashioned Chocolate Cream Pie Never Goes Out of Style
Some desserts just feel like home, and old-fashioned chocolate cream pie is at the top of the list. What makes this pie truly special is its pure simplicity—rich chocolate custard, a sturdy yet tender crust, and that irresistible crown of whipped cream. Each bite melts effortlessly, giving you the perfect balance of sweet, creamy, and just a hint of salt.This pie isn’t fussy. You get a silky chocolate filling without needing complicated techniques or hard-to-find ingredients. It’s friendly to bakers of every skill level and always looks beautiful whether you serve it for a celebration, a potluck, or a quiet night with family. The old-fashioned approach means real cocoa notes take center stage, and the result is a texture that’s satiny smooth, deeply chocolaty, and nostalgic in every way.
Key Ingredients for Perfect Chocolate Cream Pie
The secret to great chocolate cream pie is quality basics that let the chocolate shine. Here’s what brings it all together:- pie crust – The foundation for your filling, providing both flavor and structure. A pre-baked crust gives a crisp bite.
- Granulated sugar – Sweetens the filling and helps with a glossy, smooth finish.
- Unsweetened cocoa powder – The main source of chocolate flavor, making the filling deeply rich.
- All-purpose flour – Gently thickens the custard for a sliceable, creamy consistency.
- Salt – Just a touch to balance sweetness and enhance the cocoa.
- Whole milk – Adds body and helps achieve a silky, luscious texture.
- Large egg yolks – Give structure and creamy thickness to the pie filling.
- Butter – Melts in at the end for richness and extra smoothness.
- Vanilla extract – Adds warmth, rounding out the chocolate beautifully.
- Fresh whipped cream – An optional, dreamy topping that elevates each slice.
- Chocolate shavings or curls – Another optional flourish, adding texture and visual appeal on top.
See the recipe card below for the full list of ingredients and measurements.
Old-Fashioned Method for a Silky Chocolate Filling
Making an old-fashioned chocolate cream pie is all about slow, careful stirring and a touch of patience. Here’s a step-by-step process to help you nail that perfect silky filling and crisp crust:- Whisk together the sugar, cocoa powder, flour, and salt in a medium saucepan. You want the mixture to be well combined, breaking up any dry cocoa lumps for even flavor.
- Gradually pour in the whole milk, whisking constantly until the mixture is completely smooth. No visible flour or cocoa streaks should remain.
- Place the saucepan over medium heat and cook, stirring steadily. The filling will go from thin to thick and glossy, starting to bubble gently at the edges.
- In a small bowl, ladle a bit of the hot chocolate mixture over the egg yolks and whisk briskly. This tempers the eggs, preventing curdling.
- Pour the tempered yolks back into the saucepan, whisking constantly, and cook for a couple more minutes. The filling will become even thicker and develop a deep chocolate sheen.
- Remove the pan from heat and add the butter and vanilla extract. Stir until the butter is completely melted, making the filling extra rich and smooth.
- Pour the hot chocolate filling into the pre-baked pie crust. Use a spatula (an offset spatula works best) to smooth out the top.
- Let the pie cool at room temperature to reduce condensation, then move it to the fridge for several hours until completely set and perfectly sliceable.
- Just before serving, dollop (or pipe) freshly whipped cream over the top, and finish with chocolate shavings or curls for that bakery-worthy look.
Texture Tips and Pie Perfection
Achieving that classic pudding-smooth filling takes a little attention, but the results are more than worth it. The key is gentle, constant whisking, both while cooking and when adding eggs, so you avoid lumps and keep the final texture silky rather than grainy. If you spot any tiny lumps after cooking, simply press the hot filling through a fine-mesh sieve before pouring it into the crust.- Don’t walk away while cooking the chocolate mixture—constant stirring keeps it smooth and prevents sticking on the bottom.
- Temper the egg yolks slowly with a little of the hot filling to prevent scrambling.
- Melt the butter and vanilla in completely for the creamiest texture and full flavor.
- Let the pie cool at room temperature first. Putting it straight in the fridge can cause condensation on the filling or soften the crust.
- Chill the pie long enough for truly clean slices—overnight is best if you have time!
Serving Ideas and Chocolate Cream Pie Variations
Old-fashioned chocolate cream pie is a hit just as it is, but a few small tweaks or pairings can tailor it to any occasion. Try swapping the whipped cream for a scoop of vanilla gelato or a drizzle of raspberry puree if you want a fruity twist. If you like crunch, add a sprinkle of toasted chopped nuts on each slice.For a more grown-up flavor, a little espresso powder whisked into the cocoa amplifies the chocolate taste. You can also top with a dusting of cocoa powder, extra chocolate curls, or even a handful of toasted coconut for something tropical. Serve with hot coffee or a cool glass of milk for a classic diner-style treat.
Storing and Making Ahead
Chocolate cream pie is one of those desserts that stores beautifully. Once the pie has cooled and set in the fridge, loosely cover it with plastic wrap or foil to prevent the filling from absorbing any fridge odors. It’ll stay fresh for several days, making it a fantastic make-ahead option for gatherings or holidays.If you need to prepare it the day before, simply wait to add the whipped cream topping until just before serving so it stays fluffy. Individual slices can be kept chilled and enjoyed cold straight from the fridge. Freezing isn’t typically recommended, as the creamy filling can lose its silky texture once thawed, but short-term refrigeration ensures the best possible results.
FAQs about Old-Fashioned Chocolate Cream Pie
Can I use a homemade crust instead of store-bought?
Yes, you can absolutely use a homemade crust for your chocolate cream pie. Make sure to pre-bake it fully so it supports the custard filling. Blind baking keeps the bottom crisp and prevents sogginess.
How long does old-fashioned chocolate cream pie keep in the fridge?
The pie keeps well in the refrigerator for up to several days. Be sure to cover it to protect the filling and keep the flavors fresh. Wait to add whipped cream topping until serving.
What should I do if my chocolate cream pie filling is lumpy?
If you notice lumps, passing the hot filling through a fine-mesh sieve before adding it to the crust will help straighten things out. Whisking constantly is the key to smooth texture from the start.
Can I make old-fashioned chocolate cream pie ahead of time?
Yes, this pie is perfect for making ahead. Chill it fully in the fridge until set, and add the whipped cream and toppings just before serving to keep everything fresh and fluffy.
Bring Back Comfort with Homemade Pie
There’s just something so comforting about bringing a classic old-fashioned chocolate cream pie to the table. With its silky filling, gentle cocoa perfume, and a clean slice that holds together beautifully, it’s a dessert that invites everyone to linger just a bit longer. Whether you top it with clouds of whipped cream or chocolate curls, this pie provides the familiar flavors and textures that make homemade feel extra special.What To Try Next
If you love classic creamy desserts, these picks will delight your taste buds in different ways.
- Peach Cool Whip Pie — another easy, no-bake pie with a creamy and fruity twist.
- No Bake Biscoff Cheesecake Bars — shares the no-bake creamy texture, perfect for chocolate lovers who want something different.
- Oreo No Bake Dessert — a rich, chocolatey option with crunchy cookie layers to complement your cream pie experience.
Recommended Equipment
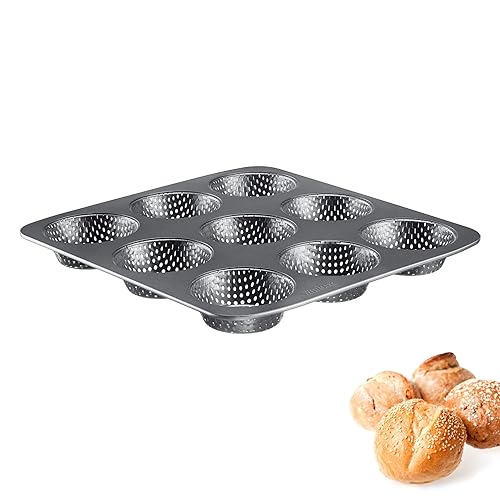
Westmark 32732260 Non-Stick Round Baking Pan
Ideal for baking pie crust and tart bases
View on Amazon
* As an Amazon Associate, I earn from qualifying purchases. There is no extra cost to you.
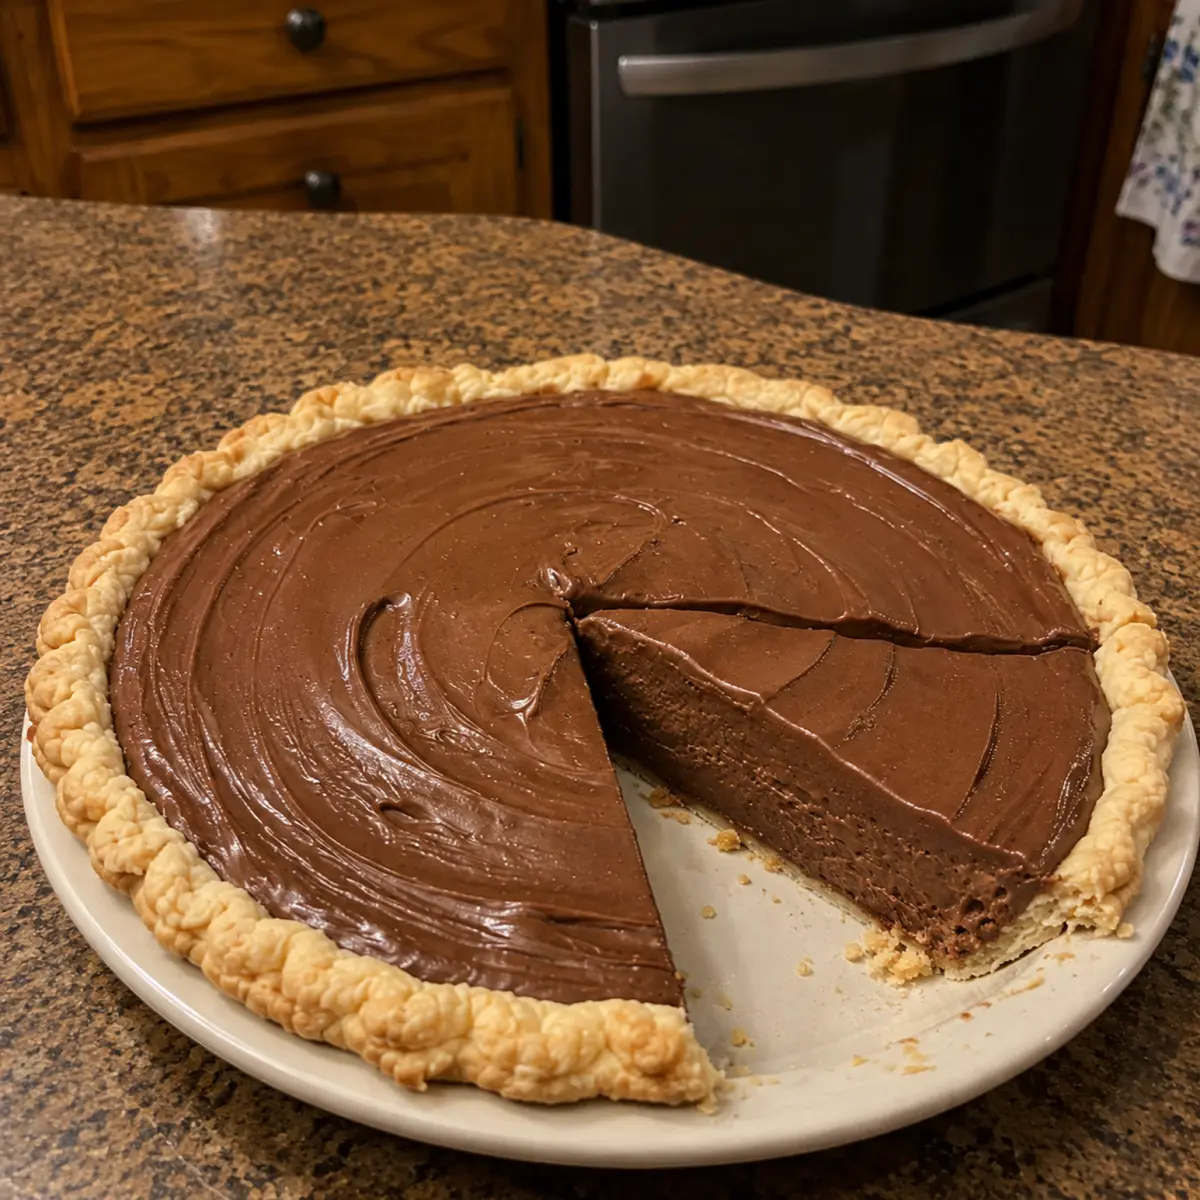

Old-Fashioned Chocolate Cream Pie
Ingredients
Equipment
Method
- In a medium saucepan, whisk together the sugar, cocoa powder, flour, and salt.
- Gradually whisk in the whole milk until the mixture is completely smooth.
- Cook over medium heat, stirring constantly, until the filling thickens and begins to bubble.
- In a small bowl, slowly whisk a little of the hot chocolate mixture into the egg yolks to temper them.
- Pour the tempered egg yolks back into the saucepan, whisking constantly, and cook for 2 more minutes until thick and silky.
- Remove the saucepan from the heat and stir in the butter and vanilla extract until fully melted and smooth.
- Pour the chocolate filling into the pre-baked pie crust and smooth the top with a spatula.
- Let the pie cool for about 30 minutes, then refrigerate for at least 4 hours or until completely set.
- Before serving, top with freshly whipped cream and chocolate shavings if desired.