It’s hard not to smile when you pull a tray of Teddy Bear Pizza Buns from the oven. Golden dough forms little round faces and pudgy arms, bubbling cheese and spicy pepperoni giving each bear its pizza-style “belly.” Whether you’re making them for a family movie night, birthday party, or as an after-school surprise, these adorable savory buns hit all the right notes for fun and flavor. Teddy Bear Pizza Buns bring a playful twist to a classic pizza snack—and nobody can resist a warm, cheesy bun shaped like a teddy bear.
Kids light up at the sight of these, and adults aren’t immune either. The combination of pillowy dough, melted cheese, and a little bit of creative assembly turns a simple baking day into something memorable. The best part? You don’t need fancy skills to make each little bear—just a few easy steps and a willingness to get your hands a little floury.
Teddy Bear Pizza Buns: A Delight for All Ages
There’s something extra special about food that looks as fun as it tastes. Teddy Bear Pizza Buns are more than just a pizza snack—they’re charming, hands-on, and absolutely perfect for making cherished memories in the kitchen. The pillowy-soft dough bakes to a beautiful golden color while holding together gooey mozzarella and zesty pepperoni. Each bear gets its own “pizza belly,” bubbling and crispy at the edges.Whether you’re crafting these for a themed birthday, a bake sale, or just because, Teddy Bear Pizza Buns are guaranteed to be a crowd-pleaser. The whimsical shapes make them irresistible to kids and the cheesy, savory filling will make them disappear from the plate faster than you’d think. They’re also just the right size for dipping and sharing, which makes them a hit at gatherings both big and small.
Ingredient Notes for Adorable Teddy Bear Pizza Buns
Everything you need for Teddy Bear Pizza Buns can be found at just about any supermarket or in your fridge. Here’s how each ingredient brings the bears to life, along with some smart substitution ideas if you want to tweak the flavors or get creative with what’s on hand.- Pizza dough – The backbone of every bun, this is what forms the bear shape and gives you that soft, chewy texture. Store-bought works well, or use homemade for an extra personal touch.
- Sauce – A spoonful of classic pizza sauce brings tanginess and moisture to the cheesy center.
- Shredded mozzarella cheese – Essential for that creamy, melty belly in the middle. Mozzarella gives the perfect melt and mild flavor.
- Pepperoni slices – These add a pop of color and a bit of spice on the teddy’s belly. Swap them out for your favorite toppings if you like.
- 1 egg, beaten – Brushed around the doughy parts, the egg wash gives each bear a shiny, golden-brown finish.
- Melted chocolate or edible food marker, for the face – This is your finishing touch! Draw little bear faces for personality after baking and cooling.
See the recipe card below for the full list of ingredients and measurements.
How to Shape and Bake Teddy Bear Pizza Buns
Transforming simple pizza ingredients into playful teddy bears is surprisingly easy—and a little bit magical. Here’s a step-by-step look at making your own batch of Teddy Bear Pizza Buns.- Preheat your oven to 190°C and line a baking sheet with parchment paper for easy cleanup and even browning.
- Working on a lightly floured surface, divide the pizza dough into 6 portions to form your six teddy bears.
- Roll each main portion into a round or oval shape—this will be the teddy bear’s body—and set it on your baking sheet.
- Gently press the center of each bear body to create a shallow “belly” area that’ll hold the toppings.
- Shape two small pieces of dough for the ears and attach to the top of each body, pressing gently so they stick.
- Roll out two more tiny bits for the arms, attaching these to the sides, then two mini dough balls for the feet at the base.
- Add a small spoonful of pizza sauce to the indented belly area on each bear, spreading it evenly but staying inside the “belly” border.
- Sprinkle the shredded mozzarella cheese just over the sauced belly center for maximum gooeyness.
- Arrange pepperoni slices over the cheese—you can make a smiley, stripes, or keep it classic with a few circle slices.
- Brush all the exposed dough (ears, arms, feet, and body) with the beaten egg for that beautiful, golden shine.
- Bake in the preheated oven until the bears are cooked through and the dough turns deep golden brown, with cheese bubbling in the center.
- Allow the buns to cool slightly before handling—this keeps the cheese from running and makes decorating easier.
- Once cooled, create teddy faces by carefully drawing on eyes, nose, and mouth using either melted chocolate or an edible food marker.
- Serve the Teddy Bear Pizza Buns warm. They’re perfect with extra pizza sauce, marinara, or even ranch for dipping.
Tips and Tricks for Perfect Bears Every Time
Getting those teddy bears plump, golden, and cute takes just a little attention to detail—and some fun! A few tried-and-true tricks can help you avoid the most common pitfalls:- Stick everything securely: When shaping the arms, ears, and feet, press the dough pieces gently but firmly into the body so they don’t fall off during baking.
- Don’t overfill: Keep the sauce and cheese centered on the “belly” so it doesn’t leak onto the baking tray and burn.
- Watch the oven: Golden brown edges and bubbling cheese are your best cues that the buns are ready.
- Cool before decorating: Letting the buns cool slightly ensures the chocolate doesn’t melt off or bleed when you draw the faces.
- Use a bench scraper or offset spatula: For moving the unbaked bear shapes onto the tray and off again after baking without stretching their arms and legs.
Creative Variations and Serving Ideas
Teddy Bear Pizza Buns offer endless ways to have fun with flavor and style. Switch up the “belly” toppings: swap pepperoni for diced veggies, ham, or even pineapple for a playful twist. You can give your bears different “expressions” with various face designs—a wink here, a wide grin there.Serve your pizza buns with little bowls of different dips like ranch, classic tomato sauce, or garlic butter for extra fun. For themed parties, pair them with fruit skewers, veggie sticks, or make a full kids’ platter with other shaped snacks. These buns are also great for lunchboxes—simply wrap them up and pop them in for a delightful surprise.
Make-Ahead, Storage, and Reheating for Pizza Buns
If you’re prepping Teddy Bear Pizza Buns in advance, you can shape and assemble the bears several hours ahead and keep them covered in the refrigerator until it’s time to bake. After baking, store leftovers in an airtight container at room temperature for a day or two, or in the fridge for a few extra days.To reheat, pop the buns in a warm oven just until heated through so the bread stays soft and the cheese gets melty again. Freezing is possible, though the details of the bears may soften—wrap individually, freeze on a tray, then transfer to a bag or container.
FAQs about Teddy Bear Pizza Buns
Can I use homemade pizza dough for Teddy Bear Pizza Buns?
Yes, homemade dough works perfectly for these buns. Just make sure it’s well-kneaded and not too sticky so you can easily shape the bears.
What can I use instead of pepperoni on the pizza buns?
You can swap pepperoni for any other favorite topping—try ham, mushrooms, bell pepper, or even tiny cut veggies for a vegetarian bear.
How should I store Teddy Bear Pizza Buns after baking?
Store cooled buns in an airtight container at room temperature for up to two days, or in the fridge for a longer shelf life. For best taste, reheat before serving.
Can Teddy Bear Pizza Buns be frozen?
Yes, they can be frozen after baking. Wrap each bun individually and place them in a freezer-safe container; thaw and reheat gently to serve.
Bring a Smile with Teddy Bear Pizza Buns
Baking Teddy Bear Pizza Buns always brings a little magic into your kitchen. Whether you make them for a special occasion or just to brighten an ordinary afternoon, they’re sure to spark grins and fill the house with the mouthwatering scent of fresh pizza. Every bear you pull off the tray is one-of-a-kind, warm and perfect for sharing with friends or family.What To Try Next
If you enjoyed these fun pizza buns, here are some recipes to keep your kitchen lively and tasty.
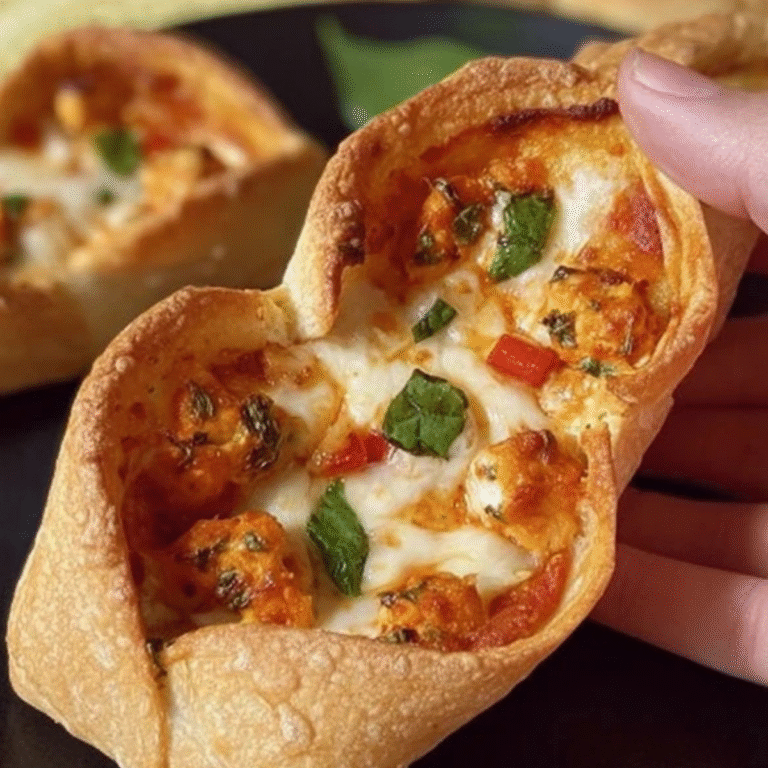
- Baked Pepperoni Pizza Tortilla Rolls — another fun pizza-inspired bite perfect for snack time or parties.
- Creamy Tomato Soup — a comforting soup that pairs beautifully with cheesy baked treats like pizza buns.
- Cheesy Taco Rice Skillet — brings a flavorful contrast with a cheesy, savory skillet dish to try next meal.
Recommended Equipment
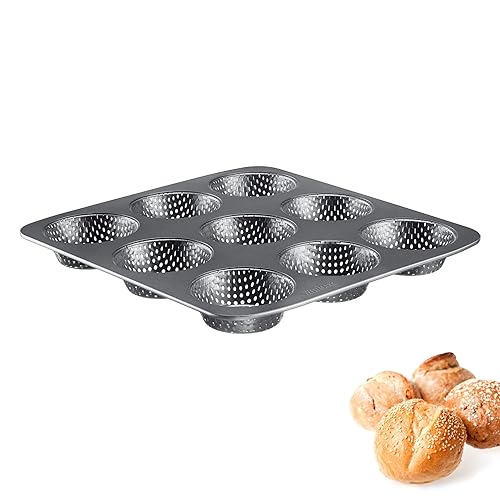
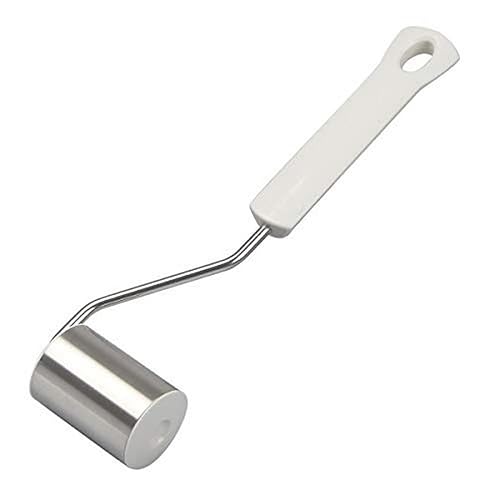

* As an Amazon Associate, I earn from qualifying purchases. There is no extra cost to you.
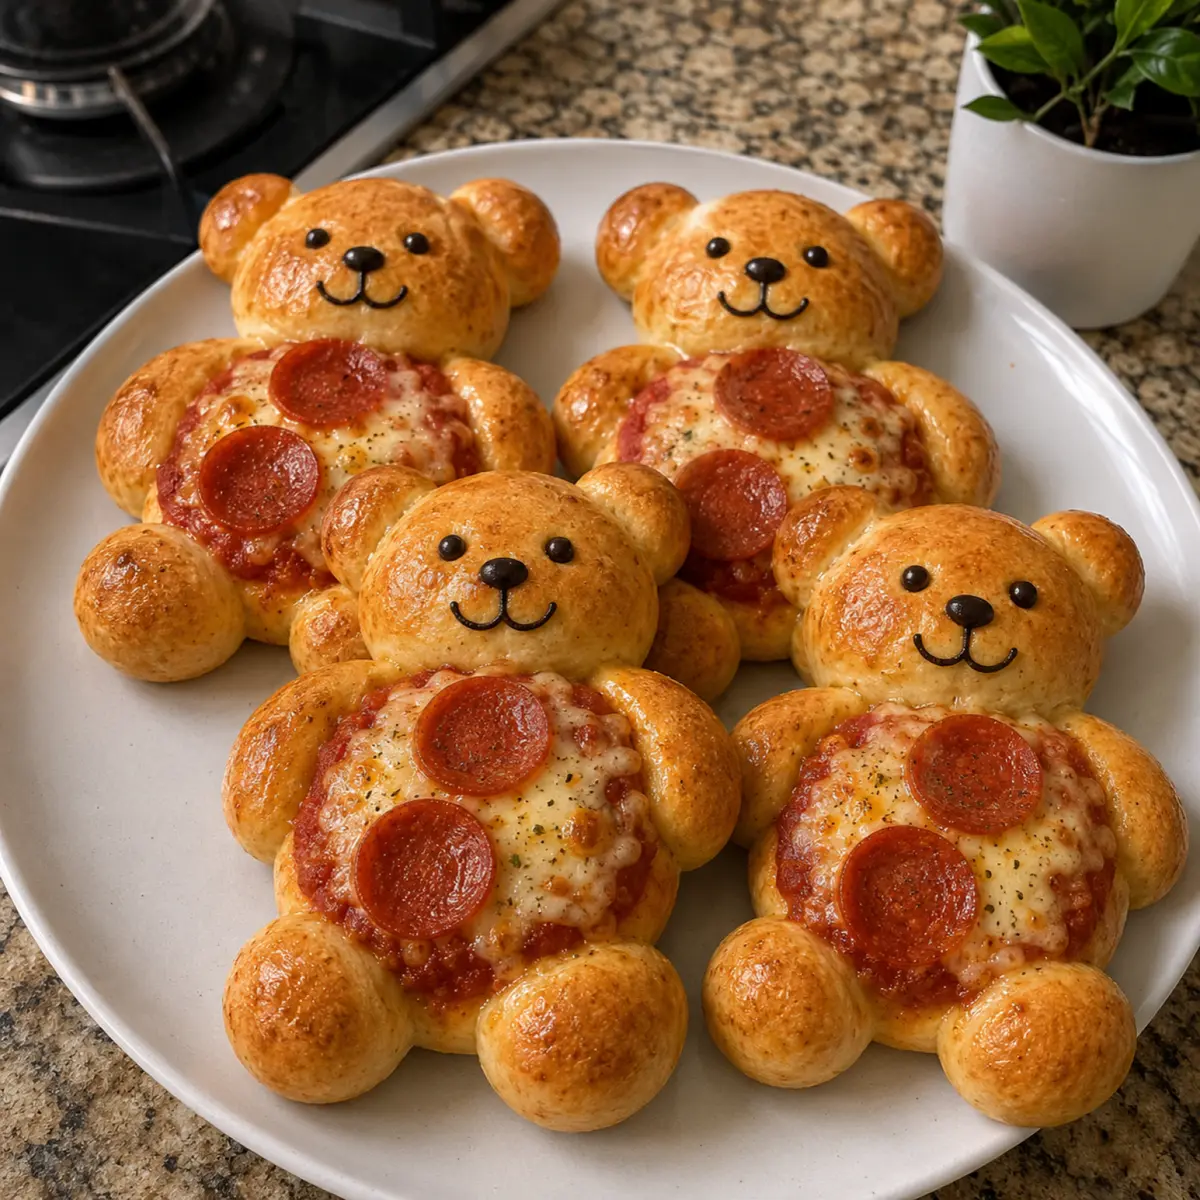

Teddy Bear Pizza Buns
Ingredients
Equipment
Method
- Preheat the oven to 375°F / 190°C and line a baking sheet with parchment paper.
- Place the pizza dough on a lightly floured surface and divide it into 6 equal portions.
- Shape one portion of dough into a round or oval bear body and place it on the prepared baking sheet.
- Gently flatten the center slightly to create the pizza belly area.
- Use small pieces of dough to make two ears and attach them to the top of the bear body.
- Add two small dough pieces to the sides for the arms.
- Add two small dough balls near the bottom for the feet.
- Spread a small spoonful of pizza sauce over the center belly area of each bear.
- Sprinkle shredded mozzarella cheese over the sauced center.
- Place pepperoni slices over the cheese.
- Brush the exposed dough with the beaten egg.
- Bake for 22 minutes, or until the dough is golden brown and cooked through.
- Let the buns cool for a few minutes before decorating.
- Draw the teddy bear face using melted chocolate or an edible food marker.
- Serve warm with extra pizza sauce, marinara sauce, or ranch for dipping.