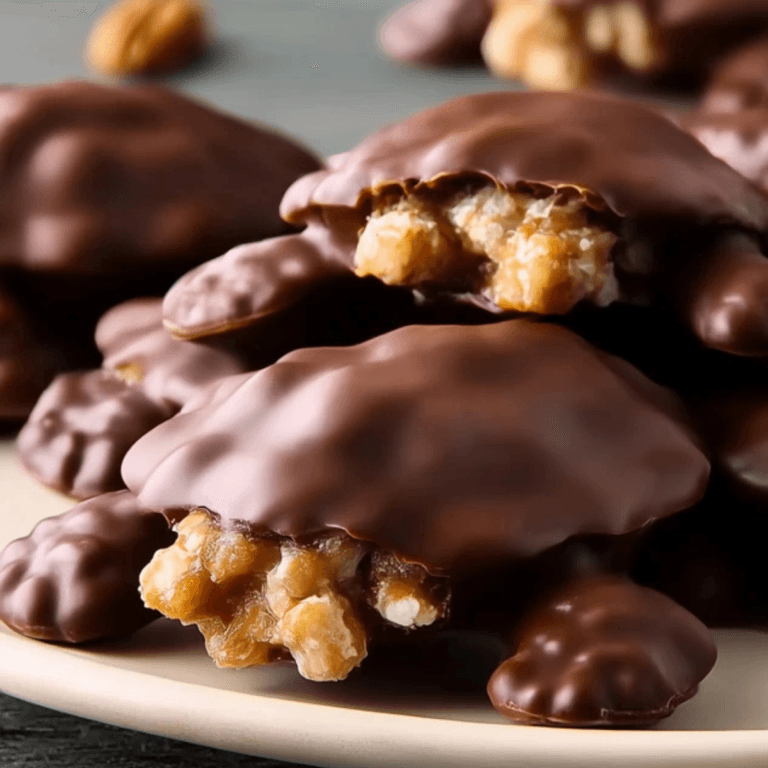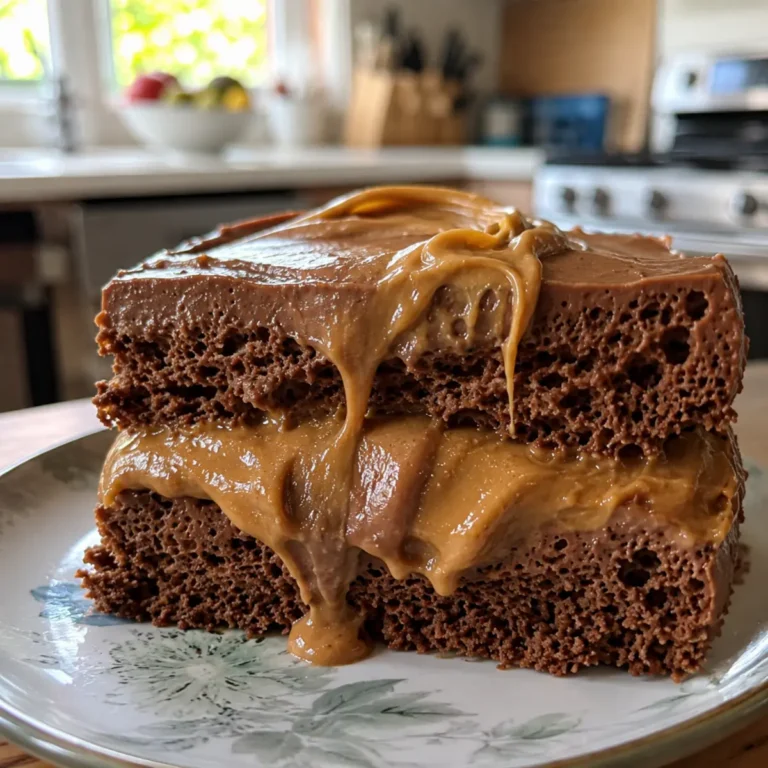
Some days, the last thing you want to do is turn on the oven—especially when the sun’s blazing and you’re just craving a sweet bite. That’s exactly why these No-Bake S’mores Bars have become my summer obsession. All the gooey, chocolatey nostalgia of campfire s’mores, layered neatly into bars you can make in just a few minutes.
You get the golden graham cracker base, sticky marshmallow pockets, and a thick chocolate topping—each slice is like digging into summer memories, minus any sticky fingers or messy flames. If you love a dessert that’s equal parts easy, craveable, and impossible to resist, No-Bake S’mores Bars are calling your name.
Why No-Bake S’mores Bars Are the Ultimate Easy Treat
Craving the classic flavor of s’mores but not the mess or the campfire? No-Bake S’mores Bars let you enjoy all that toasty goodness whenever you want, no special equipment needed. These bars bring together everything people love about s’mores—graham crackers, chocolate, and marshmallows—without having to roast a single marshmallow over an open flame.In warm months, they’re a lifesaver for potlucks and picnics, since you can chill and slice them ahead of time. They also make dessert time fuss-free if you’re feeding kids, entertaining friends, or just satisfying a late-night sweet tooth. Every bite is creamy, crunchy, and just the right kind of chocolatey, with that hit of nostalgia you get from s’mores by the fire.
The Essential Ingredients for No-Bake S’mores Bars
Let’s talk about the simple layers that make No-Bake S’mores Bars such a classic. Each ingredient plays a key part in delivering the signature flavor and texture.- Graham cracker crumbs – The base of the bars, giving that classic honeyed crunch and a golden color.
- Unsweetened cocoa powder – Adds rich chocolate flavor and deepens the crust’s color, balancing the sweetness.
- Sugar – Sweetens the crust and pulls all the classic s’mores elements together.
- Unsalted butter, melted – Helps bind the base and keeps it tender without overwhelming the other flavors.
- Mini marshmallows – Bring gooey, toasty sweetness and that unmistakable s’mores chew.
- Chocolate chips – Melt into a smooth, glossy topping that ties everything together with creamy richness.
See the recipe card below for the full list of ingredients and measurements.
Making No-Bake S’mores Bars: Step-by-Step
Ready to create these crave-worthy bars in your own kitchen? Grab a sturdy mixing bowl, a spatula, and a square baking dish—no oven mitts needed. Here’s how it all comes together:- Mix graham cracker crumbs, cocoa powder, and sugar in a large bowl until the mixture looks even and the cocoa is fully incorporated.
- Pour in the melted butter and stir until the ingredients become moistened and start to stick together.
- Press this mixture firmly into the bottom of a greased square baking dish—use your hands or the back of a spoon to make sure it’s packed and even.
- Scatter mini marshmallows evenly over the crust. Try to create a single layer so every bite gets that classic gooey burst.
- Melt chocolate chips in a microwave-safe bowl in short bursts until super smooth, then drizzle and spread it gently across the marshmallows for a glossy chocolate finish.
- Place the baking dish in the fridge and chill until the bars are firm and set—the chocolate should look slightly matte when ready.
- Slice into bars and serve straight from the pan, enjoying the gooey, chocolatey, crunchy layers in every bite.
Top Tips for Perfect No-Bake S’mores Bars
A few small tricks make these bars next-level delicious and keep them looking neat on the dessert table. Here’s what works best:- For a sturdy base, make sure the crust layer is packed down well and reaches all corners of your dish—use a flat-bottomed glass for extra compression.
- To avoid melting the marshmallows, let your melted chocolate cool for a minute before pouring it over the top. This keeps the layers clean and defined.
- If slicing gets sticky, run your knife under warm water and wipe it between cuts for sharp-edged bars.
- Don’t rush the chill time! Proper refrigeration ensures tidy slices and prevents the chocolate from cracking.
Soft, pillowy marshmallows, a crisp buttery crust, and a thick, fudgy lid—these cues tell you you’ve nailed the classic s’mores texture, no campfire required.
Variations, Pairings, and Serving Ideas
If you want to put your own twist on No-Bake S’mores Bars, there’s plenty of room for creativity. Try swapping dark chocolate chips for a bittersweet flavor, or use white chocolate for a milder twist. A sprinkle of flaked salt on top adds contrast and makes every bite pop.For extra crunch, add a handful of chopped nuts or toffee bits over the marshmallows before pouring on the chocolate. You can even use flavored graham crackers for a cinnamon or chocolate boost.
Pair these bars with a scoop of vanilla or coffee ice cream for dessert, or plate them with fresh berries to cut the richness. They’re just as at home on a summer picnic table as they are wrapped up for a fireside snack.
Storing and Making Ahead for No-Bake S’mores Bars
No-Bake S’mores Bars are made for convenience. Store leftovers in the fridge in an airtight container; they’ll stay fresh for several days without losing their texture. If you want to make them ahead for a party, prepare the bars the night before and chill until ready to cut and serve.For long-term storage, the bars can be frozen—just wrap slices tightly to prevent freezer burn and thaw in the fridge before serving. Be aware that marshmallows might become slightly chewier after freezing, but the flavor’s still spot on.
FAQs about No-Bake S’mores Bars
Can I substitute regular marshmallows for mini marshmallows in No-Bake S’mores Bars?
Yes, you can use regular marshmallows—just chop them into smaller pieces for even coverage. This helps distribute the chewy sweetness throughout each bar.
Can No-Bake S’mores Bars be made dairy-free?
It’s possible to make these bars dairy-free by using plant-based butter and dairy-free chocolate chips. The texture will remain similar, though the flavor will be slightly different.
How should I store No-Bake S’mores Bars?
Store these bars in an airtight container in the refrigerator. They’ll maintain their freshness and firmness for several days when chilled properly.
Why do my No-Bake S’mores Bars sometimes fall apart when slicing?
If the bars aren’t fully chilled or the crust isn’t packed tight, they may break apart. Make sure to refrigerate until firm and press down well for clean, sturdy slices.
Sweet Slice of Summer, No Oven Needed
It’s tough to beat a dessert that brings so much campfire joy without ever reaching for matches. No-Bake S’mores Bars deliver all the chocolate, marshmallow, and graham goodness in cool, sliceable form.Whether you’re sharing them outdoors, enjoying with coffee, or sneaking a midnight bite, these bars never disappoint. Each square is a taste of summer—simple, sweet, and seriously satisfying.
Try These Next
If you enjoyed these no-bake treats, here are a few more sweet ideas to keep your dessert game strong.
- No Bake Biscoff Cheesecake Bars — another easy no-bake bar featuring creamy flavors and a crunchy base.
- Oreo No Bake Dessert — perfect for Oreo lovers craving a quick chilled dessert for any occasion.
- Rice Krispie Easter Nests — a fun and crispy treat that contrasts nicely with the gooey s’mores texture.
Recommended Equipment
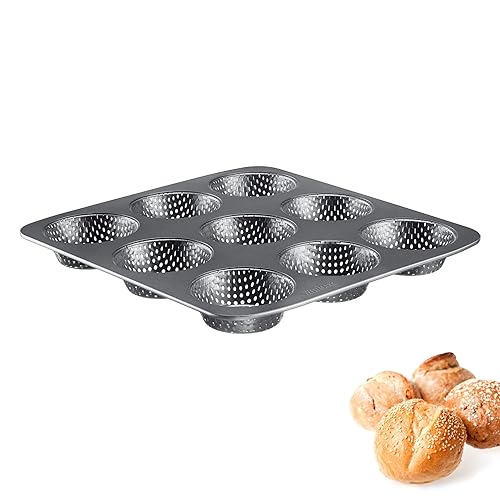

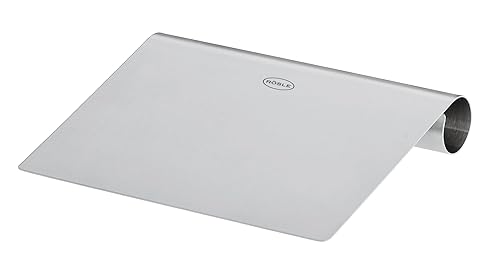
* As an Amazon Associate, I earn from qualifying purchases. There is no extra cost to you.
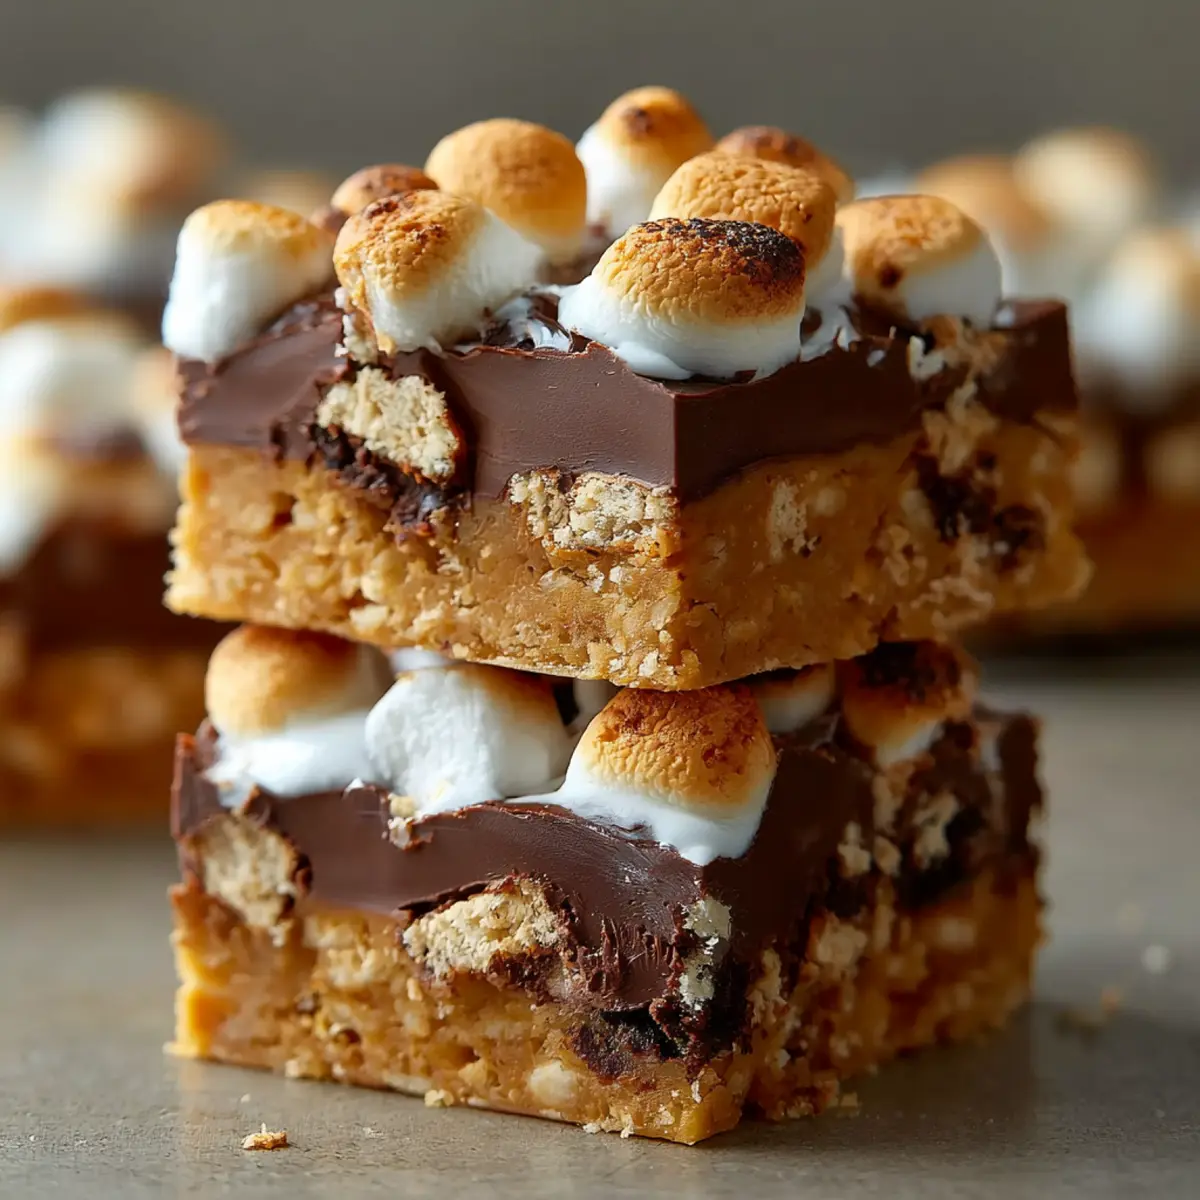

No-Bake S'mores Bars: The Ultimate Easy Treat!
Ingredients
Equipment
Method
- In a large bowl, mix together graham cracker crumbs, cocoa powder, and sugar.
- Add melted butter and stir until well combined.
- Press the mixture into the bottom of a greased 9×9 inch baking dish.
- Evenly distribute mini marshmallows over the crust.
- Melt chocolate chips in a microwave-safe bowl and pour over the marshmallows.
- Refrigerate for at least 2 hours until set.
- Cut into bars and serve.