When I baked my first Libby’s Pumpkin Pie, it was a last-minute decision on Thanksgiving morning. My family’s dessert plans had fallen through, and I stood in the kitchen, slightly panicked, with a can of pumpkin puree in one hand and zero experience making pie. But that pie? It came out golden, smooth, and gone in minutes. From that day on, it became my go-to, not just because it’s simple, but because it never fails to impress. This version keeps the spirit of the original but adds practical tips, flavor boosts, and a few smart updates to ensure success every single time.
If you’ve ever been overwhelmed by holiday baking, this guide to Libby’s Pumpkin Pie will change that. It’s easy enough for beginners, adaptable for modern diets, and rich with nostalgic flavor that feels like home. You’ll walk away with a pie that’s as reliable as it is irresistible.
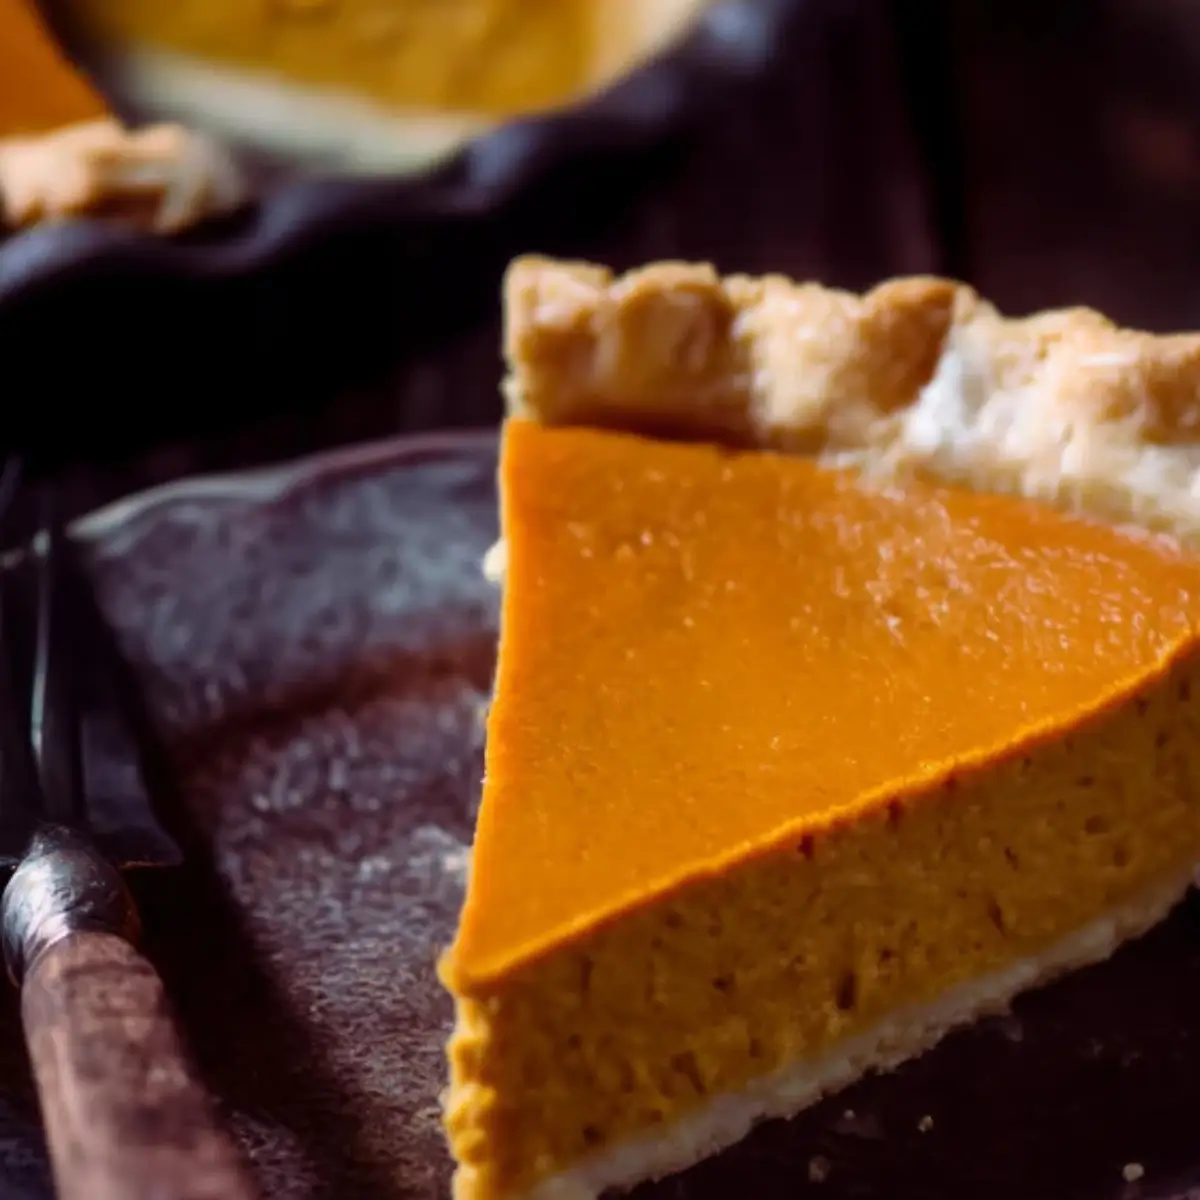
Table of Contents
Recipe Overview & Why You’ll Love It
This Libby’s Pumpkin Pie recipe is the epitome of cozy, holiday comfort. The filling is smooth and custardy with just the right balance of spice and sweetness. It bakes into a firm but silky center nestled in a buttery crust—simple, familiar, and deeply satisfying.
Whether you’re hosting Thanksgiving or looking for a crowd-pleasing dessert in colder months, this pie delivers. Unlike store-bought versions that often taste flat or overly sweet, Libby’s classic formula—paired with a few small tweaks—offers layers of flavor, a luscious texture, and consistent results. No guesswork. No stress.
Ingredients & Substitutions for Libby’s Pumpkin Pie
To make this Libby’s Pumpkin Pie, you’ll need just a few basic ingredients—many of which are probably in your pantry already.
The Pumpkin Filling (Wet)
- 1 can (15 oz / 425g) Libby’s 100% Pure Pumpkin
- 1 can (12 oz / 354ml) evaporated milk
- 2 large eggs
Substitutions:
- Evaporated milk → full-fat coconut milk for a dairy-free version (expect a slightly silkier texture)
- Eggs → flax eggs (2 tbsp flaxseed meal + 6 tbsp water); texture may be looser but still sliceable
Sweeteners & Spices (Dry)
- ¾ cup (150g) granulated sugar
- ½ tsp salt
- 1 tsp ground cinnamon
- ½ tsp ground ginger
- ¼ tsp ground cloves
Alternative spice approach:
- Replace all spices with 1½ tsp pumpkin pie spice if you’re in a pinch
- Add a pinch of nutmeg or cardamom for depth
Crust Base
- 1 unbaked 9-inch pie crust (homemade or store-bought)
Options:
- Gluten-free pie crusts work beautifully, especially when parbaked
- Homemade crusts (especially all-butter) bring richer flavor and crisper texture
Equipment You’ll Need
Making Libby’s Pumpkin Pie doesn’t require fancy tools, just a few kitchen basics:
- 9-inch pie pan (ceramic or glass preferred)
- Large mixing bowl
- Whisk or hand mixer
- Measuring cups and spoons
- Cooling rack
- Sharp knife or cake tester
- Foil or pie crust shield (optional, for browning control)
Step-by-Step Instructions
Follow these detailed steps to ensure your Libby’s Pumpkin Pie turns out golden, flavorful, and fully set every time.
Step 1 – Preheat Your Oven
Set your oven to 425°F (220°C). Starting with a higher temperature sets the crust quickly and prevents sogginess.
Step 2 – Mix the Pumpkin Filling
In a large bowl, combine:
- Pumpkin
- Sugar
- Salt
- Cinnamon
- Ginger
- Cloves
Whisk until smooth and well-blended. Then beat in the eggs, one at a time. Finally, gradually whisk in the evaporated milk until the mixture is creamy and fluid with no streaks or lumps.
Step 3 – Prep the Pie Crust
Place your unbaked crust in a 9-inch pie pan. Press gently into the bottom and sides. Crimp the edges if desired. If using a store-bought crust, keep it chilled until ready to fill.
Step 4 – Fill & Bake
Pour the pumpkin mixture into the crust until it’s about 90% full (don’t overfill). Bake at 425°F (220°C) for 15 minutes.
Without opening the oven door, reduce the temperature to 350°F (175°C) and continue baking for 40–50 minutes. The pie is done when:
- A knife inserted 1 inch from the center comes out clean
- The center has a slight jiggle but no liquid movement
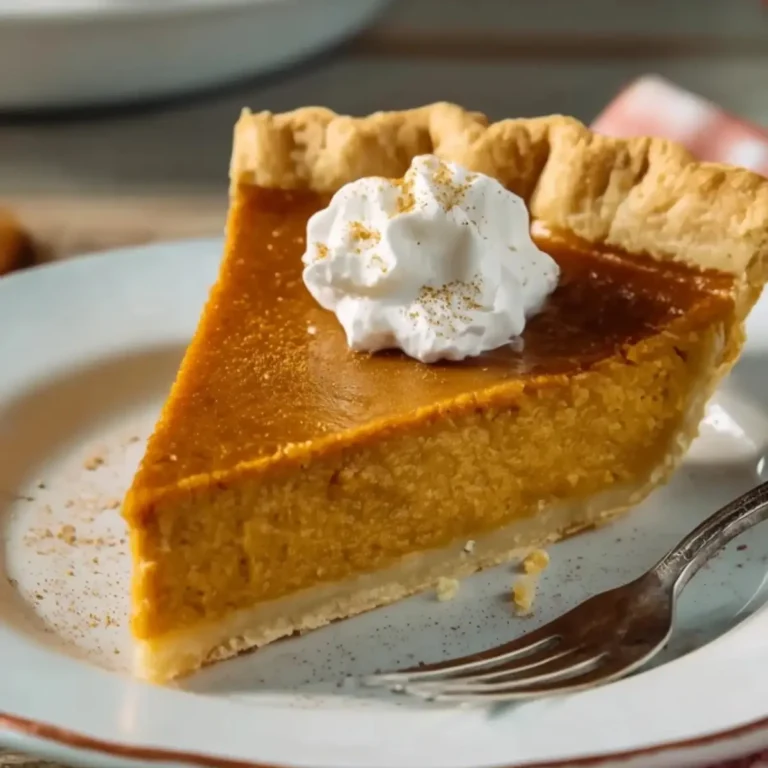
Step 5 – Cool & Serve
Transfer the pie to a wire rack and let it cool completely—at least 2 hours. This prevents cracking and helps the filling firm up. Serve as-is or with whipped cream.
Visual cues to guide you:
- Filling should puff slightly and settle flat when cooled
- Crust edges will be lightly golden
- Surface may have tiny cracks near the edge, not in the center

Why This Recipe Works
This Libby’s Pumpkin Pie works because every step is built on proven technique. Starting with a higher baking temperature sets the crust and helps prevent sogginess. Gradually adding the milk ensures a silky, even filling. And cooling on a rack stabilizes the custard without cracks.
The eggs provide the structure, while evaporated milk offers richness without watering down the filling. Ground spices, rather than blends, give more control and nuance. Even a beginner can nail this with the right cues—and that’s the beauty of it.
Pro Tips & Variations
Once you’ve mastered the base recipe, you can tweak your Libby’s Pumpkin Pie to match your taste or occasion.
- Brush the crust with egg wash for a golden shine
- Sprinkle raw sugar on the crust for crunch
- Add 2 tbsp maple syrup to the filling for extra depth
- Stir in 1 tbsp bourbon or dark rum for a warm, festive note
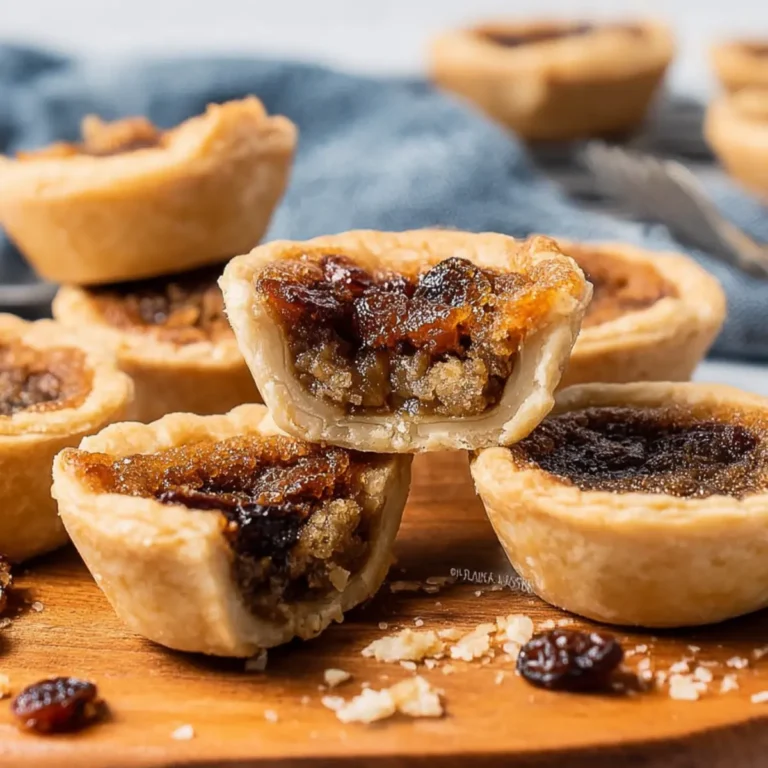
- Use muffin tins for mini pies—bake for 25–30 minutes
- Top with cinnamon whipped cream, candied nuts, or a dollop of mascarpone
Want to scale? Double the recipe for two pies or halve it for a 6-inch tart. Just adjust the bake time accordingly.
Make-Ahead, Storage & Freezing
Libby’s Pumpkin Pie is ideal for advance prep—another reason it’s perfect for holidays.
- Make-ahead: Bake up to 2 days ahead and store, covered, in the fridge
- Leftovers: Keep covered in the refrigerator for 3–4 days
- Freezing: Freeze the fully baked pie (after cooling) for up to 1 month. Wrap tightly in plastic and foil. Thaw overnight in the fridge
- Reheating: Warm slices in a 325°F (163°C) oven for 10–15 minutes
Texture may soften slightly after freezing but remains flavorful and sliceable.
Serving Suggestions & Pairings
Your Libby’s Pumpkin Pie deserves the perfect presentation.
- Garnishes: A swirl of whipped cream, a sprinkle of cinnamon, or a drizzle of maple syrup
- Side pairings: Gingerbread cookies, roasted nuts, or baked apples
- Drinks: Serve with strong coffee, chai tea, apple cider, or mulled wine for a full autumn moment
Serve it chilled for structure or slightly warm for extra comfort.
Dietary Notes & Allergen Considerations
This Libby’s Pumpkin Pie can be adapted for various dietary needs.
- Gluten-Free: Use a gluten-free crust (store-bought or homemade)
- Dairy-Free: Substitute evaporated milk with full-fat coconut milk or almond cream
- Egg-Free: Use flax eggs; texture will be softer but still delicious
- Nut-Free: Safe as written—just check crust ingredients
Always read labels when cooking for allergies or dietary restrictions.
Troubleshooting & Common Mistakes
Don’t let small hiccups derail your Libby’s Pumpkin Pie. Here’s how to fix common issues:
- Cracked top: Usually from overbaking or cooling too fast. Cool gradually and avoid sudden temperature shifts
- Runny center: Pie wasn’t baked long enough. Bake until the center jiggles slightly but is set
- Burnt crust edges: Cover with foil or a pie shield after the first 15–20 minutes
- Gritty texture: Caused by undissolved sugar or overbaking. Mix thoroughly and monitor doneness carefully
Nutritional Information (per 1/8 slice, estimated)
- Serving Size: 1 slice (⅛ pie)
- Calories: ~290
- Sugar: ~22g
- Sodium: ~270mg
- Fat: ~12g
- Saturated Fat: ~5g
- Unsaturated Fat: ~7g
- Trans Fat: 0g
- Carbohydrates: ~37g
- Fiber: ~2g
- Protein: ~6g
- Cholesterol: ~65mg
Estimates may vary depending on crust type and dairy substitutions.
FAQs About Libby’s Pumpkin Pie
What makes Libby’s Pumpkin Pie better than store-bought?
Better texture, deeper flavor, no preservatives—and it’s surprisingly easy to make from scratch.
Can I make Libby’s Pumpkin Pie the night before Thanksgiving?
Absolutely. In fact, it tastes better after sitting overnight in the fridge—flavors meld and the filling sets beautifully.
What can I use instead of evaporated milk?
Full-fat coconut milk is a great dairy-free option. You can also reduce whole milk by simmering until slightly thickened.
Can I freeze Libby’s Pumpkin Pie after baking?
Yes—once fully cooled, wrap tightly and freeze up to a month. Thaw overnight in the fridge and reheat gently.
How can I tell when Libby’s Pumpkin Pie is fully cooked?
Insert a knife about 1 inch from the center. If it comes out clean, it’s done. The center should still jiggle slightly but not slosh.
Conclusion
This Libby’s Pumpkin Pie isn’t just a recipe—it’s a tradition in the making. With its smooth filling, fragrant spices, and easy-to-follow steps, it’s perfect for both seasoned bakers and holiday first-timers. You don’t need fancy ingredients or hours of prep—just a good pie pan, some pantry staples, and a little care.
Make it once, and it becomes part of your story. Serve it at gatherings, give it as a gift, or keep it all to yourself on a quiet winter night. However you enjoy it, this pie promises to deliver that warm, spiced sense of home with every single slice.
More Tasty Ideas
- Pumpkin Pie Macarons: These delicate macarons bring the essence of classic pumpkin pie into a crisp-yet-chewy French treat. With spiced pumpkin filling nestled between airy shells, they’re a fun, elegant twist on traditional holiday desserts.
- Pumpkin Cupcakes: Moist, fluffy, and packed with fall flavor, these pumpkin cupcakes are topped with a luscious cream cheese frosting. Perfect for gatherings or cozy nights in, they echo the warmth and spice of Libby’s Pumpkin Pie in portable form.
- Pumpkin Pie Cheesecake: Marrying the creamy richness of cheesecake with the spiced soul of pumpkin pie, this dessert offers the best of both worlds. It’s a crowd-pleasing centerpiece for your holiday dessert table.
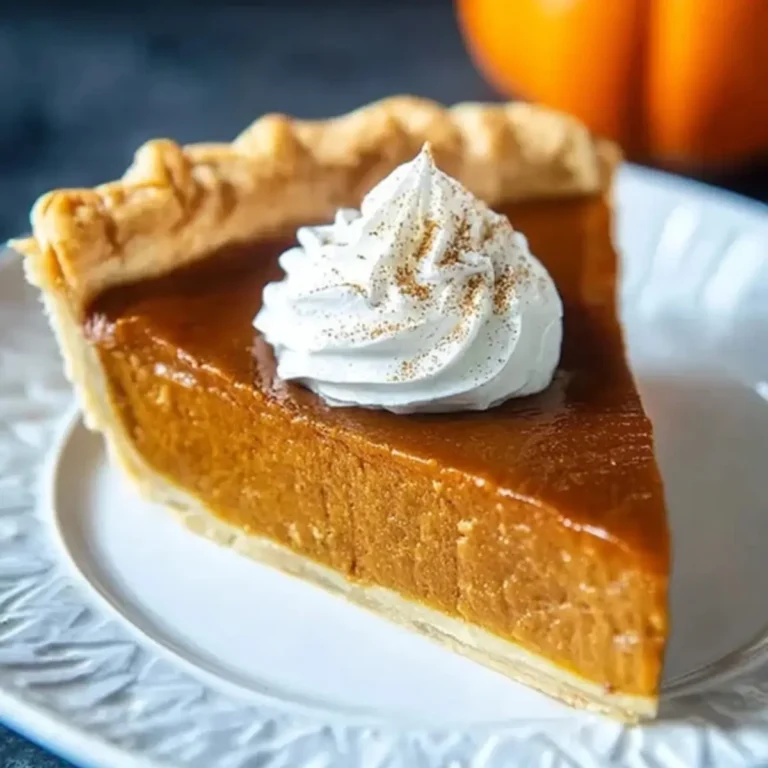
Libby’s Pumpkin Pie
A classic holiday dessert, Libby’s Pumpkin Pie features a silky-smooth pumpkin filling flavored with warm spices, nestled in a flaky pie crust. It’s easy to prepare and perfect for Thanksgiving or any cozy fall gathering.
- Prep Time: 15 minutes
- Cook Time: 55 minutes
- Total Time: 70 minutes
- Yield: 8 servings
- Category: Dessert
- Method: Baking
- Cuisine: American
- Diet: Vegetarian
Ingredients
- 1 can (15 oz) Libby’s 100% Pure Pumpkin
- 1 can (12 oz) evaporated milk
- 3/4 cup granulated sugar
- 1/2 teaspoon salt
- 1 teaspoon ground cinnamon
- 1/2 teaspoon ground ginger
- 1/4 teaspoon ground cloves
- 2 large eggs
- 1 unbaked 9-inch pie crust
Instructions
- Preheat the oven to 425°F (220°C).
- In a large bowl, mix together pumpkin, sugar, salt, cinnamon, ginger, and cloves.
- Beat in the eggs.
- Gradually stir in the evaporated milk until the mixture is smooth.
- Place the unbaked pie crust into a 9-inch pie pan and crimp the edges as desired.
- Pour the filling into the prepared crust.
- Bake at 425°F for 15 minutes.
- Reduce the oven temperature to 350°F (175°C) and bake for an additional 50 minutes or until a knife inserted near the center comes out clean.
- Cool the pie completely on a wire rack before serving.
Notes
- Serve with whipped cream for a classic finish.
- Can be made 1–2 days ahead and stored in the refrigerator.
- Use a pie shield or foil to protect crust edges from overbrowning.
- Substitute evaporated milk with coconut milk for a dairy-free version.