If you’ve ever found yourself wanting a treat that’s both ridiculously cute and genuinely tasty, you’re in the right kitchen. Chick cookies are the kind of fun project that doesn’t make you break a sweat—no fussy cookie cutter, no complicated shapes, just an excuse to get playful with dough and create something too adorable to pass up. The bonus? These cookies bake up with a buttery aroma and chewy, soft texture that manages to surprise people once they get past the charming look.
Fresh lemon zest runs through the dough, so you get that subtle citrus scent when you crack open the oven—not floral, just clean and happy, the way early spring feels. And decorating these guys is more like crafting than baking. You can make little gatherings of yellow chicks, each with their own personality, right on your kitchen counter.
Soft, Chewy & Cute: Why These Chick Cookies Win Every Time
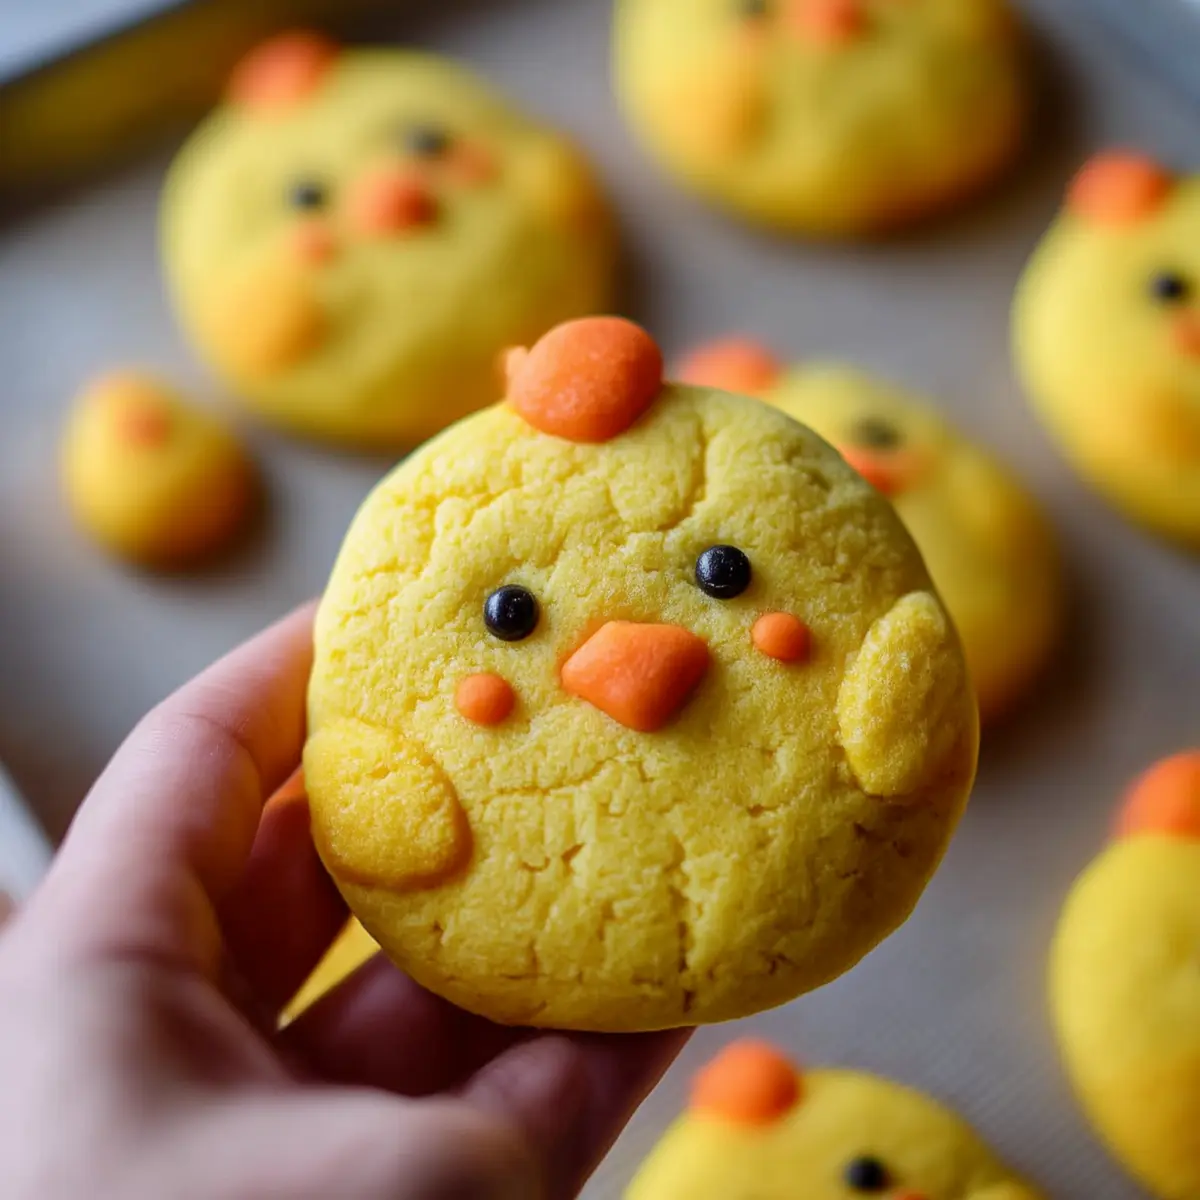
Some cookies are just cookies—no personality, no wow factor. Chick cookies break that mold. These little guys come out soft and chewy, with bright yellow bodies, orange feet and beaks, and those signature sprinkle eyes peeking up at you. They’re the treat you pull out for spring brunch, Easter, baby showers, or just a rainy Saturday when you need a dose of joy.
There’s something deeply satisfying about making cookies that look as adorable as they taste good. You don’t need any special cutters or baking gadgets—just your hands, a couple bowls, and your favorite baking sheet. Even if you’re the type who usually avoids fussy decorating, you’ll find shaping and assembling these cookies is more relaxing and playful than anything else.
Kids genuinely love helping with each part, so these are perfect as an afternoon family project. But honestly? Adults tend to fall hard for that tangy, lemon-vanilla flavor and the soft, dense crumb. These are the cookies that disappear first from the platter—whether you’re five or fifty.
Chick Cookie Ingredients Decoded
- butter: brings depth, softness, and that rich, classic cookie taste.
- Cream cheese: adds a subtle tang and makes the dough extra pillowy.
- Granulated sugar: ensures every bite is just sweet enough and helps the cookies color during baking.
- Fresh lemon zest: infuses a surprisingly bright flavor that screams spring.
- Large egg yolk: delivers richness and a little chew.
- Vanilla extract or vanilla bean paste: warms everything up with aromatic sweetness.
- All-purpose flour: gives the cookies structure without making them stiff.
- Cornstarch: works its magic for a softer, melt-in-your-mouth texture.
- Fine salt: a necessary pinch to balance the sweetness and enhance flavors.
- Baking powder: lifts the dough gently, so each chick stays thick and plush.
- Yellow and orange gel food coloring: makes decorating a breeze (plus, stunning color with less mess).
- Round black sprinkles: those tiny eyes that bring the chicks to life.
See the recipe card below for the full list of ingredients and measurements.
Easy Tweaks for Your Chick Cookies
If you’re running low on something, or want to swap an ingredient to fit what’s in your pantry, you’ve got options. Soften a good plant-based butter for a dairy-free version—just watch that the dough holds together, since coconut oil can make things spread a bit more. No cream cheese? Try a dollop of Greek yogurt or a thick labneh for a similar tang, though the flavor will shift a little.
In a pinch, lemon zest is lovely, but you could mix in a bit of orange or a few drops of lemon extract if you don’t have fresh citrus. Not a vanilla fan? Almond extract gives a slightly nutty background that pairs well with these springy flavors. And if black sprinkles are nowhere to be found, try mini chocolate chips or even a tiny dot of melted chocolate piped directly onto the cookies.
Your Guide to Baking and Shaping Chick Cookies
Baking chick cookies is as much hands-on fun as it is about flavors. Let yourself enjoy the slightly messy process—those little crumbs and bits of food coloring just mean you’re doing it right.
- Start by creaming together room-temperature butter and cream cheese until smooth and fluffy—the dough should look light and a bit whipped. This step sets the cookies up for that dreamy, soft interior.
- Massage the lemon zest into your sugar with your fingers. You’ll smell the citrus right away as the oils release, and honestly, don’t rush this part—that little extra love is what punches up the flavor.
- Mix the lemon-sugar into your butter-cream cheese blend and whip again until everything looks pale and airy.
- Add your egg yolk, a hefty pour of vanilla, and that splash of yellow food coloring. The dough should turn a cheerful golden hue. If you’re feeling artsy, save some dough and leave it uncolored for “white” chicks, or do a mix of shades.
- Toss in the flour, cornstarch, salt, and baking powder. Stir just until the last streaks of flour disappear. Stop as soon as the dough comes together—over-mixing makes tougher cookies.
- Remove a small amount of dough to color orange—this will be for your chicks’ feet and beaks. The rest stays yellow for the bodies and wings.
- Preheat your oven and line a baking sheet, but only after the dough is mixed—shaping these cookies is a hands-on process and shouldn’t feel rushed.
- Form the yellow dough into balls, then flatten gently into discs. Pinch off small pieces and roll for the wings, arranging them on the sides of each chick for that adorable, flappy look.
- Shape little orange balls for feet and a beak, tucking them snugly onto each chick. Don’t worry if they’re not perfect—it just adds character.
- Press two sprinkle eyes into each round face, diving just deep enough to stick.
- Use any remaining dough to create a tiny tuft on top. For a final touch, score a little line on the tuft with a toothpick for extra detail.
- If you want your chicks to hold their shape, chilling the cookies before they bake works wonders. Even just a few minutes in the freezer sets the details so they bake up picture perfect.
- Bake until the cookies puff slightly and their edges are only just set—don’t wait for browning, as you want them to stay soft. Let the cookies cool on the pan so they’re sturdy enough to move.
Decorate, Store & Enjoy: Simple Chick Cookie Tips
With chick cookies, every batch has its own charm and a few little quirks—don’t sweat the details. If you notice any wings sliding off as they bake, gently press them back while the cookies are still warm and pliable. It only takes a few seconds and they’ll stay put once the cookies cool.
The eyes are what really give each chick life, so press them in after shaping the dough and before chilling. For perfectly soft and chewy cookies, avoid baking until golden; pull them from the oven when they just lose their shine. Store in a sealed container at room temperature for several days—they’ll stay soft and flavors will mellow beautifully overnight.
If you want to get ahead, freeze the shaped (but unbaked) chicks on a tray, then transfer to a container. Bake straight from frozen—just add a minute or two to the bake time. Decorated chick cookies also make adorable edible gifts, boxed up with a little tissue or nestled in a pastel tin.
Pairings, Variations, and Chick Cookie Party Ideas
Chick cookies were made for festive occasions—set them out for Easter, spring birthdays, or as part of a whimsical dessert board at baby showers. Add a few bunny-shaped treats or flower-shaped sugar cookies to round things out. Pair these soft, lemony cookies with mugs of chamomile tea, frothy hot cocoa, or lemonade for a playful, cozy spread.
For variations, switch up the flavor base: swap lemon zest for orange, fold in a handful of mini white chocolate chips, or gently dust the wings with powdered sugar once they’re cool. If you’re feeling extra creative, take the same dough and shape bunnies, little birds, or other animals—the method remains easy and the decorating stays just as fun.
Want to make memories with kids? Set up a decorating station with sprinkles, different colored doughs, and edible markers. Each batch can become a little flock with their own expressions and flair—perfect for parties or lazy weekends. And if you end up with leftovers, sandwich two cookies with marshmallow fluff or a swipe of lemon curd to turn them into something brand new.
FAQs about Chick Cookies
Can I make chick cookies ahead of time?
Absolutely, you can make chick cookies ahead. Shape and chill the dough, then bake them off when you’re ready—this makes them ideal for party prep or gifting.
Why did my cookie wings slide off?
Wings can slide off if they’re not pressed close enough to the body, or if the dough isn’t chilled. Make sure to attach wings near the center and chill before baking for best results.
Can I freeze chick cookies once they’re baked?
Yes, chick cookies can be frozen after baking. Stack them in an airtight container with parchment between layers and thaw at room temperature to keep them soft.
What’s the best way to color the dough?
Gel food coloring works best for chick cookies. It gives intense color without adding extra liquid, helping the dough keep its shape during decorating and baking.
A Delicious Way to Enjoy Chick Cookies
Baking chick cookies is like inviting pure joy into your kitchen—each batch turns ordinary ingredients into something playful, soft, and unexpectedly flavorful. You’ll find yourself reaching for this recipe whenever you want to bring smiles and a burst of lemony brightness to the table.
Whether you share them as a sweet family project, a thoughtful homemade gift, or simply treat yourself, these cookies add a touch of whimsy to any day. Enjoy every bite, and don’t be surprised if these little chicks become your new seasonal favorite.
More Delicious Recipes
- Lemon Truffles: These sweet treats highlight the bright flavor of lemon, making them a delightful companion to your chick cookies.
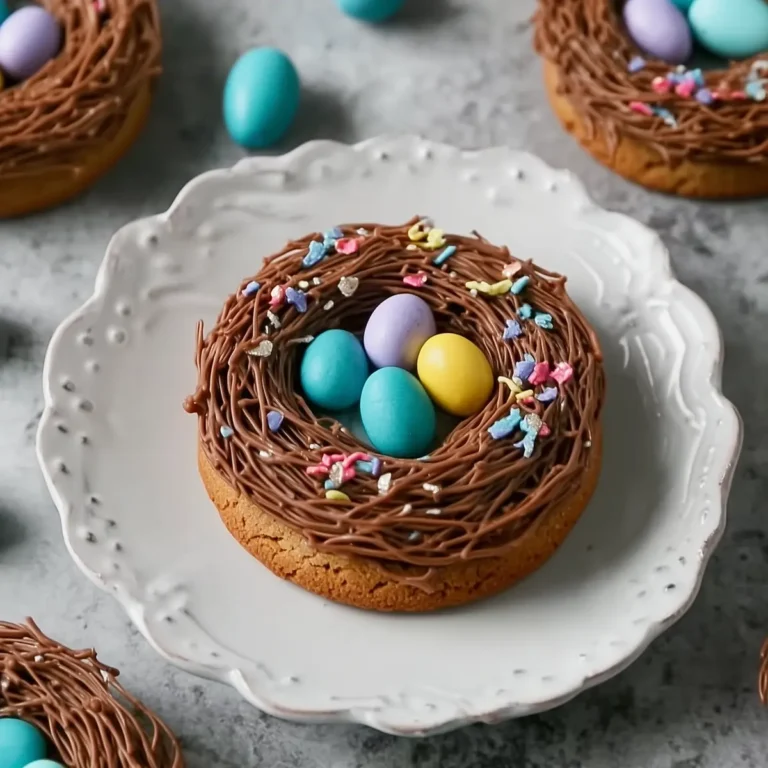
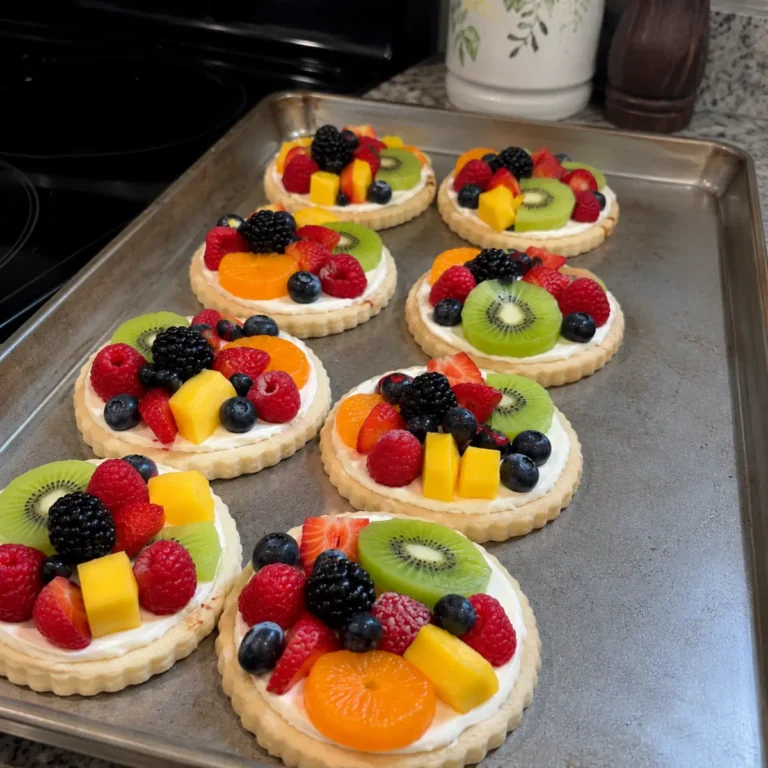
- Easter Egg Fruit Pizza: A fun and colorful dessert that fits perfectly with the cheerful theme of your chick cookies.
- St Paddy’s Mint Cheesecake Cups: These festive cups offer a creamy and refreshing contrast to the lemony chick cookies.
Easy Chick Cookies
Ingredients
Method
- NOTE: It takes 30-45 minutes to shape and decorate these chick cookies, so wait to preheat your oven until after you've made the cookie dough.
- In a large bowl or the bowl of a stand mixer, beat 1/2 cup or 1 stick (113g) unsalted butter and 1/4 cup (56g) cream cheese on medium speed with a hand mixer until smooth.
- In a separate bowl, add 1 cup (200g) granulated sugar and the zest of a large lemon (about 6g). Use your fingertips to massage the zest into the sugar. The rubbing action releases the natural oils from the lemon zest, intensifying the citrus flavor throughout the sugar.
- Add the lemon sugar into the butter/cream cheese mixture and mix on a medium-high speed for a couple of minutes, until the mixture becomes lighter in color.
- Add in 1 egg yolk (20g), 1 tsp (5g) vanilla bean paste or vanilla extract, and a generous squirt of yellow gel food coloring. You can also leave the remaining dough uncolored if you want to make white chicks. Mix on a medium speed until incorporated. Scrape the sides and bottom of the bowl with a rubber spatula as needed.
- Then, add 2 cups (260g) of flour, 2 tsp (6g) of cornstarch, 1/2 tsp of fine salt, and 1/4 tsp of baking powder to the butter mixture and mix at a low speed until it is JUST incorporated. Scrape the sides and bottom of the bowl with a rubber spatula to make sure everything is properly mixed together.
- At this point, the dough should still be pretty sticky. Scoop about 1 Tbsp of the dough into a separate bowl and color it orange with gel food coloring.
- Preheat the oven to 350°F/175°C and line a large baking sheet with a silicone baking mat or parchment paper. Set aside.
- Use a 3 Tbsp cookie scoop to scoop out 12 scoops of yellow dough (each dough ball should be about 50g). You should have about 2 Tbsp of yellow dough left to shape the wings. Roll the cookie dough into balls, then place them about 2 inches apart on the prepared baking sheets. Use your palm to gently flatten the dough into a flattened circle.
- Use the orange cookie dough to roll out 24 balls that are about 3/4 cm in diameter. Place two at the bottom of each cookie to be the chick's feet. Use your finger to gently flatten them and stick them into place.
- Then use about the same amount of dough that you used to make each foot to make each chick's beak. Place these in the center of each cookie.
- Gently press two round, black sprinkles into each cookie to be the chick's eyes.
- Then roll out 24 balls of yellow cookie dough that are about 1 cm in diameter. Use your fingers to flatten them a bit and shape them into an upside-down teardrop. Press 2 of these onto the sides of each cookie to be the chick's wings. The closer in towards the eyeballs/beak you place these, the lower the chance you have of them sliding off while the cookies bake.
- The last step is to make 12 tiny tufts of feathers to place on the top of each chick cookie. Use a scribe or toothpick to make a line down the middle of the dough to give it more dimension.
- If you have the time and space in your fridge or freezer, chill the cookies (pan and all) in the fridge for 15 minutes or the freezer for 5 minutes to help them keep their shape as they bake.
- Bake one sheet of cookies at a time for 15-17 minutes on the middle rack of your oven. Rotate the pan halfway through to help them bake more evenly. Keep a close eye on the cookies and be sure to pull them out before the edges start to brown. If any of the wings do slide off the sides, carefully press them back into place right when the cookies come out of the oven and are still hot. Let the baked cookies cool fully on the pan, then enjoy!