I came up with this crème brûlée pie the week before Thanksgiving, staring down a dry, store-bought pumpkin pie and thinking—this can’t be the best we can do. I’ve always loved cracking through the caramelized top of a classic crème brûlée, that satisfying snap giving way to smooth, rich custard. So I decided to take that experience and layer it into a pie crust. Several test runs later, I landed on the perfect marriage of texture and flavor—just in time to bring something unexpected to the holiday table.
If you’re craving a dessert that looks impressive, tastes indulgent, and comes together with zero water baths or tricky techniques, this crème brûlée pie might just become your new signature. Here’s how to master it.
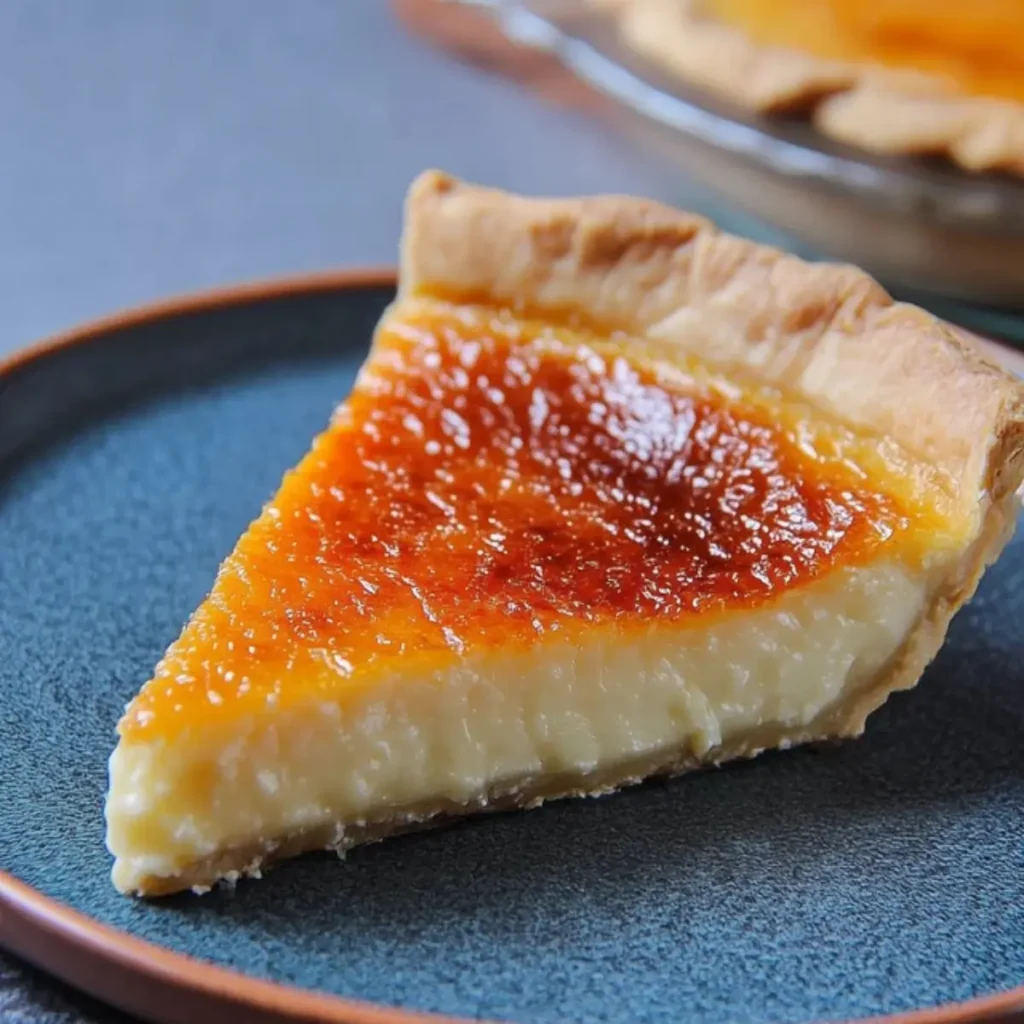
Table of Contents
Recipe Overview & Why You’ll Love It
This crème brûlée pie combines the elegance of custard with the comfort of a buttery pie crust. It’s indulgent but not fussy, impressive but approachable. Whether you’re serving it at a holiday dinner or just looking to treat yourself, it’s the kind of dessert that draws silence with the first bite.
The base is a smooth, vanilla-laced custard made from heavy cream and egg yolks, gently baked until set and topped with a crisp, caramelized sugar crust. A blind-baked crust adds structure and texture, making this version of crème brûlée both sliceable and shareable.
It’s silky, crackly, creamy, and just the right amount of sweet. And it’s a showstopper you can make ahead.
Ingredients & Substitutions
Every ingredient in this crème brûlée pie plays a role in achieving its signature texture and taste. Stick close to the script, but if you need flexibility, there are a few smart swaps.
For the Crust
- 1 standard pie crust (store-bought or homemade)
OR - 1 gluten-free pie crust (store-bought or homemade)
Tip: Use a nut-based crust or graham cracker crust if you’re short on time, but be sure it’s fully blind baked for stability.
For the Custard Filling
- 2 cups (480 ml) heavy cream
- ½ cup (100 g) granulated sugar
- ½ tsp fine sea salt
- 2 vanilla beans, split and scraped
Substitution: Use 2 teaspoons of high-quality vanilla extract or paste - 6 large egg yolks
Substitution: 4 whole eggs for a slightly firmer, less silky filling
For the Topping
- 2 tbsp granulated sugar (for bruleeing)
Note: Avoid brown sugar or turbinado—white sugar gives the cleanest, glass-like crust.
Equipment You’ll Need
You don’t need fancy gear to make crème brûlée pie, but a few tools help you get the best texture and presentation.
- 9-inch (23 cm) pie pan
- Rolling pin (if using homemade crust)
- Parchment paper
- Pie weights or dried beans
- Medium saucepan
- Whisk
- Mixing bowls
- Kitchen torch (for the sugar top)
- Fine mesh strainer (optional, for extra-smooth custard)
No torch? You can use a broiler, but keep a close eye to avoid burning.
Step-by-Step Instructions
Take your time with each stage—chilling the crust, steeping the cream, and tempering the eggs. Each step builds a more luscious, professional result.
Step 1 – Make and Chill the Pie Crust
Prepare your pie dough. If using homemade, chill the dough for 30 minutes before rolling. Roll it out so it extends about 2 inches beyond the edge of the pie pan. Transfer to the pan, crimp the edges, and chill again while the oven preheats.
Preheat oven to 400°F (204°C).
Step 2 – Blind Bake the Crust
Line the crust with parchment and fill with pie weights or beans. Bake at 400°F for 15 minutes (20 for gluten-free). Remove the weights and parchment, then bake an additional 5 minutes (8 for gluten-free), until the bottom is lightly golden.
Remove from oven and let cool completely. Reduce oven to 300°F (149°C).
Step 3 – Prepare the Custard
In a medium saucepan, combine 2 cups heavy cream, ½ cup sugar, ½ tsp salt, and the scraped insides of 2 vanilla beans. Heat over medium until the cream just begins to steam—do not boil.
In a separate bowl, whisk 6 egg yolks. Slowly ladle in the hot cream mixture, whisking constantly to temper the eggs. Go slowly to avoid scrambling. Once fully combined, optionally strain the custard through a fine mesh sieve for extra smoothness.
Step 4 – Assemble and Bake
Pour the custard into the cooled crust. Use a torch to gently pop any surface bubbles for a smooth finish.
Bake at 300°F for 35–45 minutes. The custard is done when the edges are set but the center still has a slight jiggle. Cool at room temperature for 1 hour, then refrigerate for at least 4 hours or overnight.
Step 5 – Brulee and Serve
Just before serving, sprinkle 2 tablespoons of sugar evenly over the surface. Use a kitchen torch to melt and caramelize the sugar until golden and glassy. Let cool for 2 minutes, slice, and serve.
Why This Recipe Works
This crème brûlée pie is more than a novelty—it’s the result of careful attention to classic custard technique, reimagined for the home baker.
- Blind baking prevents a soggy crust and provides the structure needed for a soft filling.
- Steeped cream infuses real vanilla flavor and helps dissolve the sugar and salt uniformly.
- Tempering eggs gently brings them to temperature without curdling, ensuring a silky texture.
- Low-temp baking avoids cracking and overbaking, and no water bath is needed thanks to the even heat.
Bruleeing just before serving is essential—sugar that sits too long will liquify and lose its snap.
Pro Tips & Variations
- Use a strainer: For the silkiest filling, strain the custard before pouring into the crust.
- Add flavor: A tablespoon of bourbon, espresso, or orange zest can elevate the custard.
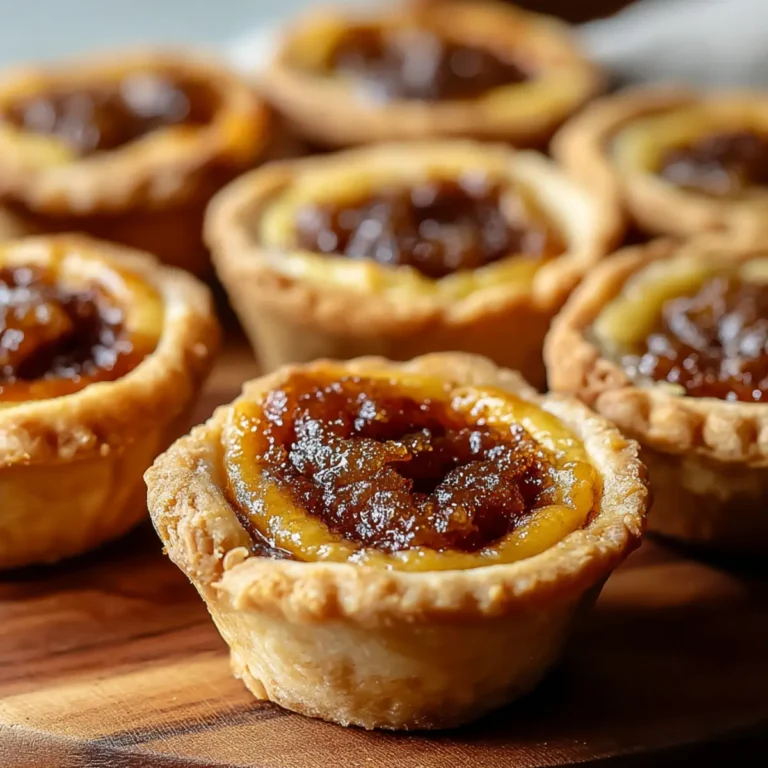
- Make minis: Pour into muffin tins lined with crust for individual servings; bake ~20 minutes.
- Top it off: Garnish with whipped cream, candied citrus, or a sprinkle of sea salt for contrast.
- Double it: Use two pie pans or a large tart pan—just add 5–10 minutes to bake time.
Make-Ahead, Storage & Freezing
Crème brûlée pie is surprisingly make-ahead friendly:
- Make the crust up to 3 days in advance and refrigerate.
- Bake the full pie and refrigerate (unbruleed) up to 24 hours ahead.
- Only torch the sugar right before serving for a crisp top.
- Leftovers can be stored in the fridge for 2–3 days—just know the topping will soften.
Freezing is not recommended. The texture of the custard will suffer.
Serving Suggestions & Pairings
This crème brûlée pie doesn’t need much to shine, but thoughtful additions can elevate the experience.
- Drinks: Serve with strong coffee, Earl Grey tea, or a late-harvest wine.
- Garnishes: Try fresh berries, whipped cream, or a dusting of cocoa powder.
- Presentation: Plate with a swipe of berry coulis or place slices on chilled dessert plates for contrast.
Dietary Notes & Allergen Considerations
- Gluten-Free: Yes, if using a gluten-free crust.
- Dairy-Free: Not suitable; heavy cream is essential.
- Vegetarian: Yes.
- Nut-Free: Yes, as long as your crust is nut-free.
Troubleshooting & Common Mistakes
- Scrambled eggs: You added hot cream too quickly while tempering. Slow down next time.
- Watery crust: The crust wasn’t blind baked long enough or was filled while still hot.
- Cracked custard: You overbaked it or the oven ran too hot.
- Soggy sugar top: Bruleed too early or used the wrong sugar. Stick to plain granulated and torch right before serving.
- Runny center: It needs more time—edges should be set, with a slight jiggle in the middle.
FAQs
Can I make crème brûlée pie without a kitchen torch?
Yes, but results vary. Use your oven’s broiler, watch carefully, and rotate the pie for even browning. Sugar may not caramelize as cleanly as with a torch.
Can I use half-and-half instead of cream?
No. Heavy cream is essential for the custard to set correctly. Lighter dairy will produce a watery, unstable filling.
How long does crème brûlée pie last in the fridge?
Up to 3 days if covered. Wait to torch the sugar until just before serving for best texture.
Can I use whole eggs instead of yolks?
Yes, use 4 whole eggs in place of 6 yolks for a slightly firmer and less rich filling.
Is crème brûlée pie gluten-free?
It can be—use a gluten-free crust and double-check all ingredients for hidden gluten.
Conclusion
Crème brûlée pie takes everything you love about the classic French dessert and makes it easier to share. It’s rich but balanced, luxurious but low-effort. With no water bath, no ramekins, and just one crust to manage, this is a holiday-worthy dessert that fits into everyday baking.
Give it a try the next time you want to wow a crowd or upgrade your dessert game. Once you slice into that crackling sugar shell and taste the silky filling beneath, you’ll understand why this recipe’s a keeper.
More Tasty Ideas
- Pumpkin Pie Cheesecake: This decadent dessert blends creamy cheesecake with the warm spices of classic pumpkin pie. It’s rich, smooth, and perfect for fall gatherings—offering a similar custard-like texture and festive vibe as crème brûlée pie.
- Pumpkin Pie Macarons: Light, crisp shells filled with spiced pumpkin buttercream bring a sophisticated twist to pumpkin desserts. These elegant cookies echo the same flavor profile in a bite-sized, show-stopping format.
- Yule Log Cake: This rolled sponge cake filled with chocolate cream and finished with a glossy ganache is both festive and luxurious. Its smooth filling and dramatic presentation resonate with the style and indulgence of crème brûlée pie.
Crème Brûlée Pie
A rich and silky custard pie topped with a crackly caramelized sugar crust, combining the elegance of crème brûlée with the comfort of a buttery pie crust. Perfect for holidays or any occasion that calls for an impressive dessert.
- Prep Time: 30 minutes
- Cook Time: 90 minutes
- Total Time: 120 minutes
- Yield: 1 pie (8 servings)
- Category: Dessert
- Method: Baked
- Cuisine: French-American
- Diet: Vegetarian
Ingredients
- 1 regular or gluten-free pie crust
- 2 cups heavy cream
- 1/2 cup granulated sugar, plus 2 tbsp for topping
- 1/2 tsp salt
- 2 vanilla beans, insides scraped out (or 2 tsp vanilla extract)
- 6 egg yolks
Instructions
- Prepare the pie crust (homemade or store-bought), roll it out, transfer to a 9-inch pie pan, crimp the edges, and chill for 30 minutes.
- Preheat the oven to 400°F (204°C). Line the crust with parchment paper and fill with pie weights or dried beans. Blind bake for 15 minutes (20 minutes for gluten-free), remove weights, and bake for an additional 5 minutes (8 minutes for gluten-free) until golden. Let cool completely.
- Reduce the oven temperature to 300°F (149°C).
- In a medium saucepan over medium heat, combine heavy cream, 1/2 cup sugar, salt, and vanilla. Heat until just steaming, then remove from heat.
- In a bowl, whisk egg yolks. Slowly whisk in the hot cream mixture a little at a time to temper the eggs, whisking constantly to avoid scrambling.
- Pour the custard into the cooled crust. Use a torch to pop surface bubbles.
- Bake the pie at 300°F for 45 minutes or until edges are set and center slightly jiggles. Cool at room temperature for 1 hour, then chill in the fridge for at least 4 hours or overnight.
- Before serving, sprinkle 2 tbsp granulated sugar evenly over the top and use a kitchen torch to caramelize until golden and crisp. Let set briefly before slicing and serving.
Notes
- Use a fine mesh strainer when pouring the custard for an ultra-smooth texture.
- If using vanilla extract instead of beans, add it after removing cream from heat.
- Brulee the top just before serving to avoid a soggy crust.
- Store the unbruleed pie in the refrigerator for up to 3 days.
- Do not freeze; the custard texture may become grainy.