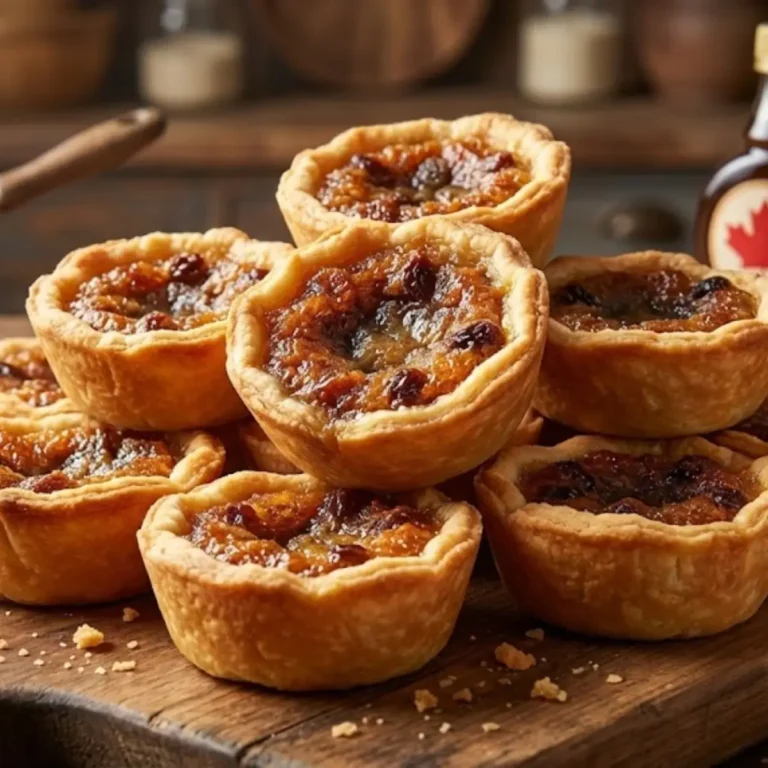
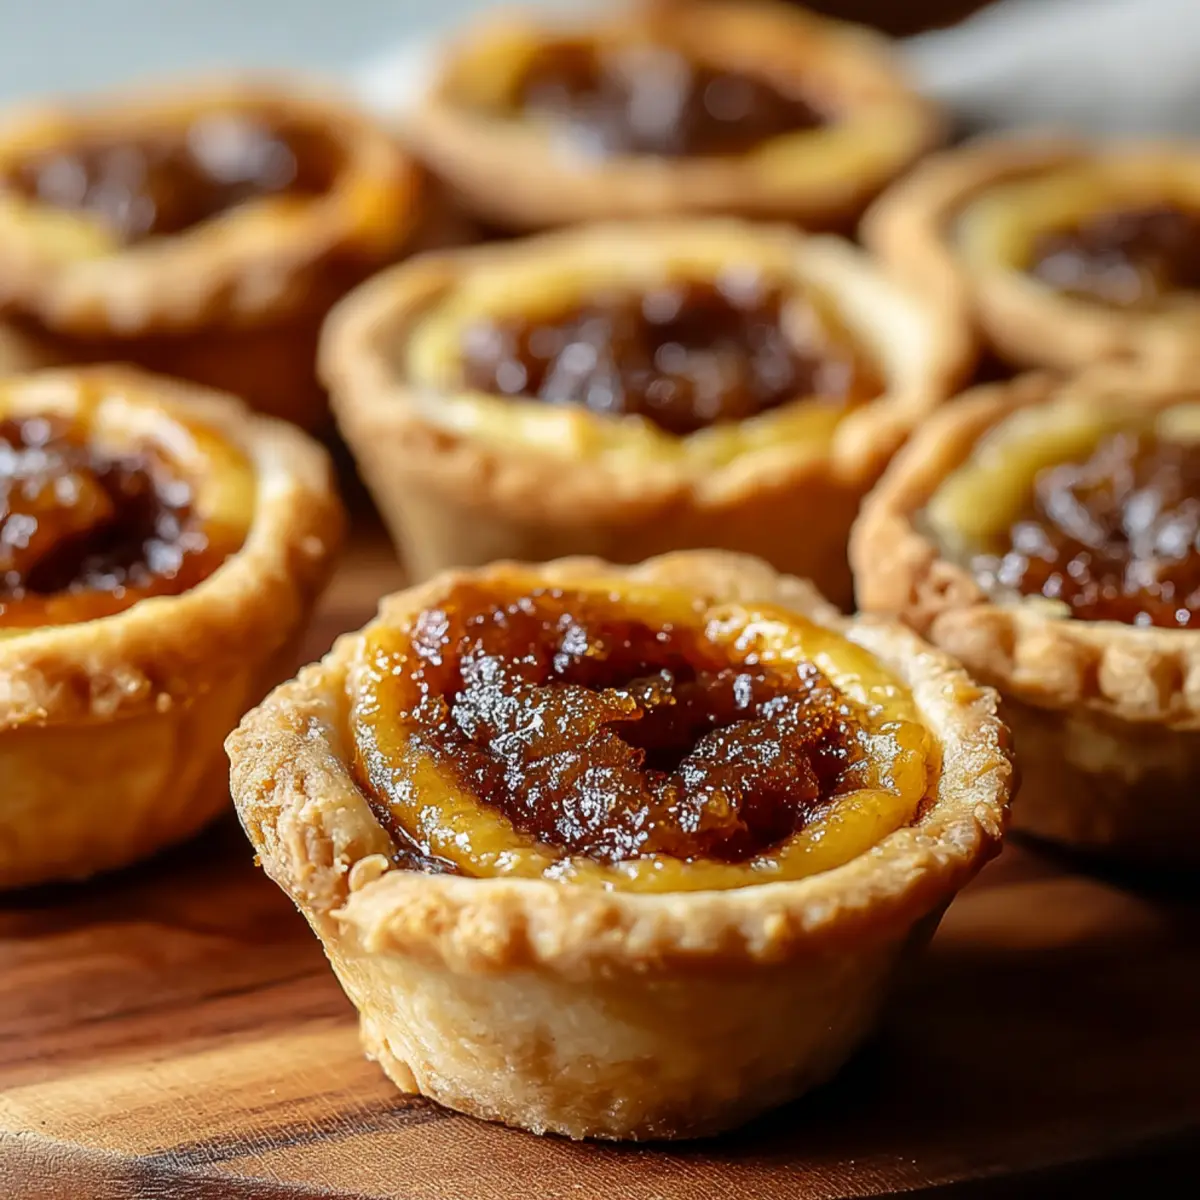
A warm kitchen, the scent of caramelized sugar thick in the air, and a tray cooling on the rack—that’s what home feels like to me when Classic Canadian Butter Tarts are in the works. There’s a hush that falls over the house as the anticipation builds, punctuated by the occasional creak of a floorboard and someone “just checking” to see if the pastry is golden yet. These tarts are unmistakably Canadian: each bite is a little celebration of buttery pastry and a glossy, sweet center that oozes just enough to make you close your eyes and sigh.
I grew up with various versions—some filled with plump raisins, others entirely plain, but always, always that delicate balance between crisp edges and molten middle. There’s no need for fancy tools or hard-to-find ingredients; most of the time, you’ll find everything you need sitting patiently in your pantry. And there’s something about the ritual of rolling, pressing, and filling that slows down the day just right.
The magic, though, is in the contrasts. The shell shatters with a gentle tooth. The filling, deep and syrupy, catches just a bit of the oven’s caramelization at the rim. Have one warm with tea or cold right from the tin—there’s no wrong way.
When Butter Tarts Become a Household Event
There’s this moment, right after you pull Classic Canadian Butter Tarts from the oven, when even the most restless kid or chatty adult stops to take in the buttery aroma. These aren’t just any sweet treat—they’re an invitation to gather. The pastry is crisp, the filling seductive, and for a split second, everyone’s standing around the kitchen counter, eager to snag a tart before it’s even cooled.
Growing up, butter tart days landed somewhere between celebration and necessity—a snowy afternoon, a cozy evening in, or, honestly, any excuse to put the kettle on and declare dessert early. Laughter tends to echo longer when these tarts are on the table, and there’s always a debate: raisins or no raisins, pecans or plain? Regardless of your position, one thing is certain—the minute you bite through the golden shell to the oozy filling, all debates pause.
And that, more than the sugar or the butter, is the true spirit of this classic Canadian dessert. The anticipation and the shared hush as they cool: that’s what I chase every time I bake them.
The Ingredients That Give These Tarts Their Canadian Twist
You’d expect a complicated grocery list for such a beloved staple, but Classic Canadian Butter Tarts keep things refreshingly simple. Most of the ingredients are probably living quietly in your pantry or fridge right now, waiting for their day in the spotlight.
- flour – forms the all-important structure for your tart shells, lending just enough sturdiness to hold the gooey filling.
- Unsalted Butter – the key to a truly flaky, melt-in-your-mouth crust. Cold butter gives you those irresistible layers.
- Granulated Sugar – sweetens the filling and helps it set to that iconic glossy finish.
- Brown Sugar – imparts a caramel undertone and a comforting depth to every bite.
- Eggs – bind the filling together and add a softer, custard-like texture.
- Vanilla Extract – just a splash brings warm, lingering flavor in the background.
- Salt – heightens everything, keeping the sweetness lively instead of flat.
- Pecans or Raisins (optional) – these little extras split every family in two: some crave the nutty crunch, others love the fruity pop, and plenty swear by pure goo.
See the recipe card below for the full list of ingredients and measurements.
Building Flaky Crust and Gooey Center in Every Tart
Making Classic Canadian Butter Tarts is more about the feel than the fuss. The goal: cold hands, a gentle touch, and letting the ingredients do the heavy lifting. Here’s how it all comes together:
- Start by setting your oven to a properly hot 220°C. High heat is what gives the pastry its first shock and makes those crisp edges.
- Mix your dry ingredients together—think flour and salt—in a big bowl. Add cubes of refrigerator-cold butter. Use a pastry cutter or your fingertips to blend until the mixture resembles a coarse, pebbly sand. Don’t rush; those little bits of butter are your friends.
- Add a drizzle of ice water, bit by bit, just until the dough clings together when you pinch it. If it’s humid out, use a little less water; if the air’s dry, maybe a splash more. Gather it into a ball, wrap, and let it chill while you get everything else in order.
- Roll the cold dough on a floured counter, not too thick, not too thin—just about the width of a coin. Cut rounds big enough to snuggle into the wells of your muffin tin.
- Gently press each pastry round into the tin, making sure there are no holes or thin spots. This is your butter tart’s foundation. Set aside while you prepare the filling.
- For the filling, whisk together granulated sugar, brown sugar, eggs, a hit of vanilla, and a pinch of salt. No need for perfection here—a vigorous whisk, and you’re done. If you’re pro-raisin or pro-pecan, scatter them now into the bottom of each unbaked shell.
- Pour the filling into each tart shell, stopping before it overflows. You want the filling to puff and set, not spill over and glue your tarts to the tin.
- Slide your tin into the oven. Bake until the shells are a deep golden and the filling domes and jiggles just slightly. The kitchen will smell like brown sugar and dreams.
- Let the tarts cool in the tin for a bit, then loosen the edges and transfer to a rack. They’re impossibly tempting now—whether you taste them warm or give them time to chill is your call entirely.
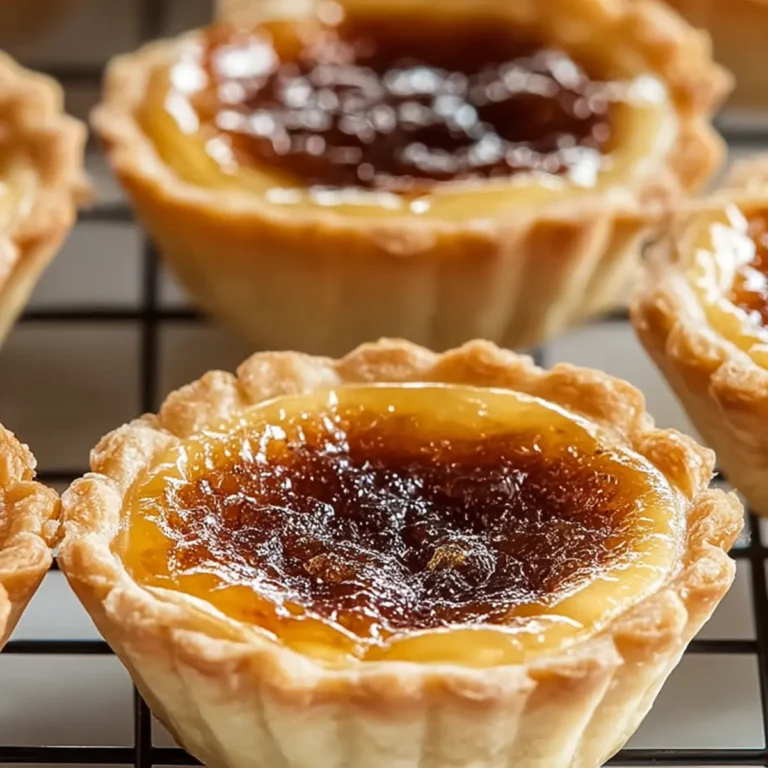
Texture and Flavor in Classic Canadian Butter Tarts
The first bite of a Classic Canadian Butter Tart is a study in contrasts. There’s the audible snap as your teeth break through the crust, followed by the sigh-worthy softness of the gooey, sweet center. It’s not quite a syrup—more of a custardy flow, sticky without being tooth-achingly so. Sometimes a raisin slips in, sometimes not, but either way each mouthful has that unmistakable dark caramel note thanks to the mix of brown and white sugar.
The butter brings richness, obviously, but there’s a surprising lightness to the overall experience. No cloying aftertaste, just warmth. And if you’ve tossed in pecans, you get those irregular, toasty crunches. Some folks even catch a faint wisp of vanilla beneath it all. The flavor is classic, the finish quietly elegant—never fussy, never over-the-top.
Tricks, Variations, and Saving Your Tarts from Trouble
There’s no need to overthink it, but a few little details can mean the difference between “meh” and “memorable” with these butter tarts. First and foremost: keep your butter cold, both for the dough and in your approach. If you rush, the pastry gets tough instead of flaky. Rolling the dough just right—thin but not see-through—helps you dodge soggy bottoms.
Obsessed with that gooey middle? Pull your tarts from the oven when they’re set at the edges but still trembling at the center. If you lean toward firmer fillings, give them another minute or so. Everyone has their tart loyalty, so don’t be shy about mixing things up: swap pecans for walnuts, throw in a sprinkle of chocolate chips, or double down on raisins if you must.
And if you want the neatest release from the muffin tin, let the tarts cool most of the way before easing them out with a butter knife. Trust me, patience here saves you from patching up pastry casualties later.
Storage-wise, room temperature is just fine for a couple of days—but don’t be surprised if they vanish overnight. If you have leftovers (unlikely, but miracles happen), an airtight container keeps the crust from going limp. For longer storage, you can freeze the tarts; let them thaw at room temp or give them a short visit in a low oven to revive that crispness.
Serving Classic Canadian Butter Tarts for Extra Coziness
Butter tarts need no embellishment, but a little flair never hurt anyone. Arrange them on a battered baking sheet or a pretty plate—it doesn’t matter, they’ll be gone fast. Serve them warm if you can, when the centers almost threaten to run and the pastry is at its buttery best. Cold tarts have their place too, perfect for sneaking as a midnight snack or with morning coffee.
For a cozy gathering, pair your tarts with hot black tea or a dark roast coffee. If you’re celebrating, a splash of cream or a pour of bourbon alongside is pretty heavenly. And when the need for nostalgia hits, nothing beats a butter tart, eaten in the kitchen, leaning against the counter, licking your sticky fingers clean.
FAQs about Classic Canadian Butter Tarts
How long do Classic Canadian Butter Tarts keep at room temperature?
Stored in an airtight container, Classic Canadian Butter Tarts are delicious for up to three days at room temperature. If your kitchen runs warm, you might want to move them to the fridge to keep the pastry crisp and the filling fresh.
Can I freeze Classic Canadian Butter Tarts?
Yes, these tarts freeze quite well. Place cooled tarts in a single layer or separate with parchment and store in a freezer-safe container. Thaw at room temperature for best texture, or warm briefly in a low oven to bring back that just-baked quality.
What’s the best way to reheat Classic Canadian Butter Tarts without drying them out?
Warm them in a low oven—around 120°C—just until the center is soft again and the pastry edges regain their flake. Avoid the microwave if you can, since it’s more likely to toughen the crust and make the filling rubbery.
Can I make Classic Canadian Butter Tarts without pecans or raisins?
Absolutely! Many purists actually prefer their butter tarts completely plain so the gooey filling takes center stage. If you like, try adding chocolate chips or another favorite chopped nut, or just stick with the classic filling and let the flavors shine.
When you crave that mix of golden crunch and sticky-sweet joy, Classic Canadian Butter Tarts are nearly impossible to beat. Every batch feels like a little celebration, whether you’re baking for a crowd or just for the comfort of a quiet evening. Set a tray out and watch hands reach for seconds—the first tart might disappear in a blink, but the memory of brown sugar and rich butter lingers all day. Cozy, nostalgic, and always just a little bit magical, these tarts are the kind of tradition that never wears out its welcome.
More Delicious Recipes
- Brownie Bottom Mini Cheesecakes: These mini cheesecakes have a delightful crust that complements the sweet, creamy filling, much like the buttery crust of butter tarts.
- Lemon Poppy Seed Scones: Perfect for a cozy afternoon gathering, these scones add a zesty twist to your dessert table alongside your buttery treats.
- S’mores Cookie Bars: With their gooey centers and sweet flavors, these cookie bars capture that same delicious, comforting feeling as classic butter tarts.
Classic Canadian Butter Tarts
Ingredients
Equipment
Method
- Preheat oven to 425°F (220°C). In a bowl, mix flour and salt; cut in cold butter until crumbly. Gradually add ice water to form dough.
- Roll out dough to 1/8 inch thick on a floured surface and cut circles to fit muffin tins.
- Place dough circles in greased muffin cups, pressing gently against the bottom and sides.
- In another bowl, whisk together granulated sugar, brown sugar, eggs, vanilla extract, and salt until smooth.
- Optionally add pecans or raisins into each tart shell before pouring the filling mixture.
- Bake for 15-20 minutes until edges are golden brown; centers should jiggle slightly.
- Cool on a wire rack and enjoy warm or cold.