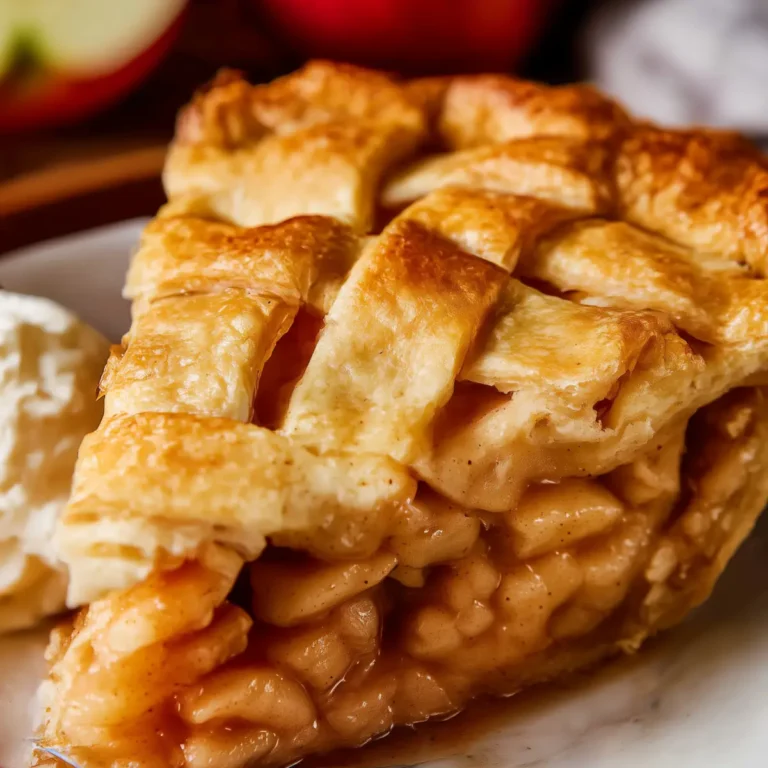
On a lazy afternoon when nobody feels like turning on the oven, a chilled, creamy Butterfinger Pie truly hits the spot. I can tell you—there’s something about the mix of smooth peanut butter, fluffy filling, and those crunchy Butterfinger bits that makes this dessert disappear in a flash.
If you’re all about easy, no-fuss sweets with major flavor payoff, this Butterfinger Pie brings a cool cloud of peanut butter and chocolate right to your table. A slice is sheer joy with a cold glass of milk—or straight off the platter, honestly.
Creamy Butterfinger Pie: No-Bake Delight
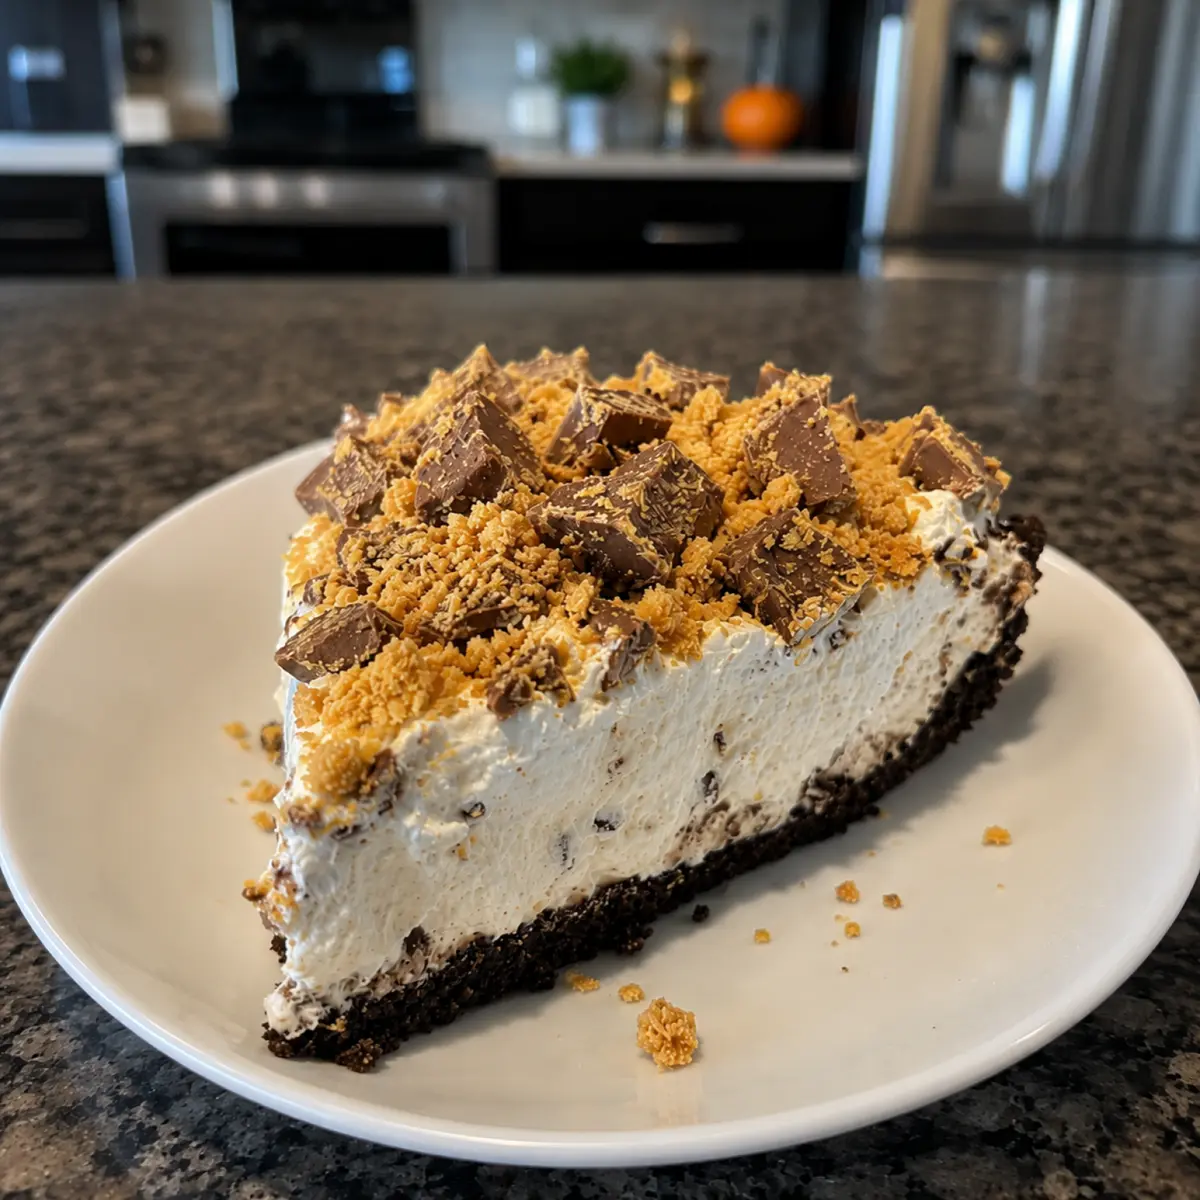
Skip the oven, grab your spatula, and treat yourself to a dessert that truly tastes like summer vacation. Butterfinger Pie isn’t just easy—it’s a celebration of creamy peanut butter and the nostalgic crunch of Butterfinger candy, all on a chocolatey cookie crust. That signature sweet-salty richness and bits of candy crunch make it a favorite at BBQs, birthdays, or anytime you want to see smiles light up the kitchen.One bite and you’ll notice how the creamy filling melts together with the crispy Butterfinger bits. It’s whimsical, dreamy, and honestly—the kind of dessert that wins people over on first taste. Whether you want a quick no-bake treat or a show-off pie for a holiday table, this Butterfinger Pie stands out as both fun and fabulously simple.
The Essential Butterfinger Pie Ingredients
Every layer of Butterfinger Pie brings something special, from the tang of cream cheese to the candy crunch on top. Here’s what you’ll need for the ultimate, crowd-pleasing dessert:- cream cheese – forms the rich, tangy base that keeps the filling smooth and creamy.
- Creamy peanut butter – adds nutty depth, pairs perfectly with chocolate and candy.
- Vanilla extract – brings out the sweetness and rounds out the flavors.
- Powdered sugar – sweetens and keeps the filling soft and fluffy.
- Butterfinger bars – crushed for lots of texture and that unmistakable chocolate-peanut butter crunch; a little set aside for a signature crunchy topping.
- Cool Whip – lightens the filling and makes each bite pillowy and luscious.
- Oreo or chocolate graham cracker crust – the best no-bake launch pad for all that creamy filling.
See the recipe card below for the full list of ingredients and measurements.
How to Make Butterfinger Pie Step by Step
Ready to build your Butterfinger Pie? The process is simple, and you’ll love how the kitchen fills with the scent of peanut butter and chocolate as you go.- Beat the cream cheese and peanut butter together in a large mixing bowl until you get a creamy, unified filling with no lumps left.
- Add vanilla extract, stirring until it disappears into the mixture and the filling smells sweet and inviting.
- Gradually beat in the powdered sugar, taking your time, until the mixture turns smooth, glossy, and fluffy.
- Fold in the crushed Butterfinger bars, keeping aside a handful for topping; the candy bits should be well distributed without breaking down completely.
- Gently fold in the thawed Cool Whip, working slowly to keep everything airy—stop as soon as no streaks remain for the lightest result.
- Spread the creamy filling evenly into your prepared chocolate crust, smoothing the top with a spatula, then sprinkle over the reserved Butterfinger crumbs for a textured, candy-capped finish.
- Cover the pie and refrigerate for several hours—enough for it to chill and slice cleanly, with each forkful holding firm yet fluffy.
Tips, Tricks, Fluffy Texture, and No-Bake Success
Butterfinger Pie is almost foolproof, but a few smart moves guarantee a pie that’s as light and creamy as it should be.- Bring the cream cheese to room temperature; cold cream cheese will leave your filling a bit lumpy and harder to mix.
- Fold in the Cool Whip slowly—don’t over-mix or the filling will deflate and lose that signature fluffiness.
- Chill the pie long enough so it sets fully; if you try to slice too soon, expect a softer, messier pie (still delicious, but less picture-perfect).
- For neat looking slices, use a warm knife and wipe between cuts.
Variations and Serving Ideas for Butterfinger Pie
This pie is flexible enough for all sorts of personal spins and creative serving ideas. Try swapping the chocolate cookie crust for a classic graham cracker crust, or even a pre-baked pastry shell if you want something extra buttery. If you’re a chocolate lover, drizzle on some warm fudge sauce or chocolate syrup just before serving.Want to switch things up? Use your favorite nutty candy instead of Butterfinger. Pair every cold, creamy slice with a scoop of vanilla ice cream, or top it off with extra Cool Whip and a sprinkle of chopped roasted peanuts for a salty crunch.
Butterfinger Pie is a party hit, but also perfect as a cool dessert after a warm-weather cookout, or cut into small squares for a sweet snack platter.
Keeping Your Butterfinger Pie Fresh
No one wants a soggy or stale pie, so store Butterfinger Pie in the fridge, covered tightly with plastic wrap or in the original pie tin with a secure lid. It keeps well for a couple of days, though the crust is crispiest at first.If you need to make it ahead, assemble and chill it the night before—just sprinkle over the reserved Butterfinger topping right before serving for maximum crunch. Freezing isn’t recommended, as the filling can become watery upon thawing, but the pie holds up beautifully in the refrigerator.
FAQs about Butterfinger Pie
Can I use a homemade crust for Butterfinger Pie?
Yes, a homemade chocolate or graham cracker crust works perfectly for Butterfinger Pie. Just be sure the crust is fully cooled before filling.
How long can I store Butterfinger Pie in the fridge?
Butterfinger Pie will keep in the refrigerator for two to three days. For the best texture and flavor, serve within the first two days.
Can I use a different candy bar in place of Butterfinger?
Definitely! Other crispy, nutty candy bars can be swapped in for Butterfinger. Just make sure to chop or crush them as you would for the original recipe.
Why is my Butterfinger Pie filling too soft?
If the filling isn’t setting, it may not have chilled long enough, or the ingredients might have been too warm. Chilling the pie fully before slicing ensures a firmer result.
Enjoy Every Chilled Slice
Butterfinger Pie is one of those desserts that instantly delivers comfort and celebration—no oven needed, just layers of creamy, crunchy joy. Make it once, and you may find it becomes your go-to for potlucks, birthday parties, or “just because” days.Serve it cold, let the chocolatey aroma and candy crunch win your guests over, and watch as those chilled slices vanish faster than you’d expect.
What To Try Next
If you loved the creamy crunch of Butterfinger Pie, these sweet treats are perfect for your next kitchen adventure.
- No Bake Star Crunch Cookies — share that delightful no-bake, crunchy candy bar element.
- Peach Cool Whip Pie — a light, fruity option great for the same dessert occasions.
- No Bake Biscoff Cheesecake Bars — offers a creamy texture with a contrasting spiced cookie flavor.
Recommended Equipment

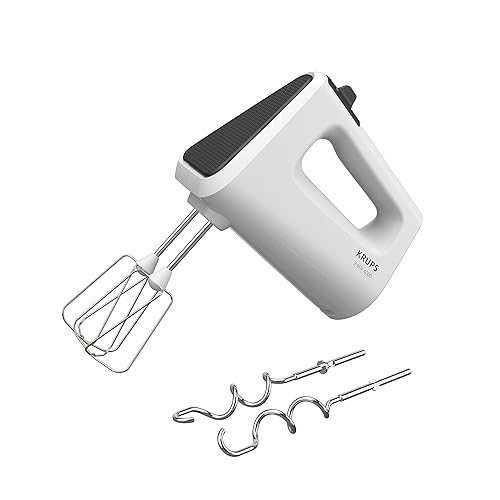
Krups / 3 Mix GN4001 Robust Hand Mixer
Perfect for whipping cream and blending filling
View on Amazon* As an Amazon Associate, I earn from qualifying purchases. There is no extra cost to you.

Butterfinger Pie
Ingredients
Equipment
Method
- In a large mixing bowl, beat the cream cheese and peanut butter until smooth and creamy.
- Add the vanilla extract and continue mixing until well combined.
- Gradually add the powdered sugar, beating until smooth and fluffy.
- Gently fold in the crushed Butterfinger bars, reserving some for the topping.
- Carefully fold in the thawed Cool Whip to keep the mixture light and airy.
- Spread the filling evenly into the prepared crust, then sprinkle with the reserved Butterfinger crumbs.
- Cover and refrigerate for at least 4 hours, or until set.