The very first time I made butter mints, it was right before a family gathering—my kitchen smelled faintly of peppermint and sugar, and my hands were dusted with so much powdered sugar, I looked like I’d lost a snowball fight. There’s something almost magical about making these soft, melt-in-your-mouth candies from scratch. The moment you pop one in your mouth, that cool minty sweetness and silky texture makes you think of wedding dessert tables, colorful holiday platters, and sneaking a few extras from your grandma’s candy dish. What I love most about butter mints is how incredibly simple they are to whip up—no oven, no candy thermometer, just a handful of pantry staples and a little bit of mixing. And yet, the payoff is pure old-fashioned charm.
What Makes These Butter Mints So Irresistible
There’s nothing quite like the tender bite of homemade butter mints as they dissolve into cool, sweet creaminess on your tongue. Each little pillow is full of mellow, buttery flavor, brightened by that rush of peppermint, and it’s all wrapped up in the silkiest, smoothest texture you can imagine. Butter mints manage to be both delightfully nostalgic and totally timeless—beloved at weddings, baby showers, and the holidays, but just as perfect for weekday treats or after-dinner sweets. What sets these apart is their purity: no odd additives, no heavy-handed flavoring, just a handful of familiar, quality ingredients blended into a dreamy, bite-size confection.
The Ingredients That Set These Butter Mints Apart
The magic behind butter mints comes from just a few staple ingredients, each adding an essential note of flavor or texture:
- Butter – The heart of every mint, real butter gives that unmistakable creamy mouthfeel and a mellow richness you can’t get with substitutes.
- Powdered sugar – This ensures a soft, velvety texture and that gentle sweetness that makes the mints practically melt on your tongue. A quick sift helps keep the dough perfectly smooth.
- Heavy cream (or milk) – Heavy cream adds body, moisture, and a hint of lusciousness, but milk works too in a pinch—choose whichever you have on hand.
- Peppermint extract – Adds that signature soothing chill and fresh, clean taste. Start with a little and adjust if you like a stronger minty kick.
- Gel food coloring (optional) – A drop or two is all you need to tint your mints for any occasion, but the flavor shines just as brightly without it.
See the recipe card below for the full list of ingredients and measurements.
Bringing Butter Mints Together Step by Step
Making butter mints is more about feel than fancy technique. Here’s how I do it when I want a batch of classic, pillowy mints waiting on the counter:
- Start by beating the softened butter until it’s fluffy and pale. You’re looking for a creamy base that feels light to the touch—this helps the sugar blend in seamlessly.
- Gradually work in the powdered sugar, mixing gently at first to prevent clouds of sugar everywhere. Once combined, add the heavy cream and peppermint extract, then beat until you end up with a plush, dough-like mixture.
- If you want to color the mints, divide the dough and knead in a drop or two of gel food coloring by hand. It’s fun to create pastel shades for the holidays or theme parties.
- Roll the dough into ropes about the thickness of your little finger, then cut into bite-size pieces. Feeling whimsical? Try rolling small balls and give each one a gentle press with a fork to imprint pretty ridges.
- Spread the shaped mints on a parchment-lined tray to air-dry at room temperature. Resist the urge to rush—let them firm up for 12 to 24 hours. When they’re ready, the outside will be dry but the centers remain irresistibly soft.
Achieving That Signature Melt-in-Your-Mouth Texture
The key to perfect butter mints is in the mixing and the waiting. Use butter that’s just soft (not melted or greasy), so your base is creamy but holds its shape. Whipping the butter before adding other ingredients whisks in air and keeps the mints light—don’t skimp on this step. When you’re shaping your mints, keep them on the small side so they dry evenly. Most importantly, let them dry out fully at room temperature; a longer drying time means a shell that gives way to a tender, melt-away interior. If you’ve ever had homemade mints that felt too sticky or too firm, patience with drying makes all the difference.
Clever Tips, Variations, and Serving Ideas for Butter Mints
Want your butter mints to really stand out, or fit a special table? Try swapping in different extracts—almond, lemon, or even orange can offer a fresh twist from the classic mint. For extra-festive flair, split the dough and color each portion differently before shaping; a rainbow of pastels looks beautiful in candy dishes. If you’d rather not use food coloring, leave them creamy white—they’ll look just as elegant with a delicate fork pattern on top.
These mints keep well in an airtight container at room temperature for several weeks, making them ideal for make-ahead party favors, wedding treats, or simple after-dinner sweets. Arrange them in small paper cups, scatter them across holiday cookie trays, or tuck a handful into jars for sweet homemade gifts. If you like a firmer texture, let them dry just a bit longer before serving.
FAQs about Butter Mints
Can I use unsalted butter for butter mints?
Yes, unsalted butter works well in this recipe. Just consider adding a pinch of salt to the dough if you want to balance the sweetness and enhance the flavor.
How long do homemade butter mints stay fresh?
Butter mints will keep for at least two to three weeks if stored in an airtight container at room temperature. If your kitchen is particularly warm, you can refrigerate them for longer freshness.
Do I have to use peppermint extract, or can I try other flavors in butter mints?
While peppermint is classic, you can absolutely use other extracts like lemon, almond, or vanilla. Just adjust the amount based on the strength of the extract to avoid overpowering the mints.
Can I freeze butter mints for later?
Butter mints can be frozen for longer storage. Place them in layers with parchment paper between the mints, seal tightly in a freezer bag, and thaw at room temperature before serving.
How do I keep homemade butter mints from being sticky?
Sticky mints usually just need a bit more drying time. Make sure they’re spread apart on the tray and allow enough air circulation. If your kitchen is humid, they may take closer to 24 hours to set up properly.
Fresh, homemade butter mints manage to turn even an ordinary day into something sweet and just a little nostalgic. The blend of soft creaminess and cool peppermint brings back memories and makes new ones—whether you’re serving them for a big celebration, packing a few for gifts, or just indulging in a quiet treat with coffee after dinner. There’s a cozy satisfaction in seeing a tray of pastel mints ready to share, and I hope you’ll enjoy every soft, melt-in-your-mouth bite.
More Delicious Recipes
- Homemade Peppermint Patties: If you love minty freshness, these creamy patties are a great alternative to butter mints with a delightful chocolate coating.
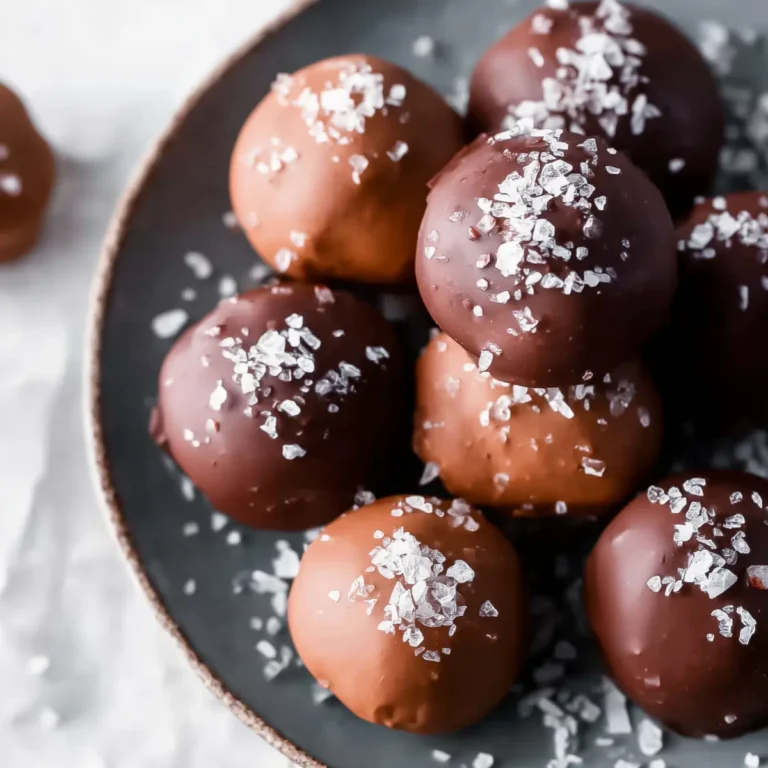
- Dark Chocolate Truffles: For a rich and indulgent treat, these truffles are a perfect compliment to your butter mints, adding a luxurious touch.
- Salted Caramel Fudge Truffles: These sweet truffles provide a deliciously contrasting flavor to the cool mintiness of butter mints, making a great dessert pairing.

Butter Mints Recipe (Easy & Melt-in-Your-Mouth)
Ingredients
Equipment
Method
- In a large mixing bowl, beat the softened butter with an electric mixer on medium speed until light and fluffy, about 1-2 minutes.
- Gradually add the sifted powdered sugar, mixing on low speed. Add the heavy cream and peppermint extract. Beat on medium-high speed until a smooth, soft dough forms.
- If using, divide the dough and knead in 1-2 drops of gel food coloring until the color is uniform.
- Roll the dough into 1/2-inch thick ropes and cut into small pieces. Alternatively, roll into small balls and press with a fork.
- Place the mints on a parchment-lined baking sheet. Let them air-dry at room temperature for 12-24 hours until they are firm on the outside but still soft inside.