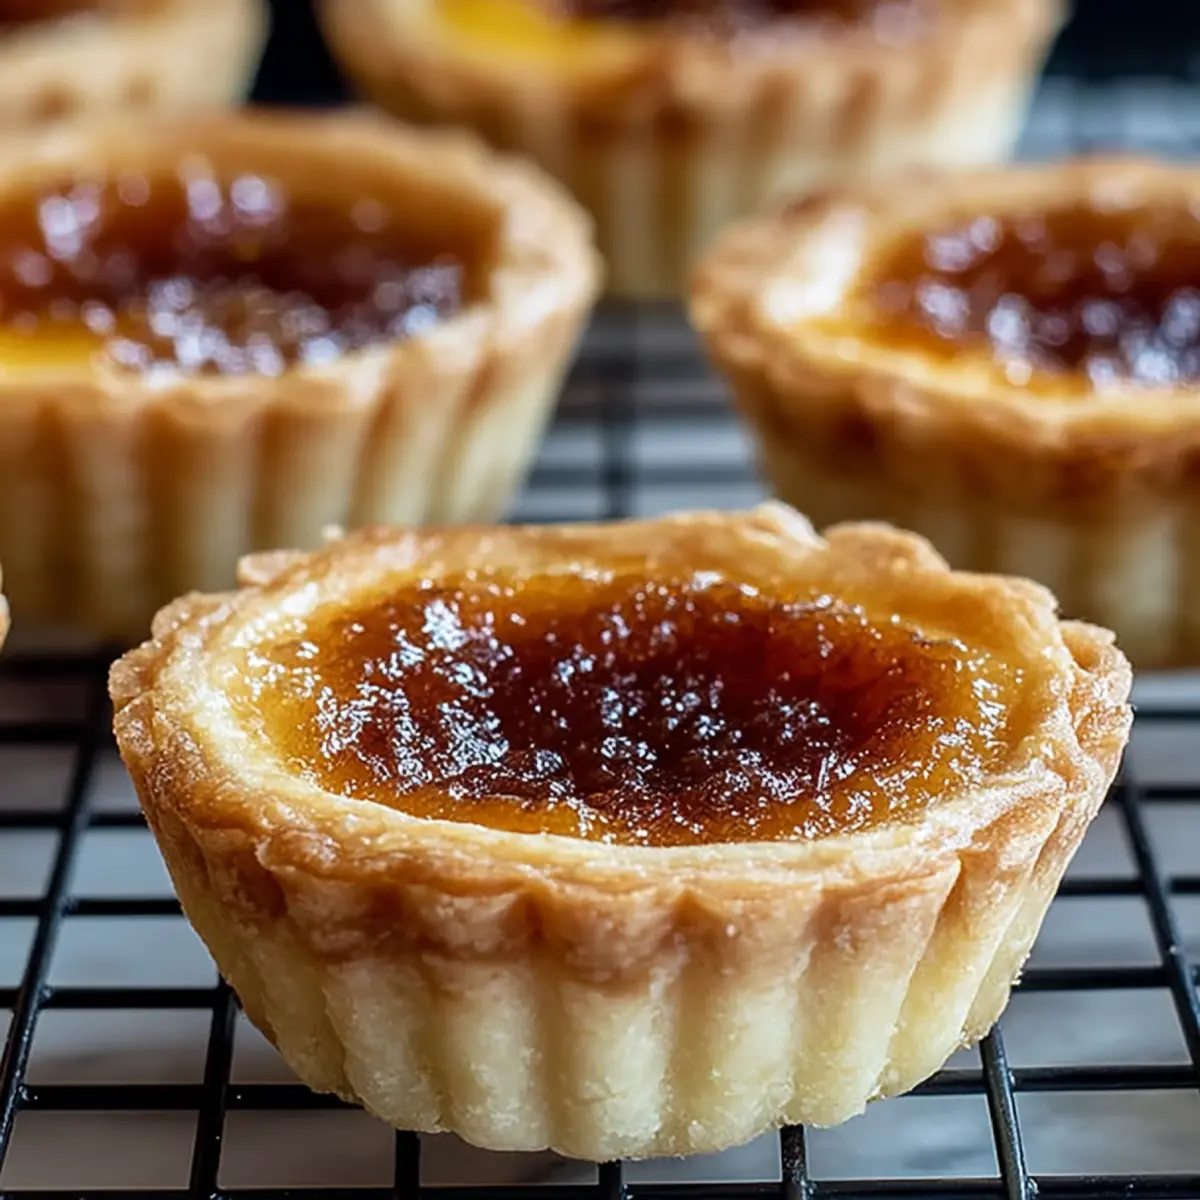
Buttery, sweet, and pure comfort—Mrs Welch’s Butter Tarts are a nostalgic treat that’ll win over anyone with a sweet tooth. There’s something special about sinking your teeth into that golden, flaky crust and letting the rich, creamy filling do its magic. This recipe captures everything people love about traditional Canadian butter tarts, and it’s simple enough for any home baker to master.
What really sets these tarts apart is their irresistibly silky filling, the gentle caramel undertones, and—if you’re like me—the way the smell of buttery pastry takes over the kitchen. Mrs Welch’s Butter Tarts are perfect for making a regular day feel just a little bit cozier.
Let the Tart Baking Begin: Essential Gear for Mrs Welch’s Treat
Before you start crafting Mrs Welch’s Butter Tarts, gather the kitchen essentials—nothing too fancy, but each makes a real difference for this recipe’s success. Here’s what you’ll need:
- Mixing bowls – For prepping both your flaky pastry dough and that luscious butter tart filling.
- Pasty blender or your fingertips – To blend cold butter into the flour, creating those delicate, crumbly layers.
- Rolling pin – For rolling out the tart dough to just the right thickness.
- Round cutter or glass – To cut out the pastry circles that form each tart shell.
- Muffin tin – Classic for shaping and baking 12 perfect butter tarts at a time.
- Whisk – Ideal for blending your eggs, sugar, cream, and vanilla into a velvety filling.
If you’re ever torn on using vintage bakeware or reliable non-stick, trust what you love. I still grab my old muffin tin with tiny dings—it feels like part of the ritual.
Ingredients That Make Mrs Welch’s Butter Tarts Legendary
Here’s what goes into making these famous tarts their rich, melt-in-your-mouth best. Each ingredient plays its own delicious role:
- flour – The base of your pastry dough, bringing structure and tenderness. If you’re feeling adventurous, try substituting some with whole wheat for added nuttiness.
- Unsalted butter (cold) – Key for a flaky crust; cold, cubed butter releases steam in the oven, which forms beautifully layered pastry.
- Salt – A small pinch intensifies the flavors, balancing all the sweetness.
- Ice-cold water – Vital for bringing the dough together without melting the butter, so keep it chilled!
- Granulated sugar or brown sugar – Sugar sweetens and gives the filling its soft, caramel note. Try brown sugar for deeper flavor.
- Eggs (at room temperature) – They set the filling, creating a gently custardy bite in every tart.
- Vanilla extract – Just a touch; it lifts the whole tart with warm aromatics.
- Heavy cream – To add silky texture and keep things from getting too dense.
See the recipe card below for the full list of ingredients and measurements.
From Dough to Delight: Making Mrs Welch’s Butter Tarts Step by Step
Ready for kitchen magic? Follow these simple steps for irresistible butter tarts—let your nose guide you as the crust starts to turn golden and the filling scents the air.
- Preheat your oven to 175°C. In a large bowl, blend your flour and cold butter by hand or with a pastry blender until the mixture looks like coarse, small crumbs and feels sandy between your fingers.
- Gradually add a pinch of salt and just enough ice-cold water to bring the dough together—it should hold its shape when squeezed, but not feel wet or sticky. Pop the dough in the fridge for about 30 minutes to rest and chill.
- Roll the dough on a lightly floured surface to about 6 mm thick. Use a round cutter (or glass) to punch out circles, then gently press each into a muffin tin, forming neat little shells with minimal stretching.
- In a fresh bowl, whisk together your sugar, eggs, heavy cream, and vanilla extract. You’re aiming for a smooth, glossy filling with no streaks of egg white remaining.
- Carefully pour the filling into each tart shell, filling almost to the top but not quite; leave a little space for the mixture to puff up and settle as it bakes.
- Bake for 20–25 minutes, or until the crust is lightly golden and the filling is just set—with a gentle jiggle in the center and a glossy, caramelized surface. Cool the tarts in the pan; the aroma alone is enough to test your patience—trust me, it’s worth the wait!
Never Crumbly, Never Runny: Tips and Troubleshooting Butter Tarts
You want butter tarts with a crisp shell and a lush, set filling—nothing soupy, nothing dry. Here’s how to sidestep the most common slip-ups:
- Dough too sticky? Add a sprinkle more flour, but only just as much as needed. Cold is your friend—keep the butter and water chilled until the moment they hit the bowl.
- Crust too tough? Don’t overwork the dough, and handle it with care. The buttery bits should still be visible before baking, which means flakier pastry.
- Filling overflows or sinks? Only fill each pastry shell about three-quarters full—too much, and you risk spillage or sunken centers.
- Undercooked filling? The tarts are ready when the centers jiggle softly (like set jelly). They’ll continue to firm up as they cool, so don’t wait for complete firmness straight from the oven.
- Tarts sticking to the pan? Let them cool in the tin until just warm; the pastry pulls away as it sets, making for easier release.
The goal is golden crusts and gently set filling—don’t fret over a little rustic character. Sometimes those imperfect edges become everyone’s favorite part.
Delicious Pairings and Personal Twists for Butter Tart Lovers
Mrs Welch’s Butter Tarts shine on their own, but you can dress them up or make them your own—here’s how:
- Classic pairings: Serve with strong black tea, bold coffee, or a glass of cold milk. A scoop of vanilla ice cream transforms a warm tart into a dreamy dessert.
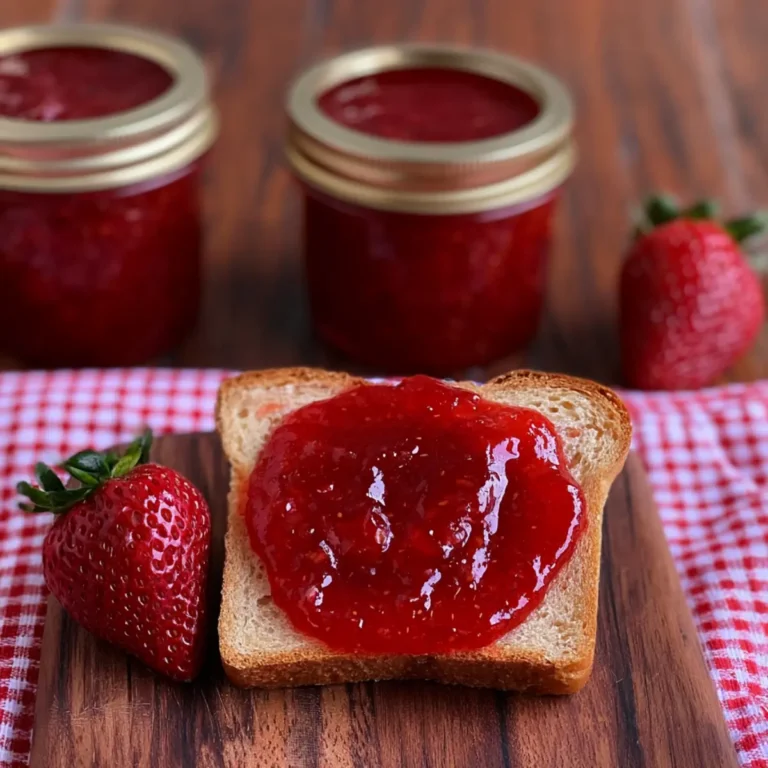
- Fruit sides: Fresh summer berries or slices of crisp apple balance the tarts’ buttery richness.
- Simple variations: Try brown sugar for more caramel intensity, or a splash of maple syrup in the filling for a Canadiana twist.
- Add-ins (optional): For a nutty crunch, add finely chopped pecans or walnuts to the filling before baking. You can also toss in a handful of raisins for old-school charm.
- Festive flair: Sprinkle a pinch of cinnamon into the filling for a hint of warmth during the holidays.
Feel free to get creative. Butter tarts are wildly forgiving—just don’t compromise the base and filling, and you’ll still end up with tiny, golden perfection.
FAQs about Mrs Welch’s Butter Tarts
How long do Mrs Welch’s Butter Tarts keep after baking?
Once cooled completely, store Mrs Welch’s Butter Tarts in an airtight container at room temperature for up to 2 days. For longer freshness, keep them in the fridge for up to 5 days. Let them come to room temperature before serving for the best texture.
Can Mrs Welch’s Butter Tarts be frozen for later?
Yes! Simply bake and cool the tarts, then pop them into a freezer-safe container with parchment between layers. Freeze for up to 2 months. Thaw at room temperature—it keeps the pastry crisp and avoids sogginess.
Is there a dairy-free swap for butter or cream in this recipe?
Absolutely. For a dairy-free version, use a high-quality plant-based butter for the pastry and a dairy-free cream substitute in the filling. The flavor and texture will be slightly different, but you’ll still get lovely, tender tarts.
The Sweetest Ending: Mrs Welch’s Butter Tarts Finale
There’s a simple magic in Mrs Welch’s Butter Tarts: from the buttery crunch as you bite in, to the moment that luscious, caramelly filling melts on your tongue. The sweet aroma lingers, tempting you back for a second helping. Whether you’re baking for a celebration or just sneaking a little joy into an ordinary afternoon, a batch of these tarts always delivers. Honestly, these are the treats I bake when I want the house to feel like home—warm, golden, and welcoming. Serve with love, and watch them disappear.
More Delicious Recipes
- Classic Canadian Butter Tarts with Raisins: This recipe offers a traditional twist on butter tarts by adding raisins for extra sweetness and texture.
- Dark Chocolate Truffles: If you love rich, creamy fillings, these truffles will satisfy your sweet tooth just like butter tarts do.
- Salted Caramel Fudge Truffles: These decadent truffles provide a buttery, sweet experience similar to Mrs Welch’s Butter Tarts but with a rich caramel twist.
Mrs Welch's Butter Tarts
Ingredients
Equipment
Method
- Preheat oven to 350°F (175°C). In a bowl, mix flour and cold butter until crumbly.
- Gradually add a pinch of salt and ice-cold water until dough forms. Refrigerate for 30 minutes.
- Roll out the dough to 1/4 inch thick, cut circles, and press into muffin tins.
- In another bowl, whisk together sugar, eggs, heavy cream, and vanilla.
- Pour filling into shells until almost full.
- Bake for 20-25 minutes until filling is set and slightly caramelized. Cool before serving.