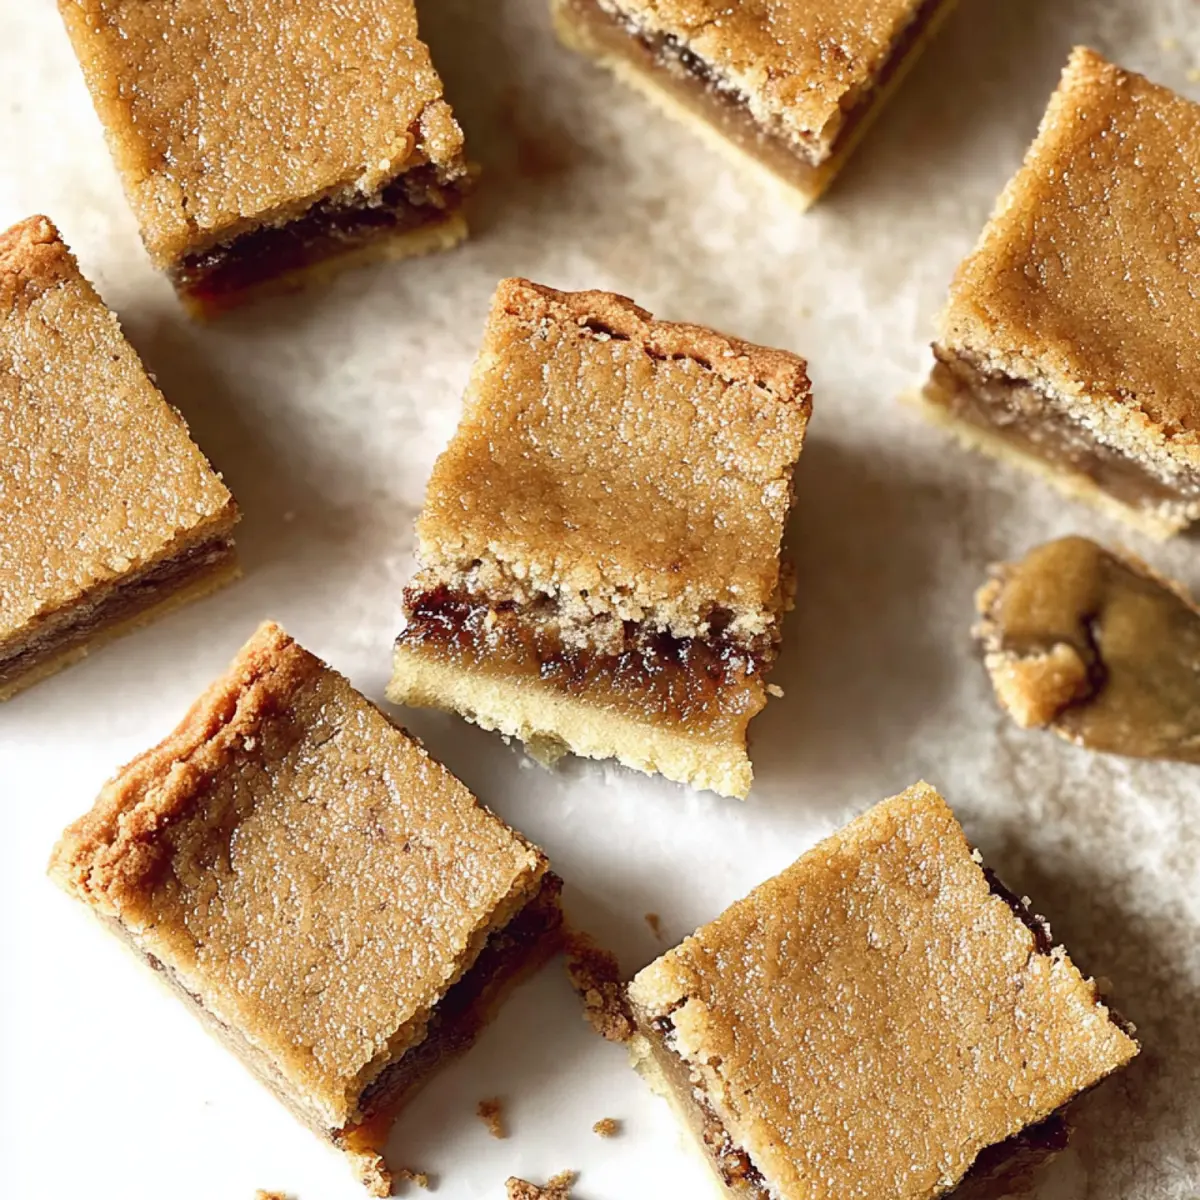
The timeless aroma of rich brown sugar and warm butter is hard to beat, especially when combined with a soft golden crust and a gooey filling. That’s exactly what you get with Gooey Classic Butter Tart Squares—a nostalgic, decadent treat in an easy-to-share format. These squares deliver everything you love about classic Canadian butter tarts but are far simpler and fuss-free, making them perfect for holidays, potlucks, or just a cozy afternoon at home.
What really sets this recipe apart is its two-part structure: a crisp, tender base that stays sturdy under a sweet, meltingly rich topping. Every bite is satisfyingly chewy, a little sticky, and just the right amount of indulgent. Whether you’re baking for your family or treating yourself, these bars are effortlessly festive and crowd-pleasing.
The satisfying tools for a smooth butter tart experience
Having the right equipment set out before you begin makes baking these squares an absolute breeze. Here’s all you’ll need for a seamless, low-stress experience:
- 8×8 baking dish – For forming perfectly thick, uniform squares.
- Parchment paper – To line the baking dish for easy removal and clean slicing.
- Large mixing bowls – One for your crust, one for your filling.
- Whisk – For blending your dry ingredients and ensuring everything is evenly combined.
- Electric mixer – Helps get that glossy texture in the filling without a ton of effort.
- Spatula or spoon – For pressing the crust into the pan and folding in nuts or raisins if you choose.
- Wire cooling rack – Essential for bringing your baked squares quickly and safely to room temperature before chilling.
- Sharp knife – To cut neat, satisfying squares once they’re set.
That’s it! No fancy gadgets—just practical tools that do the job well.
The essential ingredients that build true butter tart flavor
- Flour – Provides structure in the base and a bit of body in the filling too.
- Granulated Sugar – Adds sweetness and a slight crunch to the crust.
- Salt – Balances sweetness, deepens all the rich flavors.
- Cold Butter – Key to a tender, flaky crust that doesn’t crumble apart.
- Melted Butter – Gives the filling its signature richness and buttery flavor.
- Brown Sugar – The star for deep caramel sweetness and that signature gooeyness.
- Eggs – Bind everything together and add smoothness to the filling.
- Vanilla Extract – Delivers warmth and classic dessert aroma.
- White Vinegar – A tiny bit sharpens the flavors and helps set the filling.
- Optional: Raisins, walnuts, or pecans – For texture and a burst of nutty or fruity contrast in each bite.
See the recipe card below for the full list of ingredients and measurements.
Bringing gooey butter tart squares to life, step by step
- Preheat and prep. Set your oven to 175°C. Lightly grease your 8×8 baking dish, line it with parchment paper, and then give it one more quick grease to guarantee easy release. Set aside.
- Mix the crust. In a large bowl, whisk together the flour, granulated sugar, and salt until evenly blended. Add in the cold butter and use your hands to work it through until the mixture clumps together into soft, even crumbs—think cool sand between your fingers.
- Form and bake the base. Pour the crumbly crust mixture into your prepared baking dish. Spread it evenly, then press it down firmly with your fingers or a spatula (get right into the corners). Bake for 18–20 minutes, or until lightly golden at the edges and your kitchen smells warm, nutty, and promising.
- Make the filling. While the base bakes, grab a clean bowl. Use an electric mixer to blend the melted butter and brown sugar until smooth and glossy—like soft caramel. Beat in the eggs, then add the flour, vanilla, vinegar, salt, and any optional raisins or nuts you fancy. Mix just until combined; the filling will be thick and pourable.
- Assemble and bake again. Pour the filling over your hot, just-baked crust. Spread it into an even layer. Slide back into the oven for 24–26 minutes, until the top looks dark golden brown and has just the slightest jiggle in the centre (don’t worry, this is the gooey magic!).
- Cool and set. Remove the pan and let it cool on a wire rack for 30 minutes, then transfer to the fridge for another 30 minutes to fully set. This helps the squares slice up neatly without losing their soft, chewy charm.
- Slice and serve. Once chilled, either cut the squares directly in the pan or gently lift everything out using the parchment edges—set on a cutting board and slice into perfect squares. Patience makes for the cleanest cuts!
Tips, troubleshooting, and avoiding common squares pitfalls
It’s easy to fall in love with these bars, but there are a few pitfalls to watch for if you want perfect results every time:
- Tough crust? Make sure your butter is cold when mixing the base. If it gets too soft, you’ll lose that irresistible shortbread snap.
- Undercooked centre? The top should be deep golden, with just a slight wobble in the very middle. If it’s overly runny, pop the pan back in for another 2–3 minutes.
- Filling overflow? Resist the temptation to use a smaller or shallower pan—the 8×8 size is perfect for preventing spillover and ensuring a thick, satisfying slice.
- Messy slicing? Always let your butter tart squares cool, then chill until fully set. Slicing while warm will make even the best filling ooze everywhere (delicious, but sticky!).
- Dry texture? Overbaking can zap the gooeyness. Aim for just-done, not dry—remember, the filling firms up as it cools.
If you follow these cues, you’ll be rewarded with that signature sticky, sweet, and perfectly chewy centre every single time.
Favorite pairings and easy variations for butter tart squares
Butter tart squares are as flexible as they are crowd-pleasing. If you have your classic squares ready but want to mix things up, here’s what to try:
- Add-ins for crunch and flavor: Classicists add raisins for a burst of sweetness, but chopped walnuts or pecans add contrast and a buttery bite. Or play with all three for a packed, bakery-style square.
- Festive touch: A sprinkle of flaky sea salt before baking beautifully balances the sweetness for grown-ups, or dust with powdered sugar after chilling for a festive look.
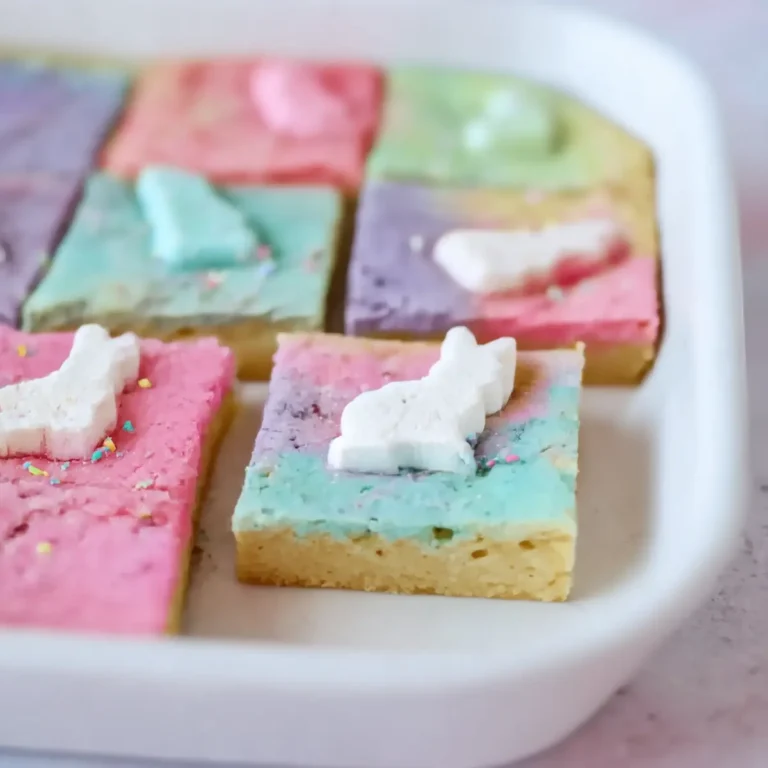
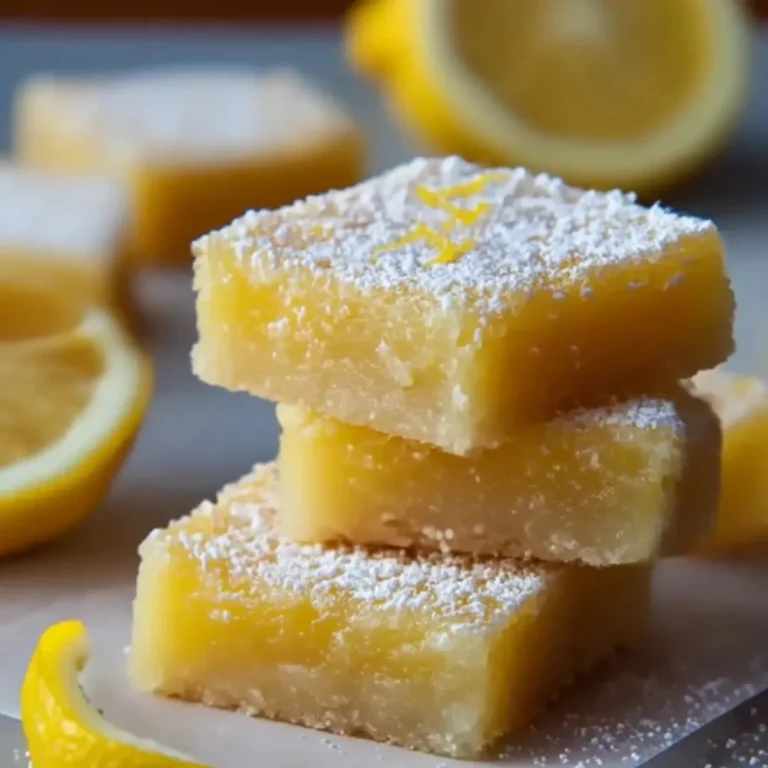
- Pairing ideas: Serve with strong coffee, a mug of tea, or even a small scoop of vanilla ice cream. On a dessert platter, these bars are lovely with lemon squares, shortbread, or fruit salad.
- Make it your own: You can skip nuts and raisins for a purist approach, or add a drizzle of melted chocolate over sliced bars for a true showstopper.
These squares are naturally vegetarian and can stand alone as a simple afternoon treat or the star of any party dessert table.
FAQs about Gooey Classic Butter Tart Squares
Can Gooey Classic Butter Tart Squares be made in advance?
Absolutely! These squares can be made a day or two ahead. After cooling and chilling, store them in an airtight container in the fridge. They’ll keep well for up to four days and taste even better on day two as the flavors meld.
What’s the best way to store leftover butter tart squares?
For ultimate freshness, keep your squares wrapped or in a container in the fridge. You can stack them with parchment to prevent sticking. To serve, let them sit at room temperature for 15–20 minutes—it softens the crust and brings out all the gooey richness.
Can I freeze Gooey Classic Butter Tart Squares for later?
Yes, these bars freeze beautifully. Freeze individual squares on a tray, then transfer to a freezer-safe bag or box once firm. Thaw in the refrigerator overnight, or let them come to room temperature before serving. The crust and gooey topping hold up perfectly.
A sweet ending: gather, enjoy, and savor
Nothing beats the moment you cut into a chilled pan of Gooey Classic Butter Tart Squares—the knife glides through a glossy, rich filling and that soft golden crust. I love watching the first eager hand reach for a square, and the sticky, irresistible sweetness always draws a smile. Whether you serve these for a holiday gathering or just because it’s Tuesday, they’re the kind of treat that turns any day into something special. Pour yourself a coffee, share with someone you love, and let every bite melt in your mouth.
More Delicious Recipes
- Classic Canadian Butter Tarts with Raisins: These tarts deliver a similar gooey, sweet filling typical of traditional butter tarts, making them a perfect companion to the squares.
- S’mores Cookie Bars: If you love indulgent sweets, these cookie bars provide a chewy texture combined with rich flavors reminiscent of butter tart squares.
- Lemon Poppy Seed Scones: These scones offer a delightful contrast with their refreshing citrus flavor and buttery texture, perfect alongside gooey desserts.
Gooey Classic Butter Tart Squares
Ingredients
Equipment
Method
- Prepare: Preheat the oven to 350°F, lightly grease an 8x8 baking dish, line it with parchment paper, lightly grease it once more and set it aside.
- Make the crust: In a bowl, whisk the flour, granulated sugar and salt. Add the cold butter, and use your hands to incorporate it into a crumbly mixture. Evenly distribute and press the mixture firmly into the baking dish, and bake it for 18-20 minutes, until the edges start to lightly brown.
- Make the filling: In a separate bowl, mix the melted butter and brown sugar using an electric mixer. Add the eggs, flour, vanilla, vinegar, salt, and optional raisins or nuts.
- Bake: Pour the filling over the prebaked crust and bake for 24-26 minutes. It should be dark golden brown and have the slightest jiggle. Transfer to a cooling rack for 30 minutes, then transfer it to the fridge for another 30 minutes to fully set.
- Serve: You can cut the squares right in the pan or remove it all from the pan first by pulling them out by lifting from the parchment paper edges and transferring it to a cutting board to cut.